Showing posts with label stash. Show all posts

Wednesday, September 25, 2024

Finally - Sewing!


There's nothing like getting a big project done and then doing something you like as a reward. I made a bird. And not just ANY bird, a freaking Majestic bird.

I started with this bird. I found a piece of the green wing fabric, and it said it wanted have something blue in it. Alas, it came out a bit more bland than I would have liked, but still. So then I moved on to the other one.  They make me laugh. 

I added the last row to the Little Blocks quilt.

In the Great Stash Clean Up I found this fabric I had bought a year ago. I found six yards of it. Not only did I iron it (finally)...

I cut it into two three yard pieces and sewed them together. Now it will be the backing of the Little Blocks quilt.

Going to be awesome!

I had an idea for another tutorial, one that I am tentatively calling "The Easiest Quilt Ever," so I'm working on that. I think Julie's squirrels have migrated to my studio...


If you want to make some birds, (and you really do), you can get my tutorial here, at my Etsy shop.


and oh, I joined Facebook. I'm still not sure how it works yet, but I'm there as me.

Monday, September 23, 2024

Stash Reorg


It only took a month, but I have finally finished reorganizing my stash. And not just my stash, but the piles of fabric I had lying on the extra table, stacked on the recliner and thrown all over the place.

I ended up getting some shelf dividers from Amazon and that helps keep some of the stacks separate, and keeps them from falling into each other. This should help me keep it nice and tidy. I even used some to create more space on the top of the bookcase. I had had lots of large pieces of fabric - many planned for backings of future quilts, and now ALL those have been ironed and folded and are neatly arranged on the top of the bookcase. I'll need a step stool to reach them, but that's no problem.

Moreover, all the worktables are clear and I can get to work without the added visual stress of the fabric clutter all over the room. To be sure, I have several quilts in mind after revisiting all those fabrics, and I can't wait to get started.

And there's a new tutorial I want to write, and an old one I want to update and a pattern I should write. 
And I want to add a row to the bottom of the Little Blocks quilt because it looks too square and I got the Peonies quilt back from the long arm quilter and I have to add the binding and finish it.

Gosh, I sure am glad I am retired!


Sunday, August 25, 2024

A Variation on a Theme

One of the tasks I need to do is to straighten up the fabrics in my stash. Since I am between quilts, I figured it would be a good task to start. I worked on the White on Whites, and then sorted out the white with colors and the creams with colors. I took the fabrics off the shelf, ironed them, refolded them, and put them back on the shelf.

I decided to work on the fabrics I call "colors on a white background." As I was pressing one piece I thought. "Gee, it would be interesting to make a cobblestones quilt with these bright fabrics, and have bright bold colors slashed through them." ***


Then I thought, well, fart. What am I waiting for? So I went through the stack and chose 24 fabrics, then pressed them cut 6-1/2" WOF strips.

Then I cut the first set of blocks, and inserted the strips and trimmed them. Whenever possible, I try to insert the contrasting strip and reassemble the block so the pattern continues from one piece to the other as in the photo above. It helps keep the quilt cohesive.
.
Here are the 24 fabrics with a strip inserted. I thought you'd get a kick out of seeing them together. Now, I just threw these up on the design wall. I haven't arranged them to their best advantage, but you can see some of the challenges I will face. 

No, I am not in the least worried. I can make this work too.

And yeah, I did continue to work on organizing the fabrics.


*** Remember how I keep telling you that inspiration can be found anywhere? Well, this ought to show you.

Tuesday, April 5, 2022

You Ask, I Answer

 Buffy called me on Sunday to ask how I was. I was so pleased to hear from her. You have all been so understanding as I move through this tough year. Thank you for all your love and support.

Anyway, I told Buffy about my pink bird making plan. After I hung up, I made a pink bird and sent her a picture. "Gee, that didn't take long..." she texted back. "How long does it take you to make a bird?"

"Well, um," I replied, "once I pick the fabrics they only take me about 20 minutes or so..." 

You know me. Once that was out in the open, I had to wonder, JUST HOW LONG DOES IT TAKE? Since I love nothing more than a puzzle I decided to find out.  Watch me (sort of), dear reader as I make a bird.

Since I had my pink and pinkish scraps handy, I played around until I had these fabrics. Note I make big leg panels ahead of time. (I am not going to explain how I make these. That is what The Tutorial is for.)

Now you have to remember, I've made a few hundred birds, so I know how to do this. Here are the pieces all cut out.

Here is the first go-round of sewing. I work efficiently. If I can do several steps at the same time, I'm going to do it.

Here the bird is ALMOST put together. I need to add the legs and the trim piece on top.
 

OK! Here you go! Bird is done! (And look I changed my mind about the legs and decided to use something else.)

Buffy, you will have to do the math. Just how long did it take me to make the bird?

Yesterday, Peggy asked about the extra long rulers that hang near my ironing table. I have a confession to make. I love rulers. I have a thing for rulers. I have metal rulers because, duh, you can cut against them with your rotary cutter. I use them for trimming quilts and for cutting long things straight. There is a 36" one (also known as a yardstick), a 48" one and a 60" one. 

When you need to cut a long straight line, use the longest ruler you can find. Don't make the mistake of thinking you can push a shorter ruler along and get the same result. You must be careful with your big long metal rulers because they can get bent and nicked, and you need them to stay straight and true, so I hang mine. And I get them at the hardware store. 

I also have 18", a half meter, and a 24" ruler hanging there, along with some long rulers the guys who cut drywall use to cut something nice and "square."

I also have two gizmos I bought way back in 1984 that are probably no longer available. They are 18" rulers and you slide one thing over and the ruler will automagically find the halfway point on one, and the one-third point in the other. Hardly ever use them, but like I said, I'm a ruler junkie, so I had to have them.


 Peggy also wanted to see the fabrics I bought on Saturday. Some of them are shown above. I'll show the rest later. In the meantime, you can all go back and read this post about my Stash. It explains why I buy what I buy and how much, although I did break a couple of those rules with my purchases on Saturday.


So if YOU want to make a bird or two (or thirty or fifty) you can get my tutorial here at my Etsy shop. It's an instant download so you can get started right away. Now if you are an OCD type, and want exact dimensions of every tiny detail, you probably won't like my tutorial. My way of working is very flexible and I don't like to carve anything in stone, because flexibility = creativity and that = fun. I am not into making millions of things that are exactly the same. Besides, the birds are kinda bulletproof. You can do all kinds of things wrong and still wind up with a handsome bird. That's the definition of success in my book!


And since I know somebody will ask... the yellow thing on the metal light fixture in the picture with the rulers is a magnet on a handle. I use steel pins and a sloped worktable. Gravity happens. Need I say more? The silvery thing next to it is a small magnet at the end of a telescoping handle for reaching small metal things from a distance. Because, you know, it's a cool tool....


Millie would have been 16 today. I miss her something awful.
This picture was taken in March 2018.


Saturday, April 17, 2021

More Fabric

 Rebecca left a comment on my last blog post: "... you do that lead in thing very well..." which is a kind way of saying I left you all dangling and waiting for more. That is part of it, but the other thing is that I have friends from various parts of the country who will email me if I don't post regularly. "Are you OK?" they will ask, "You haven't posted on your blog in a couple of days and I was worried about you." So, sometimes, Rebecca, I just post something quick to let everybody know I'm still around.

I really do have something pretty cool in mind for those greens and yellows I showed the other day, but I couldn't quite get started because I had a small logjam in the shape of fabric that I had bought that needed to be ironed. (Which is only partly true. You all know I will throw fabric on the floor if I need space on my worktable...)

While I was buying some of the other fabrics, I also bought these. I love the black and whites on the far right, I love the top two in the middle (the topmost one is a rainbow of colors on black) and I loved the blue teal leaves. The pink one was on sale and I liked it when it wasn't on sale, so I bought some.

I like blenders, especially pale ones, because I like to fool the eye with them. They are not always easy to find, and since usually only shop when I need something, if I see something I can use, I'll buy it. The two on the top right are WOWs, so that's a no-brainer for me, and the one on the lower right is a slightly busier blender, so that came with me.

Anybody who knows me at all won't have any trouble understanding why I bought these two. LOTS of potential here, and I am a sucker for brights on a black background. I considered the white one at the bottom as the backing for the Gardens of Our Imaginations (Asterisk) quilt, but the shop only had 3/4 yard of it, so I bought it all.

I chose this quilt backing as the backing of the asterisk quilt, but now that it is here in person I am less than thrilled. Instead I will probably use it for one of the Bananas quilts, which will be a utility quilt.

I've put my hand here so you can see the scale of this print. It really would be perfect for the Asterisk quilt, but it is a digital print, and thus more expensive than most yardage. I believe the backing and binding of a quilt is as important as the frame around a painting, so it is important to me the find just the right backing for a quilt. I'd need six yards for the backing of the asterisk quilt, and the more I thought about it, the more I felt it really WAS the right fabric, so I searched online and found it. It is on order.

By the time my readers in the US are reading this, I'll be in the studio cutting up those yellows and greens I showed you the other day, but I must warn you, I will have a knockout quilt to show you (not made by me) and I will interrupt my posts about the green and yellow quilt when the story is ready.

I PROMISE it will blow you away. I love it when my students take what I teach them and make something of their own with it. Ronda made a bird quilt, quite unlike any bird quilt I have ever seen. YOU WON'T WANT TO MISS IT!!


Oh Rebeca, THAT was a tease (aka lead in...)

Thursday, June 25, 2020

The Stash Gets Organized

I went into the studio yesterday morning and shuffled some fabric around.

Of course, you have to figure out what you're going to do before you do it, but fortunately, I had that part already figured out.

I wanted the top shelf to be white or light fabrics. I store my WOWs together, then whites with colored patterns, then creams and black or gray, then creams with colors and then black on white. I didn't get it done before I had to go to work, but that was fine.

After work, I went in there and finished the top shelf and then organized the browns on the bottom.

(Am I crazy or is the photo quality of the new blogger terrible? I have noticed that if you click the pictures to open them up separately, the photo is in crisp, clear focus, but when you look at it normally, it's lousy. Have I got rocks in my head?)

So this is it finished. It looks good. I adjusted the height of two of the shelves to make it more functional.

I have some fabric I need to iron and put away.

And I have some fabric I have decide if I want to keep or where it should go. I have a lot of pieces that are too small, and I found a lot of stuff I really don't care for. That stuff will go.

And the solution for the door has arrived. I'll install it tomorrow. It's an over the window enclosed mini blind. What started as a fourteen dollar fix has escalated. I'm pretty sure I'm going to like it a lot better.

Wednesday, June 24, 2020

One Shelf

I've started working on organizing the stash. I took the fabrics off the shelf and sorted them, then put them back.


I also had some stuff to iron, so I've ironed it and stuck it on the shelf where it belongs.

One shelf down, four more to go!

Wednesday, June 17, 2020

Curtains! Bins! Floors! WFH! Oh My!

I think I have two curtains in my whole house, and one of them covers the door in the studio. I don't need folks peeking into my house, so I put a curtain there.

Those red things are tomato pincushions. The fabric is appropriate, except when I take a picture of anything on my design wall the curtain is distracting, so I have to crop it out. I thought I would make a curtain that was light, creamy and would disappear. I actually did some shopping online, but never got very far. 

In my cleaning I found this, a curtain I had used in the last place I lived. I thought it might work, so I hung it up, and OMG I thought it was the ugliest, plainest, most boring thing I had ever seen. So I took it down and looked over at my stash. CLEARLY I didn't want beige or cream, but I also didn't want anything really really busy.

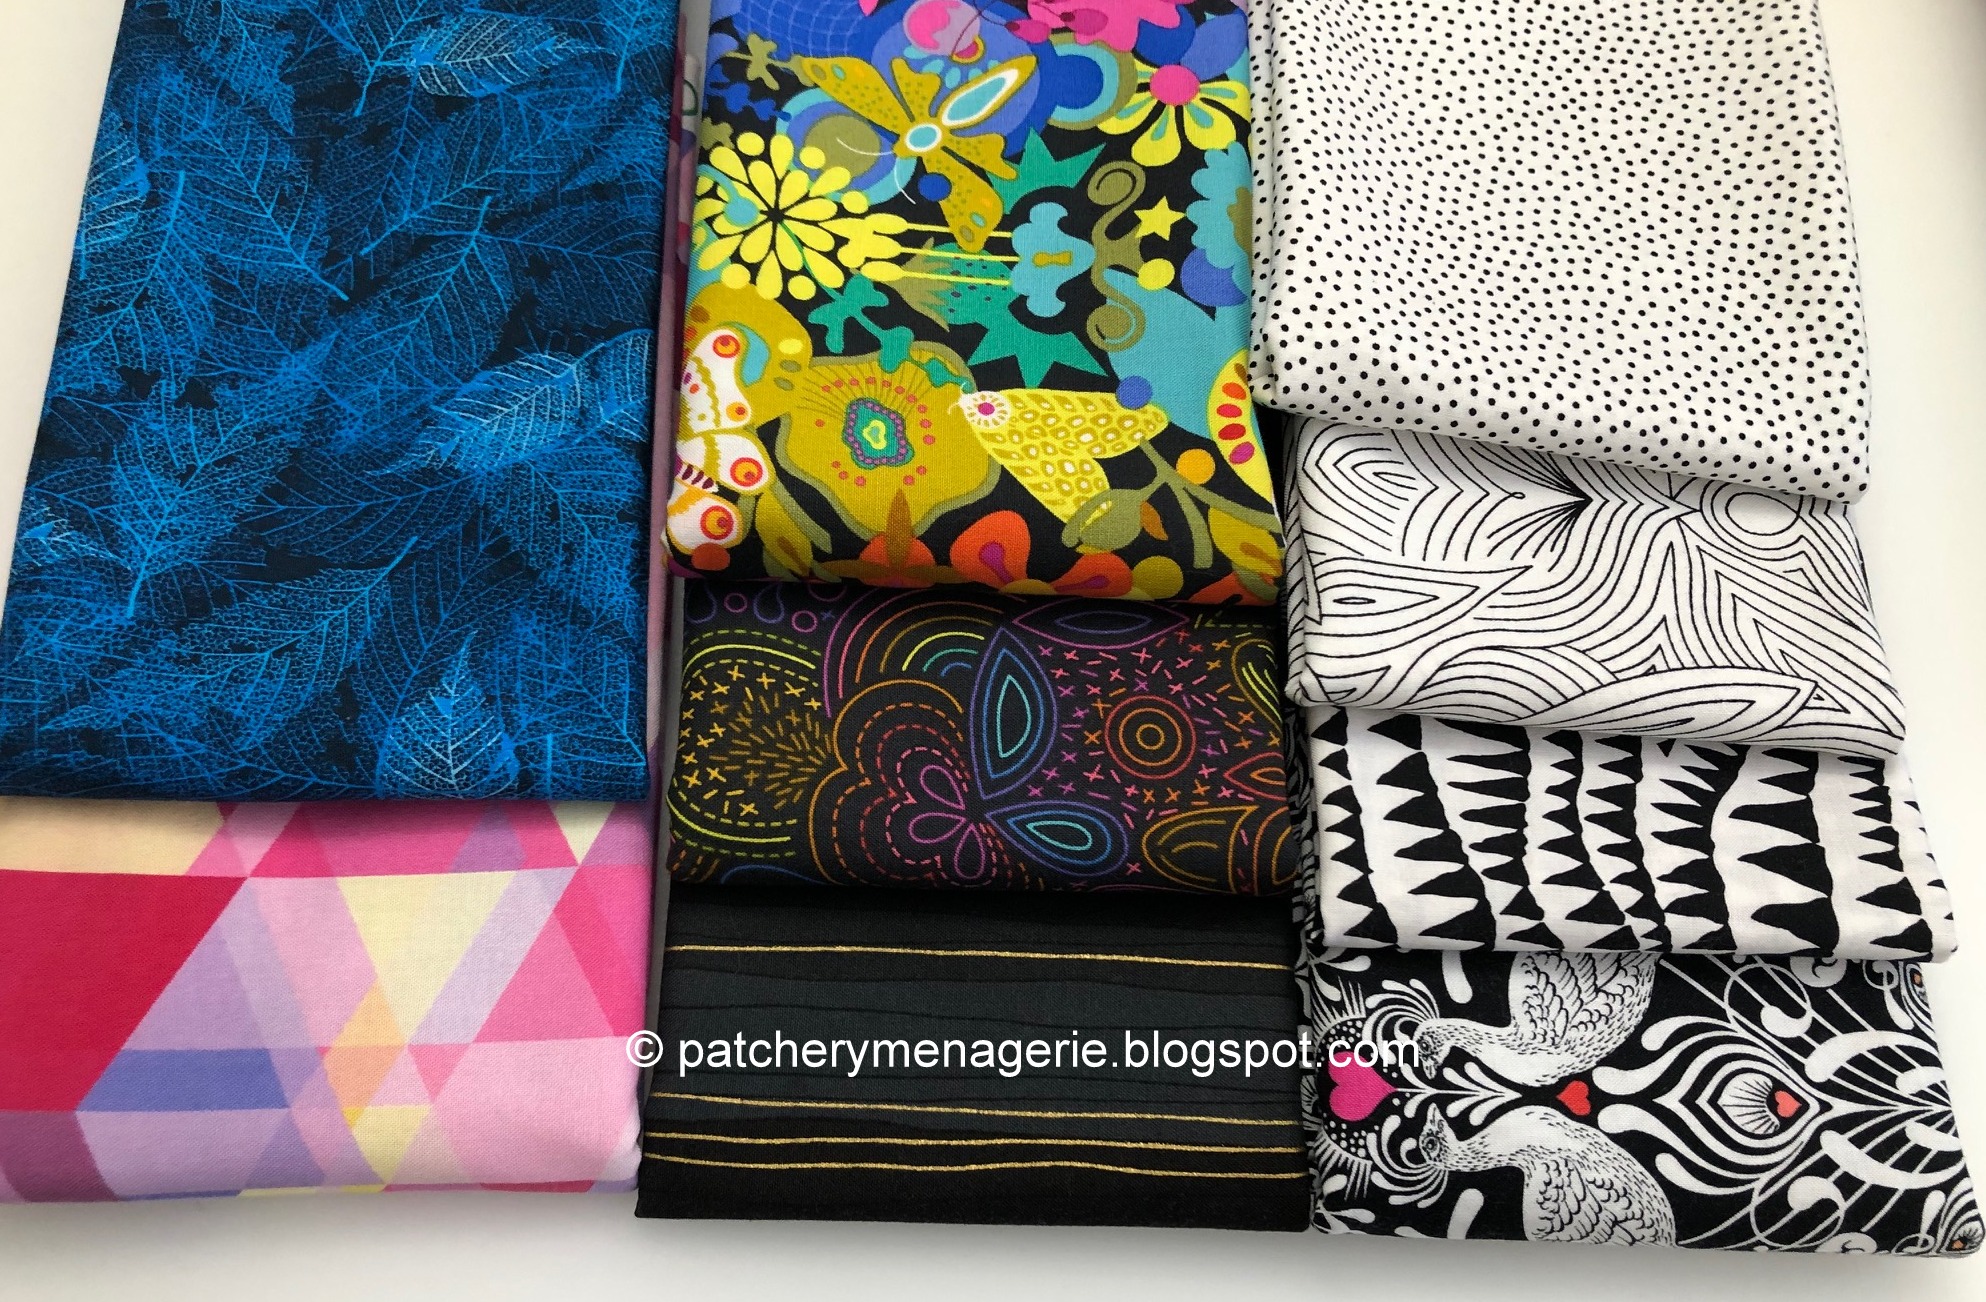
This is part of a line of fabric I fell in love with, and bought lots of. This is why I generally do not buy fabric I fall in love with. Because I never cut into it and it ends up being a waste of money. I might have had some vague plans for this but they never came to fruition. I think this will make a perfect curtain for the door. It will give me some privacy and it isn't too busy.  Over the next few days or so, I will make the curtain. You know, eventually.


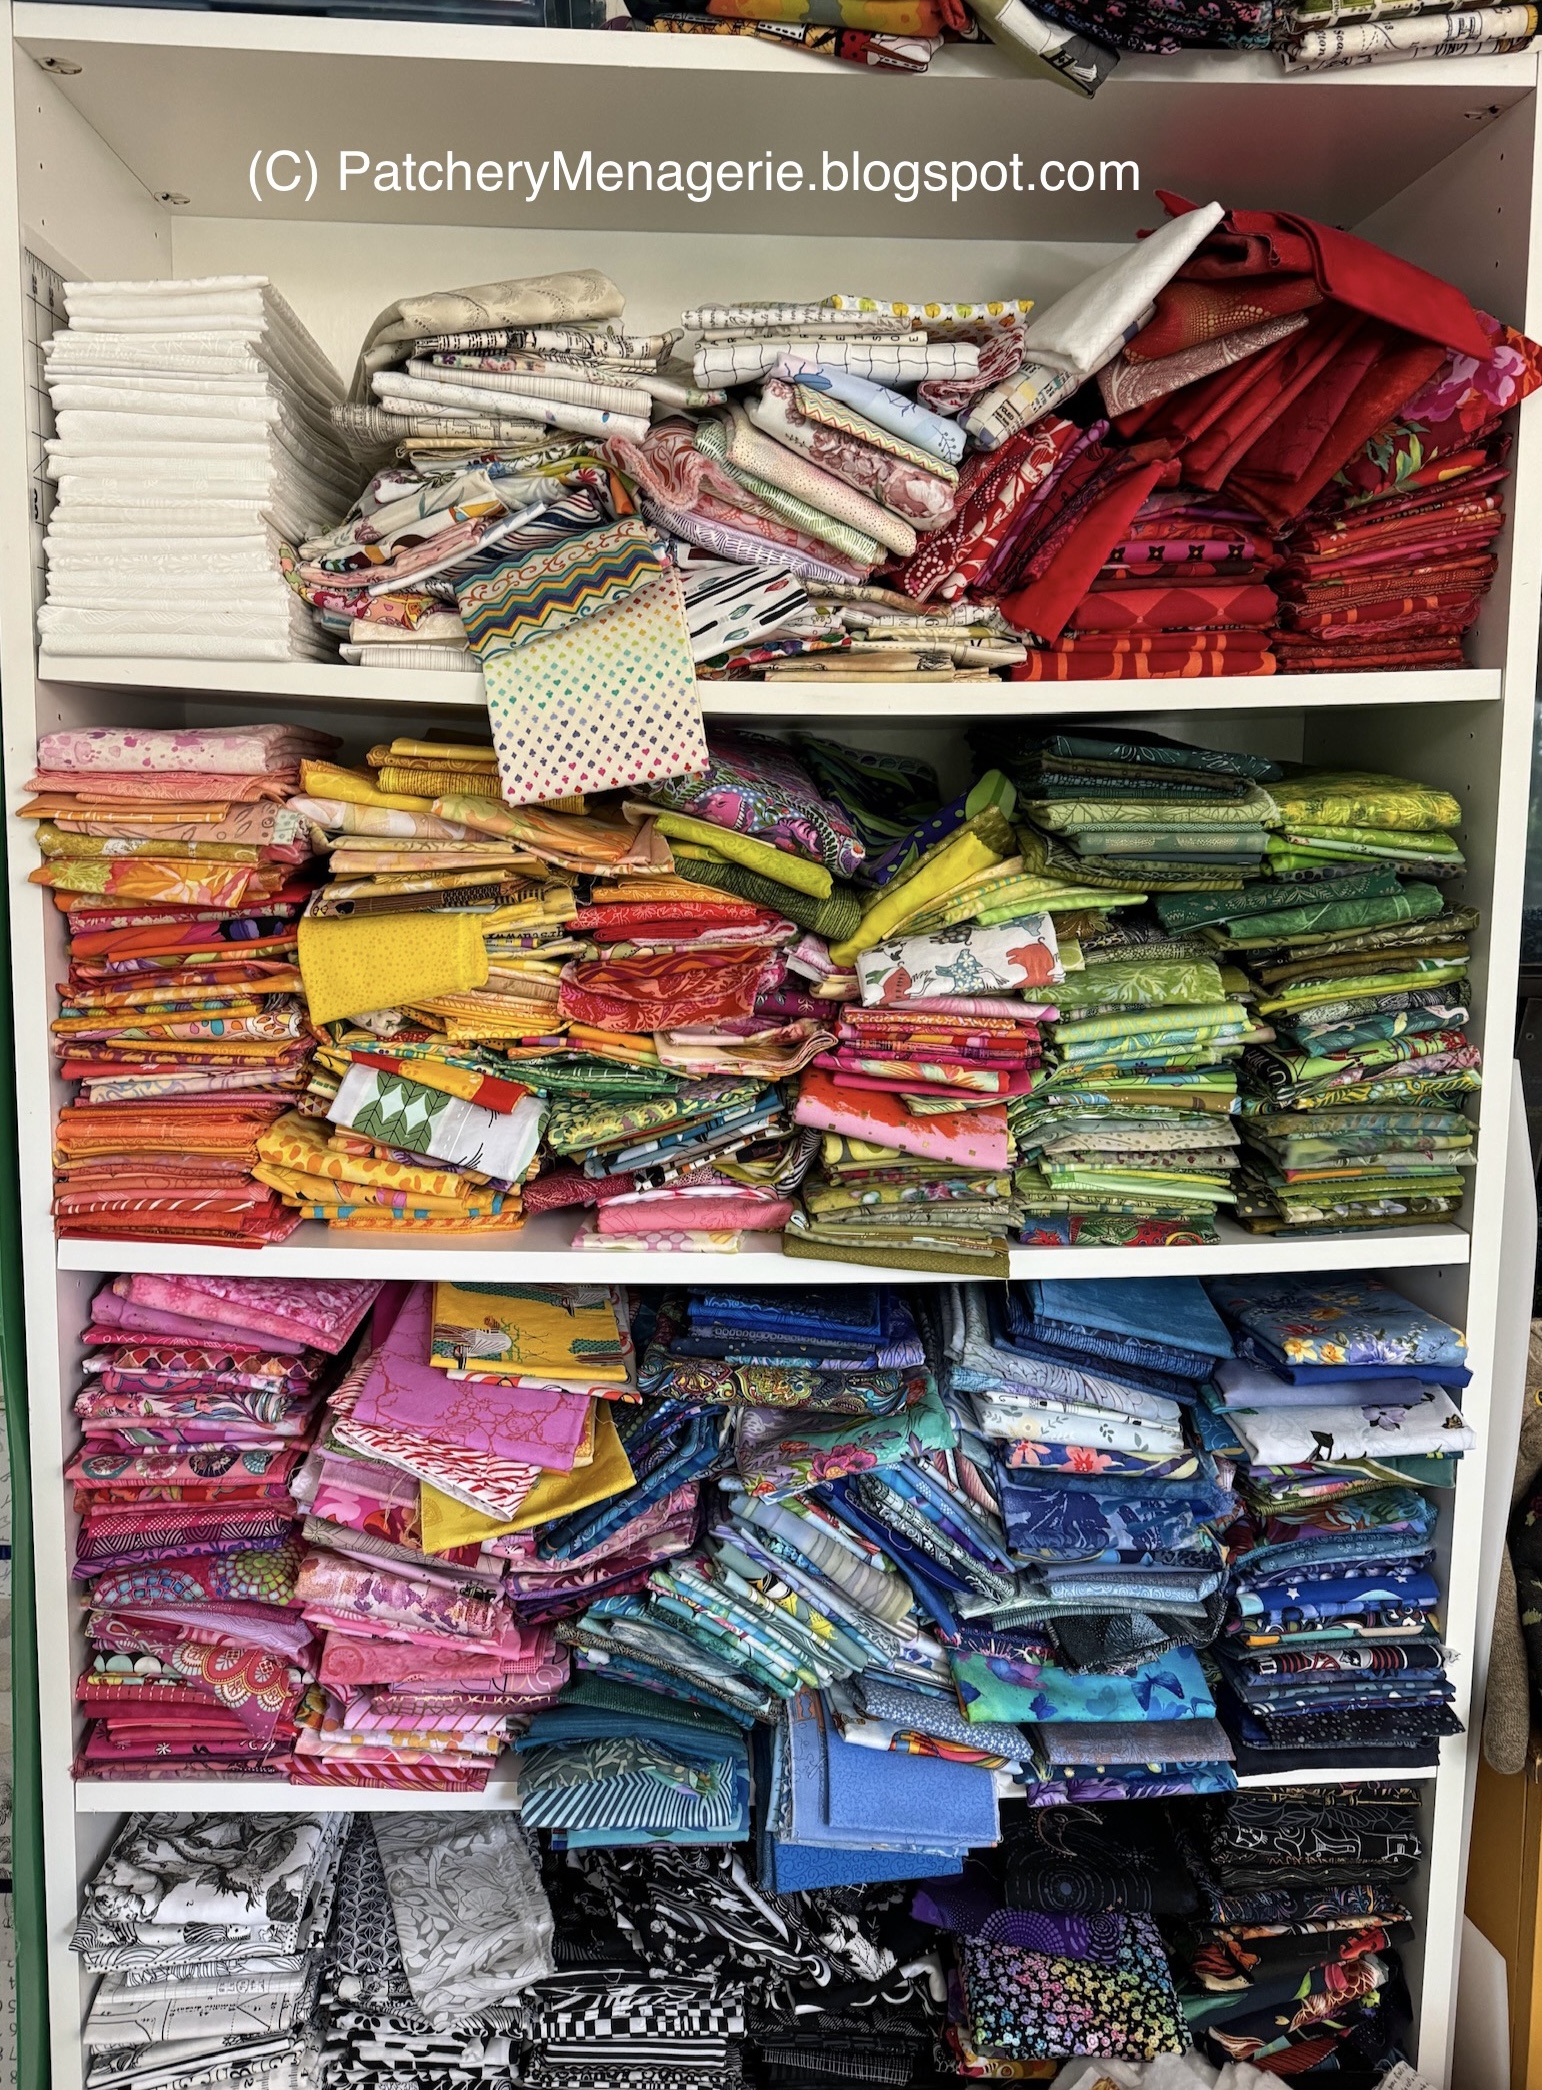
In yesterday's post, you may have noticed that the floor in front of the fabric bookshelf was clear of piles of fabric.

That is because I made an Executive Decision. I decided that it would take me WAY TOO LONG to sort through all that stuff and that I would lose my mind and my patience before I got to the end of it. Most of it is too big for the scrap bins, and too small to fold properly and store in the shelves above.

The bin on the top is full of all the leftover striped triangles from the Zebra quilts, along with all the scraps and strips from making them. The bin in the bottom is full of all the bits that were lying on the floor and cluttering up my cutting table. Now that it has been confined to one bin, I can sit down some day and sort through it and decide if it is worth keeping or not.

The big bin on the top of the bookshelf is all the leftover backing fabric from the quilts I have had quilted. (Yes, I am well aware that is not the best place for it, but storage is at a premium in this house, so this is where it will stay.) That stuff is long pieces of odd sizes that are hard to fold. There's all kinds of good stuff up there.


I got home last night and washed the last two windows, and the shelf, and then cleared the room of everything I could. I even moved the kitty condo. I got everything up off the floor, and let the Roomba (the REAL Roomba) do its thing. Then I put everything back.

NOW, it's clean. I have some backing fabrics I have to iron and get ready for their quilts. I have some other fabric that was draped over an armchair in my living room that needs to get ironed and put away properly. I have to organize the fabric in the bookshelf stash. I have a few other smallish things to do, but now I have room to do them and I won't feel angry or irritated every time I walk into the studio.

In other words, I can relax. I will give you the full tour tomorrow.

Thank you JustGail for complimenting me on showing my messy studio. Except I didn't. I did a lot of picking up and putting away before I took that before picture. It was much worse, and I was very embarrassed.

But I just had to prioritize. I had had readers begging for the Zebra tutorial, and I had some nagging issues I had to resolve before I could write it.

I can count on the fingers of one hand the number of negative reviews my tutes have received, and those are mostly because they did not read the description that said "these are not paper pieced." It's very important to me that whoever buys one of my tutes has all the information they need to make whatever I am teaching successfully. It takes a TREMENDOUS amount of work, and I had to keep figuring out how to get those great big striped triangles to fit together perfectly no matter who made them. So it was work on figuring that out, and the hell with the way the studio looked. Now that the studio is clean I can move on.

Note I did not say "back to normal." "Normal" for my studio would be somewhat messy, indicating creative work is being done.


One final note. I have been WFH - working from home - since mid March. I learned today I will be continuing to do so for at least another couple of months. In the CEO's words to me in an email I received a few hours ago "...we are being super careful and cautious about looking at everyone individually - health risk wise, extended family situation, particular role you are playing - and creating very tailored solutions on how we run the business and attempt to keep everyone safe. Sounds simple, but clearly not easy. But well worth it, it is the only way to do it."

And folks ask me why I have stayed with this company more than 30 years.


Tuesday, June 16, 2020

Little Things

You are all pretty funny. I'm pretty sure this isn't the first time Megan has invited me to Australia to help her clean and organize her studio. I keep telling her, "Send me an airplane ticket and I'll go!"

Wanda, the big sliding glass windows are a cinch to clean if you do it the way the professionals do - with a squeegee! But seriously, I try to wash all the windows in the house every other year and this was the year. I've already got another side of the house done, and I am working my way around.

Polly, the CD's are in a big bin on a chair in my living room. I'll figure out what to do with them when I have the energy. I'm pretty sure most of them are already in my iTunes library, but I do want to check to be sure.


Cherie, there are, in fact, TWO Traveling Millies. Tracey made the first one (with roses, reclining in this photo) and mailed it to my house before Violette's christening. Alas, it arrived after I left, and  while I was there, Tracey and I made the second one. One is stuffed a little firmer, so she sits up and is better when posed for photos, but each one has traveled across the country a few times.


In the 12 years I've had them, few people have noticed there are two of them. Of course YOU have met Miss Paisley Millie! (Miss Rose Millie traveled to California for my son's wedding.) Tracey also made the Monty sock kitty. Lucky guy!

An aside... When I spoke to Quintessential Quilts in 2013, a couple in the audience asked if they could have a picture with Miss Millie. And they didn't mean ME! The world is indeed a funny place.


The other night I managed to shove all the folded fabric somewhere on the bookshelf, but when I went in there the next morning, it made me a little angry.

After about ten minutes (while I drank my smoothie and ate my toast), I had moved the cream and white fabrics to the top shelf, and started moving the yellows and oranges together.

A few more minutes at lunchtime helped get the blues all in one spot.

After work I got the other colors in their spots. Now, this is by no means organized. I will stack the fabrics better so I can move them around without knocking stuff over.  Of course, the last time I did this I got started on the Zebra bender, and it's been a little over two years... You probably noticed the floor is a lot cleaner.

I'll get to that tomorrow.