Tuesday, September 29, 2020

A Man, a Plan, a Canal... Panama

On the design wall.
.


Translated into fabric. I -try- to get the edges on the straight of the grain, but sometimes I just get tired.

Four panels trimmed. The yellow and green are sewn together. The two green asterisks should have been farther apart, but they are OK. The overall "feeling" of how they float together is more important than following my guide to a "T."
.

What I have sewn into panels is colored on my guide.

What it all looks like on the design wall. There is one thing I don't like and will change later.


*Gail, that seam you saw on the edge of that panel is there because I tend to leave these bigger than I need them. It allows me a bit more flexibility when I start sewing them together. It's always better to have too much fabric than too little. (Ask me how I know this.) I will do the final trimming down to size when I start sewing them all together.

*Mickey, I live alone. If the house is clean, the dishes are done, the bills are paid and Millie is fed, the litter box is clean and the laundry is done, then I head into the studio and sew. Working in the studio is what I love to do best, so you seeing me "work fast" is really me using all the available time I have to do what I love.

* "A man..." is a pangram palindrome (Thanks, abelian. I really did know that but it slipped my mind). It reads the same backwards and forwards. It also loosely describes my process, and so I thought it was a fitting title to today's post.


Monday, September 28, 2020

Straight...


I hate having edges of my blocks or panels on the bias, so when I have to add fabric to these blocks, I really try to make sure my edges are on the straight of the grain. So complicated, and fussy though this is, I added this bit of fabric so the bottom edge is on the straight of the grain.

On this block, all four sides are on the straight of the grain.

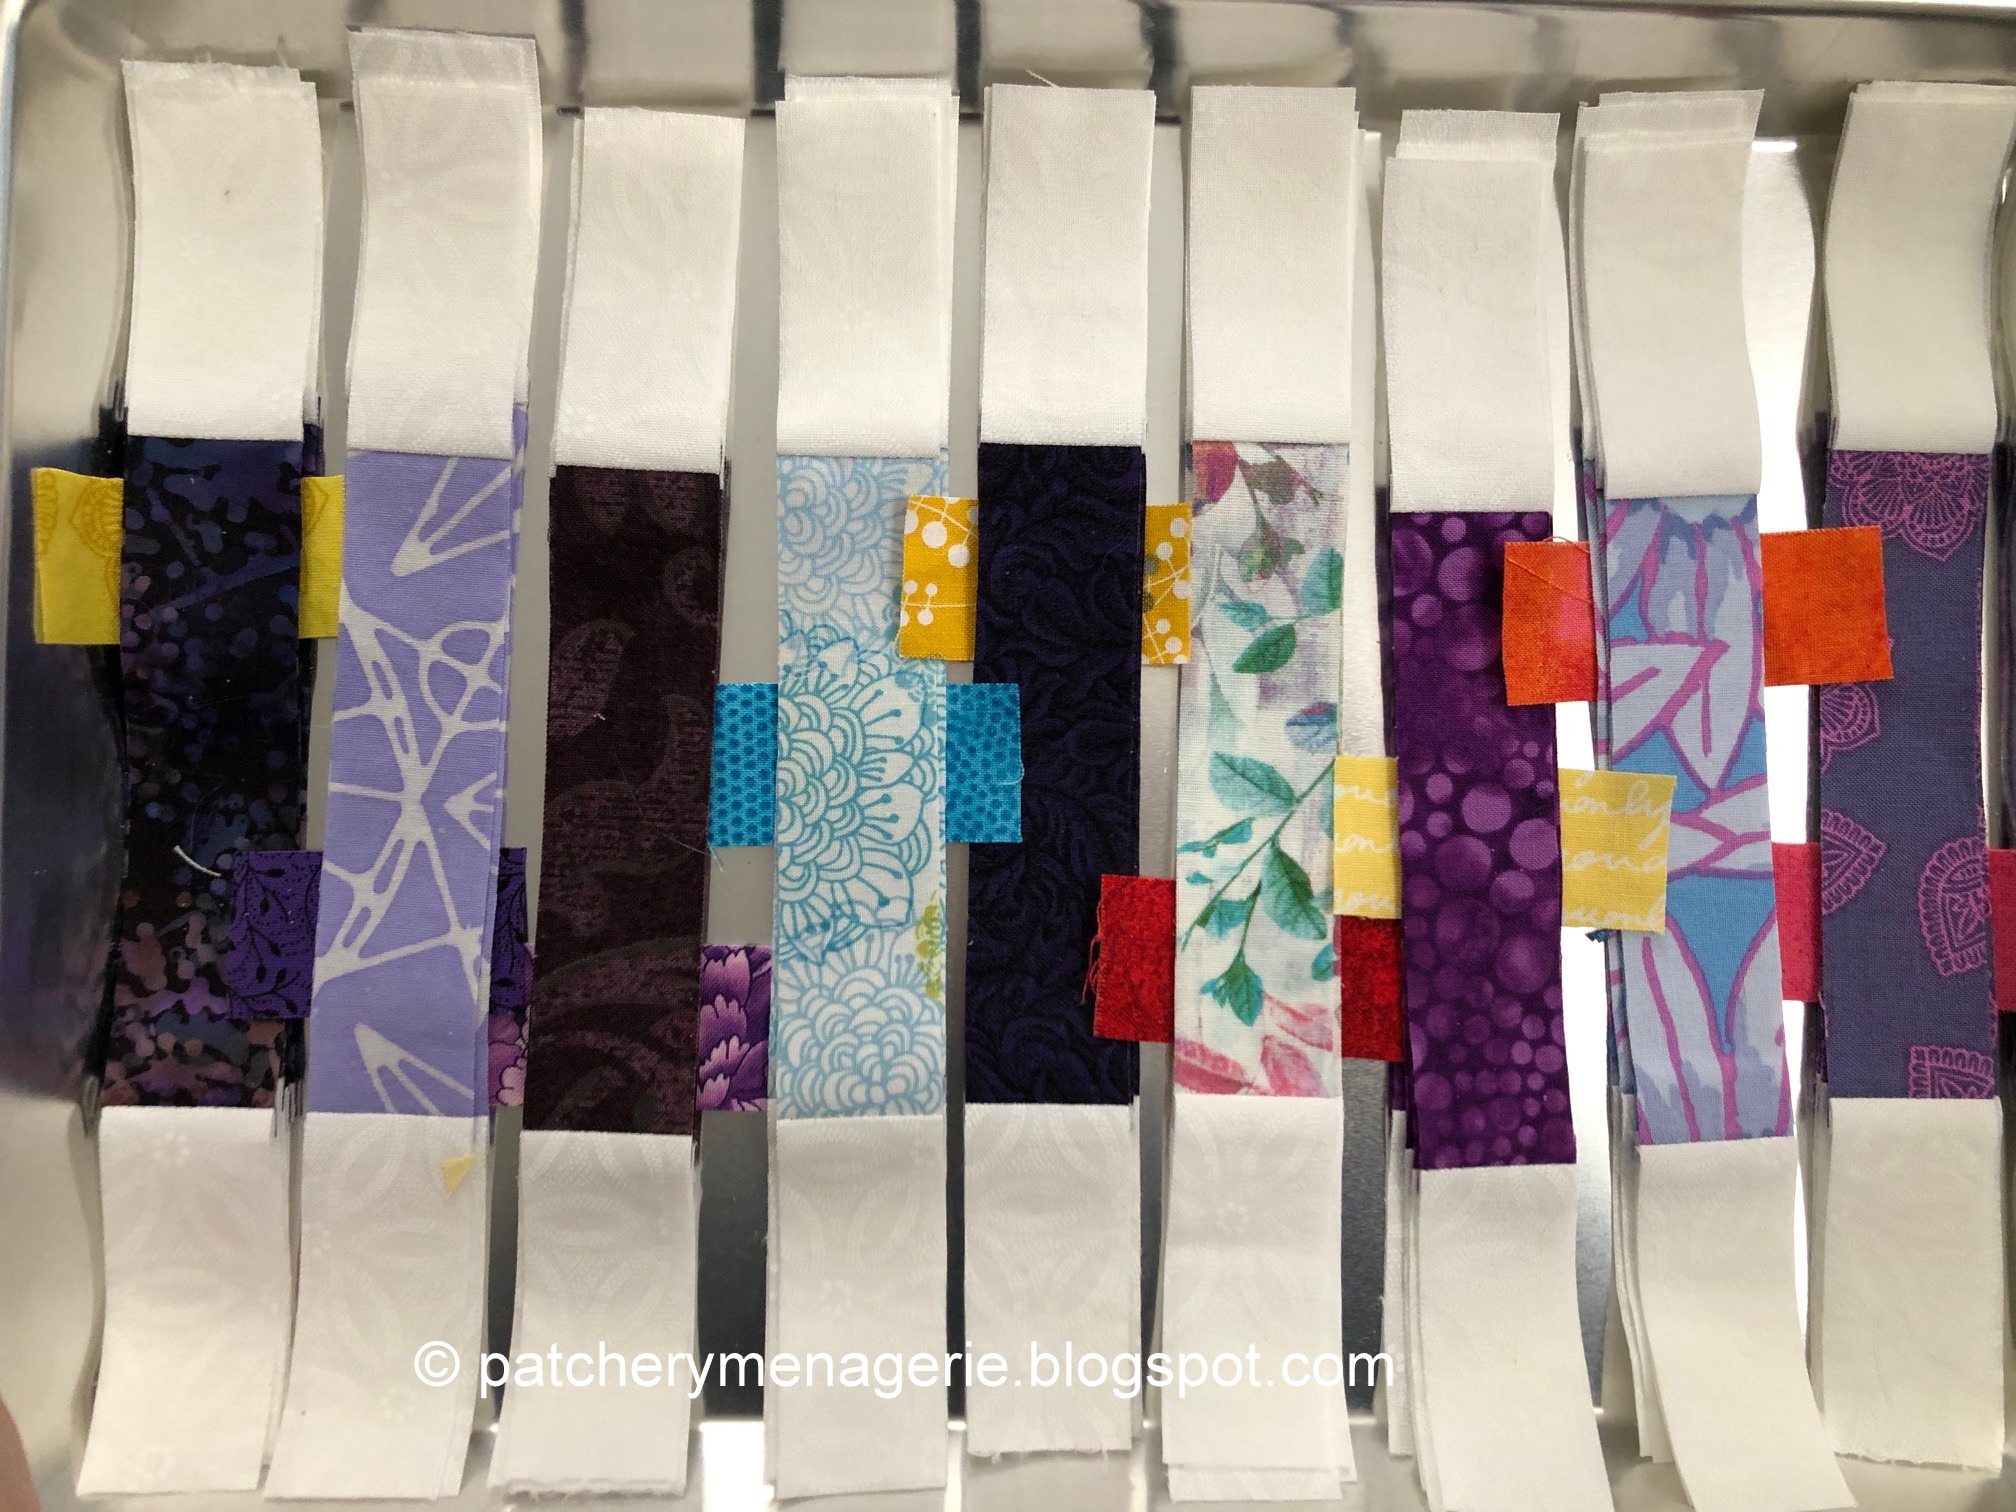
This is what I have so far. This is not easy. This is Hard.

This is the purplish block in my drawing above. Putting these five together took more than six hours, and I ripped seams apart more than once. It is NOT exactly what is shown in my sketch above, but it's close enough, and still conveys the feeling I wanted to convey, so it's OK.

Annie, in her comment yesterday, wanted to look at "a tutorial on how you do [it.]"

When you have completely internalized how to do a task, you do it without thinking. So to ask me to explain this I really do have to stop and think. Remember I went to Art School and I know how to draw. I can literally draw anything I want and have it look real. Knowing how to draw not only means learning to see, but it means learning how to measure with your eyes. I don't translate what I see in things like inches, but I can translate the shapes I see on my design wall (or in my sketch above) and reproduce them in the fabric in front of me. What I am really reproducing here is the "negative space," or the shape of the spaces between the things (asterisks). 

In the sketch above, what's colored is what I have sewn together. See the tall thin green shape up there?

Using that part of the design, this is what the end result looks like. I had to add something to the bottom of the bottom asterisk, so I did that. Then I had to figure out the position of the top asterisk, and add fabric to the sides of that. Then I had to figure out the angle of the top asterisk, which is slightly tilted. Then I had to figure out how much space there was between the two. Then I sewed them together. Then I had to add space at the top. I trimmed down the extra space (making sure I left a seam allowance all the way around).

That is "all" there is to it. And yes, I am well aware this is well beyond the skill of even the most advanced quilter. But you must remember I have been drawing and measuring with my eyes, for over 50 years. So while this is certainly hard, and tricky, and complicated, and frustrating, for me it is not intimidating.

My friend Julie said once that "You persist with an idea well beyond the time when most of us would have run screaming from the room." I'm persistent too. I have set myself up with this challenge, and I will solve it.

Now IF I have done it right, then each finished panel will look like the appropriate section in my sketch above. There are 22 sections in the quilt. If I sew each of them as accurately as I can, then my finished quilt will so closely resemble my original layout that nobody will know the difference, and the feeling of asterisks floating away on the wind will be achieved.

Sunday, September 27, 2020

Progress


It was a gorgeous day on Saturday, so I drove up to my favorite quilt shop, Quilted Threads, and bought some WOW fabrics for my Asterisk quilt.


I have sewn together all the colored areas in the drawing above. I haven't sewn them to each other yet.

This is the section in yellow from the illustration above. Even for me, this is very slow going.

Saturday, September 26, 2020

This is the Same as That

 The thing about the asterisks is...

They are symmetrical.

AND LOOK! When you rotate it a little bit it it is STILL symmetrical.  Check this out:

An asterisk where the block tilts LEFT looks exactly like...

An asterisk block that tilts RIGHT.

So when you're trying to put some blocks together and you get this klunky thing in the lower left, 


You just rotate that sucker so it'll be easier to sew. 

It isn't rocket science, but it is definitely a brain twister. To somebody like me, who lives for puzzles, this is a fun nut to crack, even if the air does turn blue when I am doing it.

Here are a couple of in process pictures to show you how it's coming along.

That hole in the picture above is where a set in square will go.


Now about those comments yesterday:

Dorothy: Thank you, you are too kind.

Linda: It's just a one step at a time kind of thing. One thing at a time, one little bit. Don't worry about the rest.

JustGail: You go girl! What you said. DAMN I hate spoon feeding people who won't step up and try to figure it out for themselves (translation: THINK).

Julie: the seams look great and add interest when the quilt is in flimsy stage, but as soon as it's quilted those lines disappear. Even I can't find the three or four set in squares on the Flight of Fancy quilt, and I walk by it every day.

Mrs Goodneedle: You are so right. A very wise woman said to me once, "When it's important enough, people will find a way to do just about anything."


Here's my road map. The colored sections are done, and you can see me changing my mind as I go. There is no right or wrong, and no matter how I sew it up, nobody will know (or care) if I followed my plan exactly.


Friday, September 25, 2020

How I Will Do It

It took me four tries, and in the end I had to cut something from one page and stick it on another because I didn't want to re-do the whole thing all over again. Basically every dark line you see is a seam. There will be three set in squares. Those are the dark blocks. It looks like there are four, but I won't need the one at the top because I plan to sew it a bit differently and erasing on a photocopy doesn't work very well.

Of course the finished quilt will be a bit different. Although I have a plan for how to sew these together, when it comes time to actually SEW them I will be doing it by eye so there is bound to be some variation. Also in the photo above, seam allowances are not taken into account. On the whole I think the arrangement will shrink a bit because of it.

And yes, this is hella complicated, but working one block at a time, one section at a time (I think there are 22 sections) I will make it through.


 This is the back of the bottom left section, seen from the wrong side.

Here I have sewn three sections together. Hint: they are at the very bottom. Since I have no idea how long this is going to take, and the pictures don't show much progress, don't expect day by day updates.

One thing however. I have had a couple of complaints that I do not show EXACTLY how I put the Fight of Fancy quilt together in my bird tutorial. (I mean, really?) I have had so many questions about it though, I added the link in the header that explains how I did it. I will DEFINITELY NOT be providing instructions on how I put this thing together. 

Thursday, September 24, 2020

It!


I'll spare you the eleven other permutations this went through before it got here, but this is it. Well, it is IT before I start sewing it together. These asterisk blocks have been trimmed down to 6" squares.

When one of my students, Kerrin, saw this she texted, " That quilt looks GREAT! It looks like one of those blow away dandelions..."

And that was when I knew I had the layout right, because that is EXACTLY what I was going for.

So how am I going to sew it together, since these aren't arranged in anything like a row?

First, I modified the photo so I could see all the individual blocks. Then I will print this photo and figure out how I will group them so I can sew them into big chunks, and then sew those together. In other words, I am going to do it the same way I sewed the Flight of Fancy flimsy together. Go click that link and you will understand.

This is the back of the Life is Tweet quilt, and you can see how the process looks.

This is the upper right section of that quilt before I put it all together.


So what I am going to be doing over the next few days is extremely fiddly and fussy and complicated. Some things might not go exactly where I want them to. I am not going to cut any asterisks apart, but they may get trimmed a bit, like the bottom corner of the light pink one in the photo directly above.

Wednesday, September 23, 2020

Lifting Off


I rearranged the asterisks up on the design wall to see how they looked when they are randomly arranged. Now you might disagree, but to me this is pretty klunky.


I tried again, removing some of the asterisks, and putting more on the bottom and putting the lighter ones closer to the top to look like they are floating. But it's still not quite there.

Then I thought, well, how can I make them look like they're floating upwards if I don't show some of them "grounded." So here the bottom three rows look like they are gently swaying, and the others are sort of lifting. But it didn't really feel right.

Then I thought, well how can I make them float if I don't know where they started? So then I arranged them more or less in an organized way. Then I can make them float up in a way that might seem to make more sense.


 So I am getting closer. I made a few lovely light blue asterisks, and some pretty pinks. Many of them are in the last design wall photo.


I am now making some very dark purples and some pale ones. I'm getting closer.

This is a real pretty one!


Monday, September 21, 2020

The Garden Grows


I made some light yellow and light orange asterisks. I have added them to the design wall above.

I have been organizing my pieces in a quarter sheet pan.
 

Here is the lightest asterisk I have made so far. I have a collection of light pinks and light blues and light greens to make. Those will bring me up to about 72. After that I will make a few really dark ones, and then I will start to arrange them the way I want. Like the Selvage Fairy suggested, the Garden may need a butterfly or two and a Hummingbird may make an appearance.


Millie wasted no time in letting me know ALL quilts that come into this house belong to HER.


Oh, and the important thing today:

HAPPY BIRTHDAY JULIE!

Sunday, September 20, 2020

Goose Rocks Beach, Quilted


The Goose Rocks Beach quilt has been quilted. The quilting design is called "Undertow," which is amazingly appropriate!

I made the flimsy back in January of this year. It's a Slashed Squares quilt, and very easy to make. This one is made from scraps and fabrics from my stash. You can get the tutorial here, at my Etsy shop.

When I made the quilt I thought it was handsome, but it didn't really thrill me. But now that it has been quilted, I really like it.

I think I am going to use the brown fabric for the binding.

Saturday, September 19, 2020

More Birds in the Garden


I made ten more red asterisks and a couple of other birds decided to join the red bird in the garden. There is a hummingbird flying around too. He might visit, he might not. In the meantime, here are more red asterisks.

This is one of my favorites of the current batch.

.

I like this one too.

Yes, these are Dr Seuss characters...

This red is another left over Christmas fabric.

This is actually two different red fabrics, although it's hard to tell.

This one might not make the final cut. Too blah.

I had to make a couple asymmetrical asterisks, because I just... needed them.

This is another favorite of this batch.

I really like this one too.

I now have 54 asterisks. I know I need at least 20-30 more. I've picked out some pastel fabrics for the next batch. 

Julie thought I had named the quilt with the title of yesterday's post, A Bird in the Garden, but I remember a note a former professor of mine left when she signed a book of hers to me:


"For Lynne, who stitches for us the gardens of our imagination..."

So I think "The Gardens of Our Imagination" might be it.