Showing posts with label tutorial. Show all posts

Friday, May 11, 2018

Slashed Squares Tutorial is LIVE!


The new Slashed Squares Tutorial is LIVE, and you can find it here, in my Etsy shop. It is an instant download, so you can get started right away! Make sure you download the file after you complete your purchase. It will NOT be sent to you automagically.

I hope you all like having everything about this quilt in one place. Please let me know if you have any difficulties with it.


Wednesday, December 20, 2017

The Next Thing

I'm going to take a few days off. Christmas is coming, and I want to relax a bit and plan the next thing. There are a few things I have to do, like prepare the backings for the Holiday Quilt, the Sparkling Winkel Quilt and the Dark Majesty Quilt. Mostly I want to relax, lounge on the couch and read a few books, take it easy. Year End is always busy at work, and I don't want to stress myself out. I also bought a new laptop since my current one is running out of hard drive space, and getting slower and slower. I have to set up the new one, and I don't want it to be "work." I want to take my time about it.

I will be making another Scrap Slab Triangle quilt, and this time I want to play a bit more with the black and white side triangles. I want them to do a bit more work instead of sinking into the background. We'll see how that goes. I won't get started on that until January.

I also want to do some thinking.

I'm thinking about the next tutorial. Or I should say tutorials, plural, because what I have in mind is going to be rather complicated.


I'm thinking of doing a series of tutorials about free pieced letters, how I make them, and how I make them unique. Sure I've posted LOTS of pictures about them over the years, but this will be everything I have to say about them in one place.


I want to talk about not only how to make the letters, but how to make them special and give them some pizzazz. At some point I'll talk about getting them the same size and lining them up.


I also want to talk about "kerning" which is the space between them,


and all the other little things nobody tells you that can make all the difference in the world, like when to go cuckoo, like the second A in the word SALAD, above.

I can already tell you it will not be ONE tutorial. Right now I see at least five - because to me there are five groups of letters - and they are grouped based on their construction. I'll take one group at a time. There's a lot to say, and I can't fit all the things I can do with 26 upper case letters and the 12 or 15 or so lower case letters (the ones that aren't merely smaller version of their upper case relatives) in 20 MB of space, which is the size limit of file that can be uploaded to Etsy. So that's rolling around in my head.

I won't start writing the tutes until I know more about what I want to say, so don't you all start asking me questions about them just yet. Except that, yes, at least five, probably as many as 8 tutorials, and they will be sold separately.

I'm also thinking about getting you all taking pictures of things that grab your attention and using those pictures as colors stories or inspiration for your quilts. I'm THINKING about that because I have to figure out how to EXPLAIN something to you that I do without even being aware of it.

And EVERYBODY wants me to write a tutorial about using COLOR and dammit, if I can figure out a way to do it that makes it easy then I will do it, but really I think knowing how to use the fabric you already own is a better use of your time, and I already did that.


And for those of you visiting from Millie's blog because she is officially semi-retired from blogging, and want to find out how she is doing, she is just fine, as you can see.


Saturday, April 8, 2017

Backing for Fruit Loops

I've been staring at this on the floor of my sewing studio for three weeks:

It's the backing fabrics I chose for the Fruit Loops quilt. It's been lying there for that long partly because I wasn't quite sure what to do with it, and partly because I've been busy.

Last night I got home from work and after dinner I decided enough was enough. I cut the pieces crosswise into 18" lengths, then paired them up, and sewed them together. Then I rearranged them and sewed those together.

Voila! The backing of Fruit Loops is compete.

Now it's time to send them off to be quilted.

And this is also a reminder that the Scrap Slab Triangle Quilts tutorial is live and for sale in my Etsy shop here.

Thursday, April 6, 2017

Scrap Slab Tutorial!

It's finished.

I'm happy.

I've already printed a copy for myself and had it bound.

It's 48 pages long and includes everything you need to know to make quilts using scraps and the Tri-Recs ruler set.

It's an instant download and you can get it now!

You can get it here, at my shop on Etsy: Lynne's Scrap Slab Triangle Quilts.

Tuesday, March 28, 2017

I Love My Readers

Oh dear Readers, how do I love thee?

I love you LOTS, let me tell you! You never let me down. I wanted your answers and you were wonderful enough to take the time to share them. Thank you, thank you, thank you! I've got a lot to say about them and it may be a bit disjointed, so bear with me.

I think the best answer is to set up a page on this blog and devote it to things like "Straight of the grain - why you need to pay attention," "Oh those damned seams in the back!" "Positive and Negative" "What the selvage is (and isn't) good for." Then I can simply refer readers of the tutorials to those pages, which frees me from having to repeat myself.

My niece, who, one-handed, learned to make free pieced letters faster than anybody I've ever met.

I don't like the idea of classifying my tutorials as "Beginner," or "Intermediate" or anything. I feel that if students think something is "too hard" they'll shy away from doing it. So I don't like to prejudice them. When anything you want to do or learn becomes important enough, you'll find a way to do it, come hell or high water. I WANT my students to take giant leaps into the unknown, and that takes a certain amount of courage, or just a lot of faith.

Seriously, it's not rocket science. It's not brain surgery. It's taking two pieces of fabric, slapping them together and then sewing a straight line to join them. This is not life threatening stuff. So you might waste twenty bucks of fabric. Big whoop. What is that, fancy coffee for a week?  You should go read this post, titled "If He Can Do It..."

You all know I believe in what I call "Quilting Without a Net." I would love to get rid of patterns and templates and anything paper pieced. I love to see students take risks, because I've seen how when they take them wonderful things happen. If you've been in my class you've heard me say, "Look, I'm pretty sure you all got yourselves dressed this morning without any help. You can make successful color choices on your own."

Anybody who's ever been in one of my classes knows I'm a "take-no-prisoners" kind of teacher. I will pester and cajole a student any way I can to get them to let loose and put those "little gray cells" to work. And I don't molly-coddle my students either. In my class, you WORK.

I often ask, at the beginning of a class, "Do you want me to prevent you from making a mistake, or do you want me to let you fail and learn on your own?" They always ask me to prevent them, and they claim it's due to the time restraint of a six hour class. They all know if they screw up on their own they will DEFINITELY learn that lesson, but hey, nobody wants to fail, at least in public!


The back of Snow Day, once I finally figured out how to press those seams.
 I didn't say so on the blog, but the slab triangles I made in the first two Scrap Slab Triangle quilts (Fruit Loops & Treasure Trove) had way too many pieces in them and pressing the rows of blocks was a royal pain in the butt, and frustrated the heck out of me. Treasure Trove was particularly painful, with those points matching. Even Snow Day gave me trouble, until I figured out I should press the seams between the blocks open, and we all know how much I like THAT. (Answer = Not.)

Some part of me thinks anybody who wants painstakingly detailed instructions just wants a crutch. My eyes just cross and glaze over, but then, I've read a LOT of badly written instructions.

OH! And whoever said to one commenter, "Are you a slow learner?," deserves to be shot, in my book. What a thoughtless thing to say to a student. Everybody learns differently and it's a [good] teacher's job to be able to explain it so every student can understand, even if the teacher has to explain the same thing twenty different ways. It's the TEACHER'S job to teach, dammit.

I've read that if a middle-aged woman had to learn to walk she'd never do it, that the fear is too paralyzing, and I think that sounds about right. What the hell is it that happens to us as we get older? Fear of failure? I see it all the time. Over-thinking? Damn, I see that all the time too. Sew the seam already! The faster you make your first ten thousand mistakes the faster you learn your first ten thousand things.


And ask any damn question you want, no matter what the price, no matter how silly or fearful you feel about it. When you ask questions, I learn something. I'll learn it, then I'll share it.

Ladies, and Gentlemen, Put that pattern down. Toss out that kit. Get rid of all those foundation papers. I'm here to tell you that you can make spectacular quilts, and I'm here to show you how.

Have I told you all lately how much I love you?


Monday, March 27, 2017

Now I Have Some Questions

 OK, everybody, LISTEN UP!   One of my esteemed proofreaders has asked me some very pointed questions about what quilters really know, and how much should I explain, and I need some answers from YOU!  Yup, I really do, because I don't feel the need to explain Every. Little. Thing. That most quilters know just from making quilts.

So answer these four questions for me, please. If I am wrong and you really DON'T KNOW, then I get to eat a whole lot of crow and I have to go back to the drawing board and completely, and fully explain the following concepts:

1. So if I show you this picture and I mention that all fabrics in this photo are the same color, do you believe me, or do you think I am crazy?


2. If I tell you to be careful about making slabs (that are going to be cut up later) with too many small pieces because you'll have to deal with a lot of seams, do you know why? Or do I have to explain it in painstaking detail?

3. How much to I have to explain the "straight of the grain?" Do you understand when I tell you that all these triangles, and the slab from which they have been cut are all made from strips and pieces that have been cut on the grain? (Actually the base of the triangles are all on the straight of the grain. The other two sides are on the bias.)

 
4. Do you know what "Negative Space" is? And do you understand that in THIS example, it's the black, because I've flipped the values here and the white diamonds are the "thing?"

Look, the tutorial is pretty good, and these questions are things that beginning quilters may not fully understand, but my tute isn't written for rank beginners. I'm assuming that the quilters who read my tutorial aren't hung up with perfectly 'matchy matchy' fabrics or colors; know what the straight of the grain is, and to handle triangles cut from fabric carefully so they don't get distorted. I don't think I need to explain (much) about why you should cut away the selvage before you make blocks and that you know that having lots of seams in a block means it's going to be a bitch to press so it lies flat. I assume you know the difference between Positive space and Negative space (Hint: Positive space is the thing. Negative space is the space around the thing.)

That's it.

And yeah, I guess you could say I've got my back up.

Thanks!

Sunday, March 26, 2017

Scrab Slab Tute First Draft


Wow! I've finished the first draft of the new tutorial about the scrap slab quilts. It looks good to me but now it's out to my talented team of proofreaders for their review. They love to skewer me over every comma, phrase and photograph. They'll question my thought process and my sequencing. I'll change stuff because they've made good points, and I resist when I don't agree. Believe it or not, it's a lot of fun and a real learning experience for me.

When they're done with it I'll polish it up, publish it as a PDF file and put it up for sale on my Etsy shop. It'll be a downloadable file like the others. I'll let you know when it's ready.


Friday, March 24, 2017

Got Questions?

When I made the scrap slabs for my scrap triangle quilts, I didn't make enormous slabs and then cut them down. It didn't take me long to figure out that I only needed to make them taller than the triangle. But sometimes I'd make a slab it would be too small. 

So I cut some triangle shapes out of scrap fabric (the light fabric here) and moved them around on the slab to figure out the most efficient way to cut my triangles. In the example above, it looks like I can't get two full triangles without adding something to one edge.  But a little creative thinking proved me wrong.


I just flipped the triangles, and was able to cut two of them out of this slab as it was.

That's two great hints. What else do you want to know? You've all watched me make these quilts since last fall. I know what I think I want to say, but my readers always have really great questions I would never have thought to ask.

So here's your chance. What do you want to know? If you could ask me a question about how I make my quilts, what would it be? Leave it in the comments and I'll try to answer.

Thanks and have a nice weekend.

Monday, January 30, 2017

Making Your Fabric Work For You

My new tutorial, "Making Your Fabric Work For You" is almost ready. It should be ready later tonight or tomorrow. In this tutorial I pinpoint the ways I use fabrics to do the "heavy lifting" in my quilts. Fabrics can enhance shapes and designs and reinforce ideas  in your quilts. Understanding the many ways fabrics can be used can help you get the most out of your fabric purchases and make your quilts more interesting and fun.


 Here's another sneak peek from the Tutorial

And oh.

I am on Instagram as quiltinglynne.  I haven't posted much, but that will change. Follow me there and keep up with what I am doing.

Saturday, July 16, 2016

Pages from the Birds Tutorial


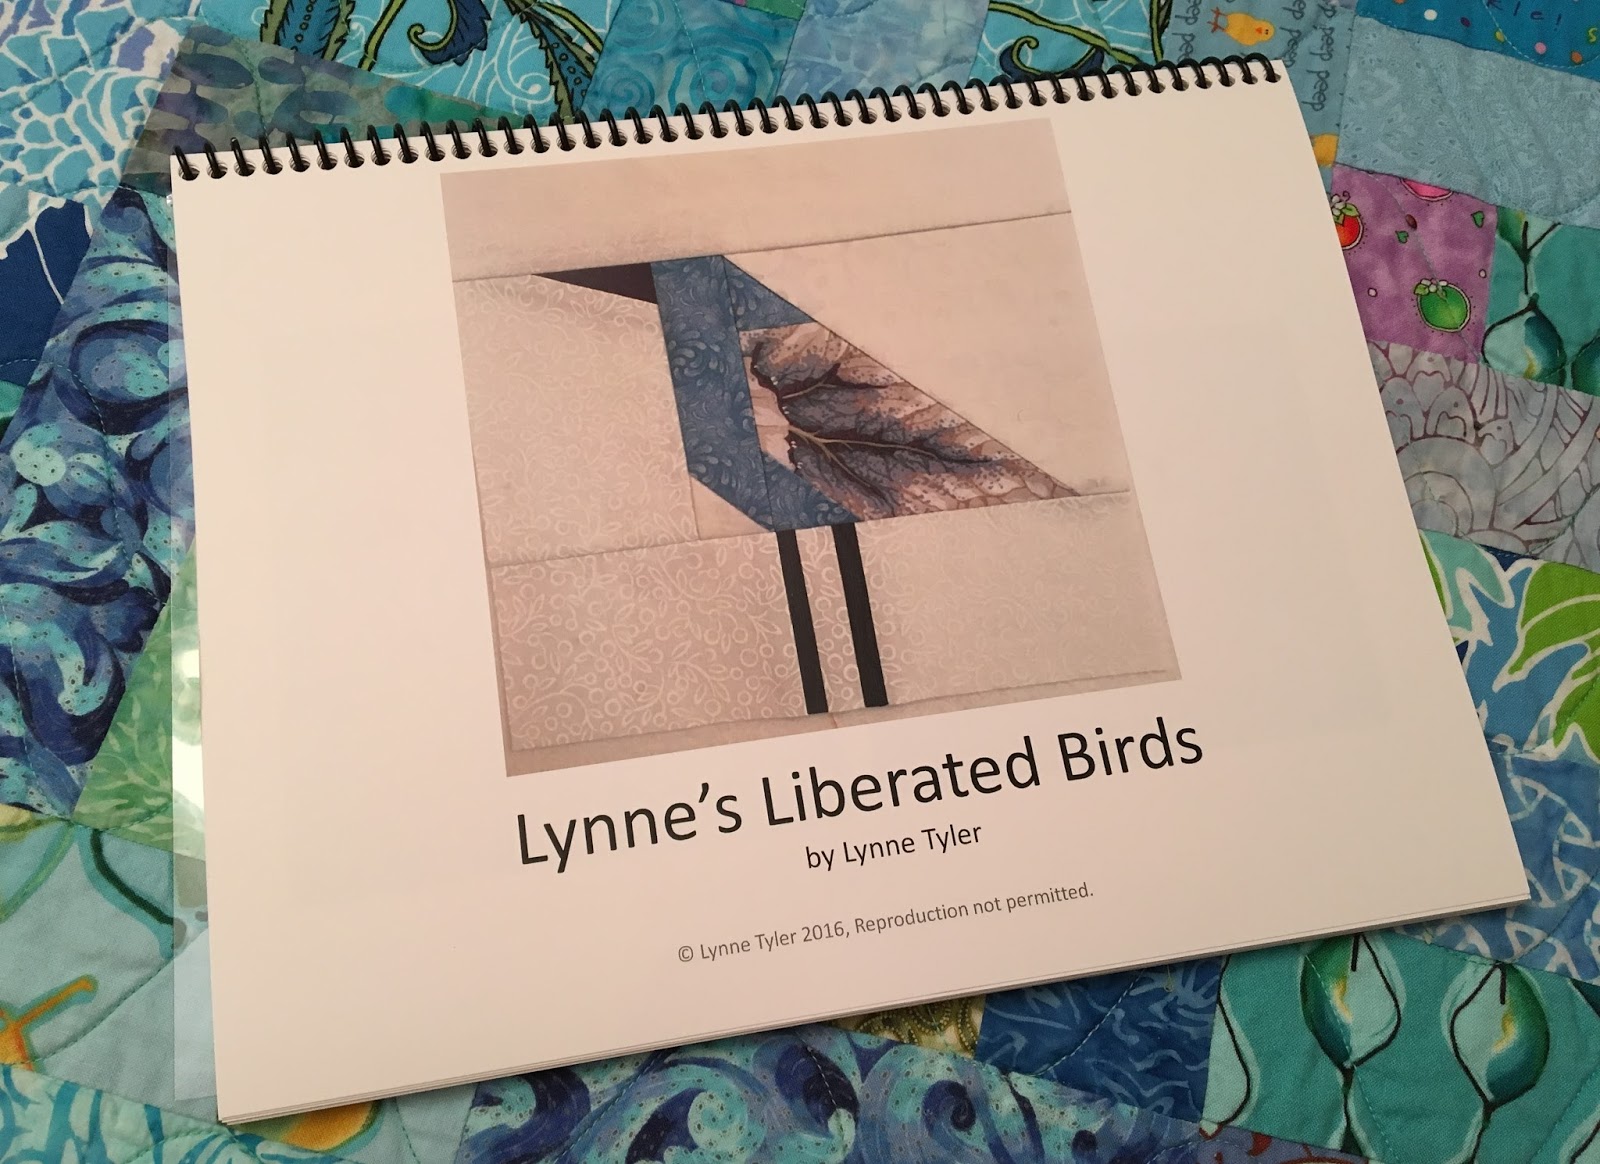
I printed my bird tutorial, Lynne's Liberated Birds available now in my Etsy shop, on high quality paper, and then brought it to Staples to be spiral bound, so now it can lie flat like a book.

It's much easier to use this way when I am teaching. It's a good idea to keep the pages together and in sequence. I had mine done at Staples for only $3.99.

Friday, July 15, 2016

Bird Tutorial for Sale on Etsy


The bird tutorial, "Lynne's Liberated Birds" is for sale in my Etsy shop here. It's available for ten US dollars and is an immediate download, so you can get started right away.

*** IMPORTANT***
These birds are NOT PAPER PIECED!  Absolutely NO knowledge of paper piecing is required.

If you buy my tutorial and make a bird, please send me photos. I'd love to share your success!  Wait until you see the special collection I will show you later.

And if that timing isn't cool enough, I'm teaching another Birds, Birds, Birds class at Quilted Threads in Henniker NH tomorrow. This class is full, but there will be others!

Thursday, July 14, 2016

Lynne's Liberated Birds Tutorial

WOW! It's almost ready, the final version of my PDF tutorial on making my liberated birds is almost ready! A few finishing touches, and some final editing are required, but the *.PDF file will be ready for sale on my Etsy shop over the weekend. I'm so excited. I've been working on it for some time.

It's 40 pages long with photos of dozens of birds and includes detailed instructions for making my birds and information on making variations: beaks, bellies, bodies, legs, etc. It explains exactly how to make a long strip of bird legs so you can chop off what you need to complete your bird. It shows how to avoid the dreaded snub nosed beak. In short, if you want to know how I make my birds, this PDF will tell you.

Remember, these are NOT Paper pieced! 

Coming soon.

Really.

I promise.

Update: It's LIVE! Click the link on the sidebar to go to my Etsy shop. You will receive a link to download the file after your purchase!