Saturday, June 18, 2016

Diamond Jubilee, Gifted

So, do you think my niece likes her quilt?

Yup, she loves it.


I'm going to be off line for about a week, so if I don't post between now and then, don't worry. I've got something big I've been meaning to do for a while and it's going to take all my attention. I'll be back about June 27th or so.

Friday, June 17, 2016

Shut The Barn Door!

Oh wait, it already is shut.

This is what I've got for the barn door of the Town Line Green Barn.  Much as I'd like to make these barns a bit smaller, once you set the size of a window, for example, these things grow. This barn might actually be BIGGER than the red one. Oh dear.

Actually this green barn is rather unique in that it is a free standing barn. 

One of the things about barns here in New Hamsphire is how many of them are different colors. I have a yellow and a blue barn on my list of barns I want to make. Both of those are attached to houses.

This isn't the yellow barn I want to make, but it shows you how barns and houses are joined here in New England**. This barn has obviously been converted to living space above and a garage below. This particular kind of attached barn is difficult to interpret in fabric because you have to decide where the barn stops.


** For those who are curious about the distinction between New Hampshire and New England:
New England is the area defined by six US states, Maine, New Hampshire, Vermont, Massachusetts, Connecticut and Rhode Island. It is in the northeast part of the US, and comprises an area of 71,992 square miles. Five of the six New England states are among the smallest states in the US. New England is slightly smaller than the state of Washington, but slightly larger than England.


Thursday, June 16, 2016

Baby Update

Here is the latest photo of my DS and DIL with their dog Helo. Only nine weeks left!

Wednesday, June 15, 2016

Town Line Green Barn

I'm planning the next barn, but may not get to it for a bit.  It's a barn I drive by every day on my way to work.

It's on the town line, so I'm calling it the Town Line Green Barn. As you can see the top two windows are missing and many of the panes of glass on the row of windows above the barn door are missing also.  I don't know if I will make this another winter barn (because I took the photo in January 2015) or if I will return to take new photos. The road is narrow and there isn't much space to pull over, so it isn't an easy thing to do. 

I also haven't decided if I will make the barn in this "three-quarter" view. I make quilts because I love flat areas of geometric and abstract shapes. I'm not interested in carving a 3-D space in them, which is why I do not (generally) like "pictorial quilts." (Gerald Roy says it's "a misuse of the medium" and I agree with him.)

If I don't know where I'm going, I hold back a bit. I've got a lot going on in the next two weeks, so I'm not in a rush. That doesn't mean I stop thinking. If I decide to sew the barn full-on, I'll need more photos so I can properly place the barn in space. (That's the space where it sits, not outer space.)

But I did start pulling fabrics. I often find it helpful to arrange the fabrics the way they will be placed on the real barn, so I can see how they interact. This selection, or arrangement, is by no means final, as Julie has described in her book, Build-a-Barn.

So I'll ponder this for a while, then I'll start sewing.

Monday, June 13, 2016

Red Barn All Done

The Red Weare Barn is finished. The panel is about 25" tall by 31" wide.
 
 Since everybody seems to have a hard time with measurements, this photo should help you visualize just how big the barn panel is.

Yeah, that's me. Lynne.


Saturday, June 11, 2016

One Step Forward, One Step Back

So I took the sky off the barn block because I hated the tree area on the right and wanted to add a contrasting edge to the roof of the barn. Then I sewed it back on and oh hell. One side was wider than the other. I hate when that happens. I don't know how it happened, and it doesn't matter. But I took it all apart again and fixed it.

This is much improved. But I didn't like how the roof of the house on the left touched the barn's roof overhang. That had to go, and I had to resolve the wooded area to the right.


The woods on the right isn't perfect, but it's better than what was there yesterday. And now that I have figured out a pretty nifty way to do that, I'll use that technique in the future, and will be able to include the effect of trees behind that barn that can be seen above the barn's roof in future barn quilts.  Remember, we learn best by making mistakes and then fixing them.

There are still a few more little details I want to improve - I need to fix the snow, the house needs a window, and the foreground needs to be added, but I'm much happier with this than I was yesterday.

Friday, June 10, 2016

Weare Barn

You know, I sew something together, I back up to get a good view and I think, "Darn it..."

I don't like the way the right side of the barn roof overhangs more than the other side. That's an easy fix.  And I realized I didn't account for the trees on the right side of the barn either. And I had wanted to add a contrasting edge to the roof to set it more apart from the sky...

Oh well, you can't have everything. I shall ponder my next move, but you can bet there will be changes.

 Hmm. I'm not sure if this is an improvement. It really sucks when you don't have enough of the fabric you really like. I should probably have made the brown go more UP. Oh well. I'll look at it again in the morning.

Thursday, June 9, 2016

Red Barn Modifications

I decided I didn't like the way the window in the barn seemed to disappear, so I took it apart and added a windowsill.  Then I shortened it. That black and white fabric represents a snowbank. Snow is only white when it is freshly fallen. After a day or two it gets dirty, hence my fabric selection.

On the far right side of the barn is a streetlight. I decided I wanted to put it in.  Here's where stuff gets a bit tricky when it comes to free pieced building construction. The sequence of when to add what is important, and you usually figure that out AFTER you've sewn things together, so you are forced to adapt. The streetlight was right on the edge of the barn, and it was under the roof line, so I needed to add it before I sewed the roof (or second story) to the barn. I could have appliqued it on, but I don't do applique, so I figured out how to piece it.  By the way, those white strips on the barn's sides are actually molding. The real barn has it, so my barn has them too. I like the way they define the edges if the barn.

This is what the first story of my barn looks like now. To the left of the barn is the attached house, and you can see the roof angling down.  To the right are leafless trees in the background, and you can see the snow on the ground.

If you can believe it, I am not sure I have enough of this red fabric for the barn's second story, so I'll use something else and everybody will think that's the way it's supposed to look. At any rate I am happy with what I have so far.

This is sort of where things are going. I haven't sewn anything together on the second floor. Those windows have to drop lower, for one thing. 

Here's another view of the original barn, taken from a slightly different angle.

Wednesday, June 8, 2016

Red Barn, Weare NH

Now that I have finished the "haftas" I can get started on something I've been wanting to do for a while - make more barns.  This is the barn door of the barn I started last night.

My barn takes its inspiration from this red barn on the side of Rt 114 in Weare NH. ("Weare" is pronounced exactly like: "wear", "where" and "ware." And yes, all Weare residents have heard "You live where?")

Here's the first floor of my barn. The sign above the real barn's door reads "The Farmer's Place" and then gives the street address. Since I am making this barn, I can make my sign read whatever I want, and I thought "only you can make it happen" was appropriate.

Monday, June 6, 2016

This and That

When you get a quilt back from an AQS show, they include a label. I sewed the Paducah label to the back of Too Much Chicken. The Black & White Crayons quilt came back with four labels to sew on. I did those yesterday while I watched the Men's final of the French Open. Both quilts will be on exhibit at the AQS show in Syracuse NY.


When I took beauty shots of my niece's quilt, I took some of Julie's quilt, "Just Wing It" at the same time. 

I decided I should take a picture of the two of them together. Julie and I don't get together very often, and our quilts get together even rarer than that, so I decided I needed a photo.


Saturday, June 4, 2016

Diamond Jubilee Beauty Shots

You can plan these shots, but sometimes the ones you don't think will work turn out better than you expected. This is the entry to the shed in my yard, including all the mess around it, yet I think this is one of the best photos I took of Diamond Jubilee this morning.

This was taken in my driveway, looking over the front yard and the "large landscape rock" that sits in the middle of it. I call it "Crocodile Rock."

This was taken on my front steps with the flowering planters.

Now the quilt will take a trip through the washer and dryer and then I'll squeeze it in a box and send it across the USA to my niece.


By the way, it's my friend Julie Sefton, author of Build-A-Barn, who got me started on taking these so-called "beauty shots" of my quilts. She thinks these photos are much more interesting, and she's right! So now I take all my quilts out for beauty shots before I give them away.

Friday, June 3, 2016

Diamond Jubilee is Finished!

Here it is. It came out spectacularly well.

I'll take beauty shots of it this weekend, then put it through the washer and dryer so it gets soft and crinkly and then it will fly away across the country to my lucky niece.


 Where I am sure it will get a lot of love.

Thursday, June 2, 2016

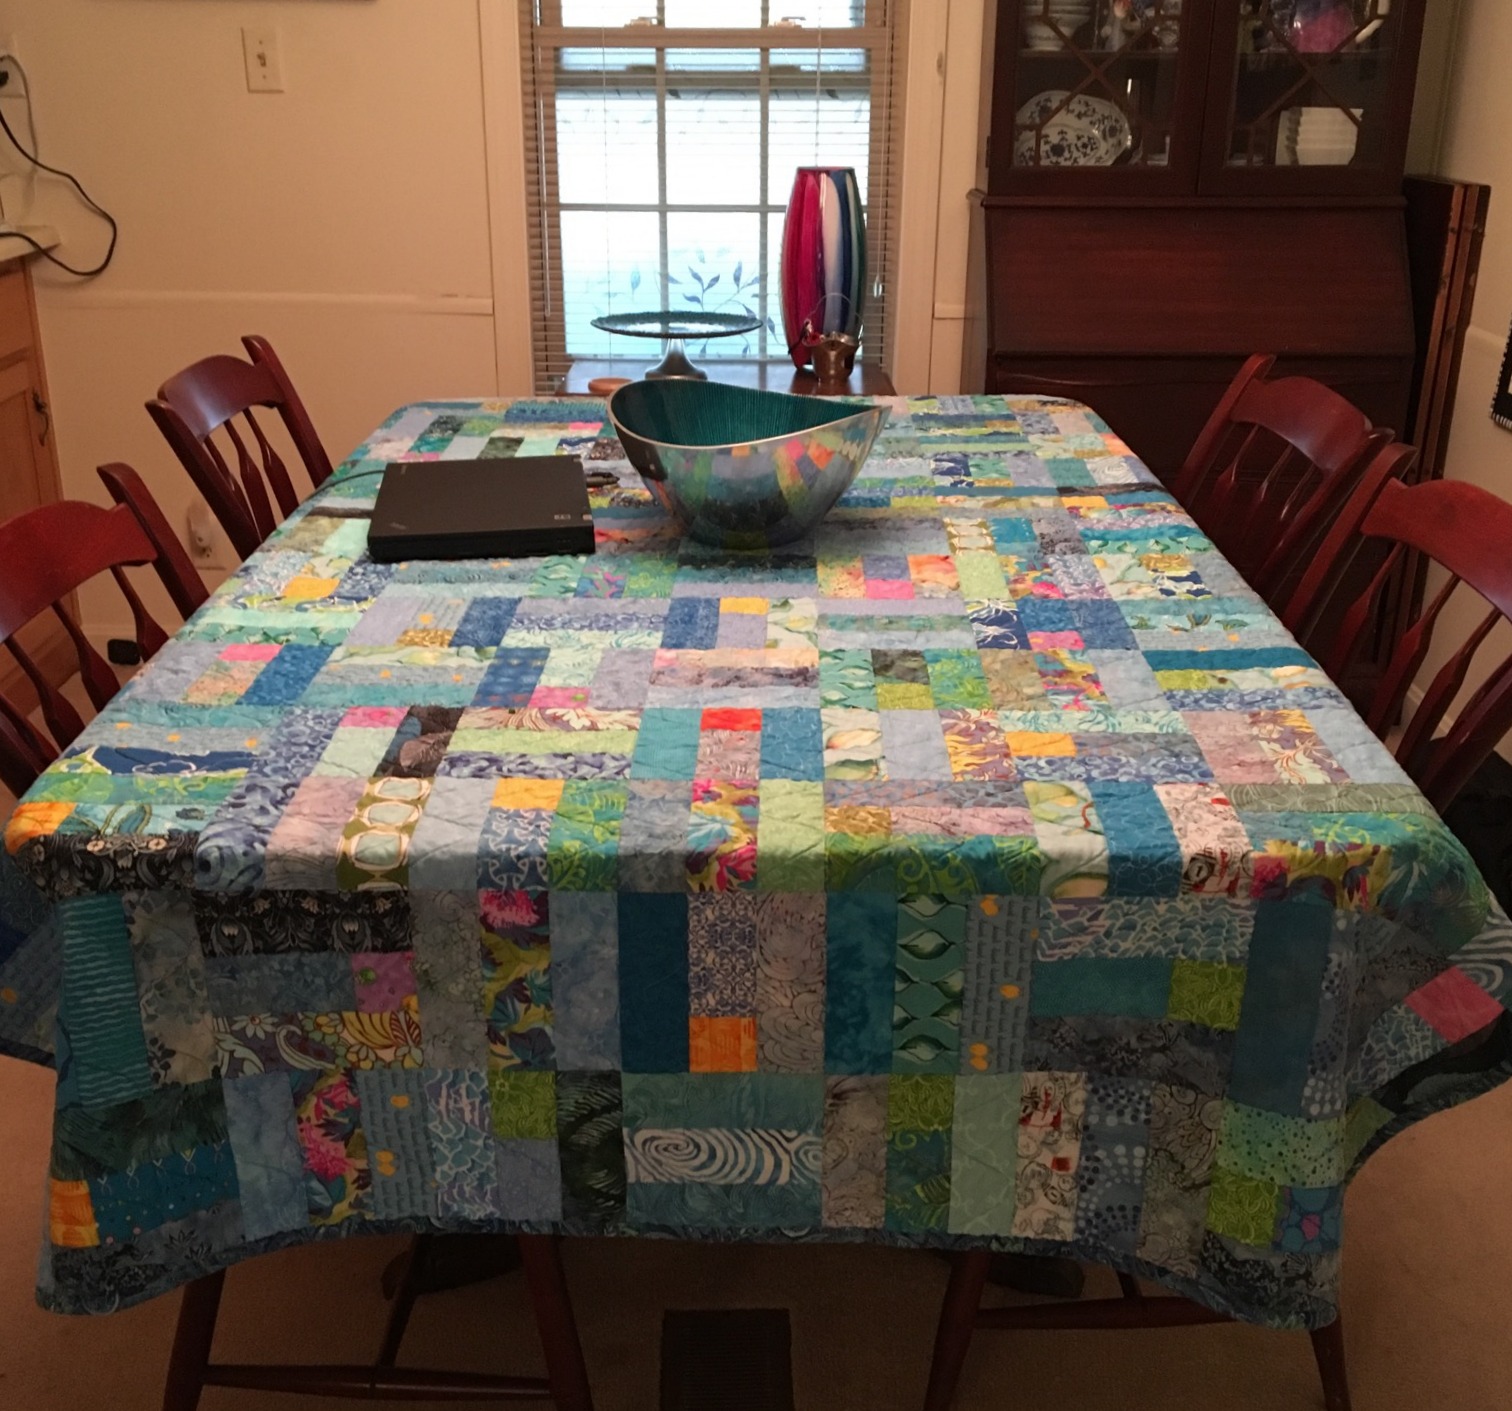
Blue Deco for Summer

Now that the weather is warming up, it's time for the summer quilt to cover the dining room table. This is "Blue Deco."

You can go to this post: http://patcherymenagerie.blogspot.com/2015/03/blue-deco.html to see how it went together.

Wednesday, June 1, 2016

Oops.

I noticed this after I had ended and tied off one thread and started another. So I decided to leave them. The stitches are very tiny and almost impossible to detect.

I'm good, but I never said I was perfect. I only have about 60" left of binding to sew and the quilt will be finished.