Showing posts with label pink slashed squares. Show all posts

Wednesday, September 5, 2018

One, Two, Three...

I finished sewing the binding on the last Slashed Squares quilt while watching the tennis yesterday. Then I gathered all three quilts and took them outside to take pictures.

This is the still as yet unnamed Slashed Squares tutorial quilt.

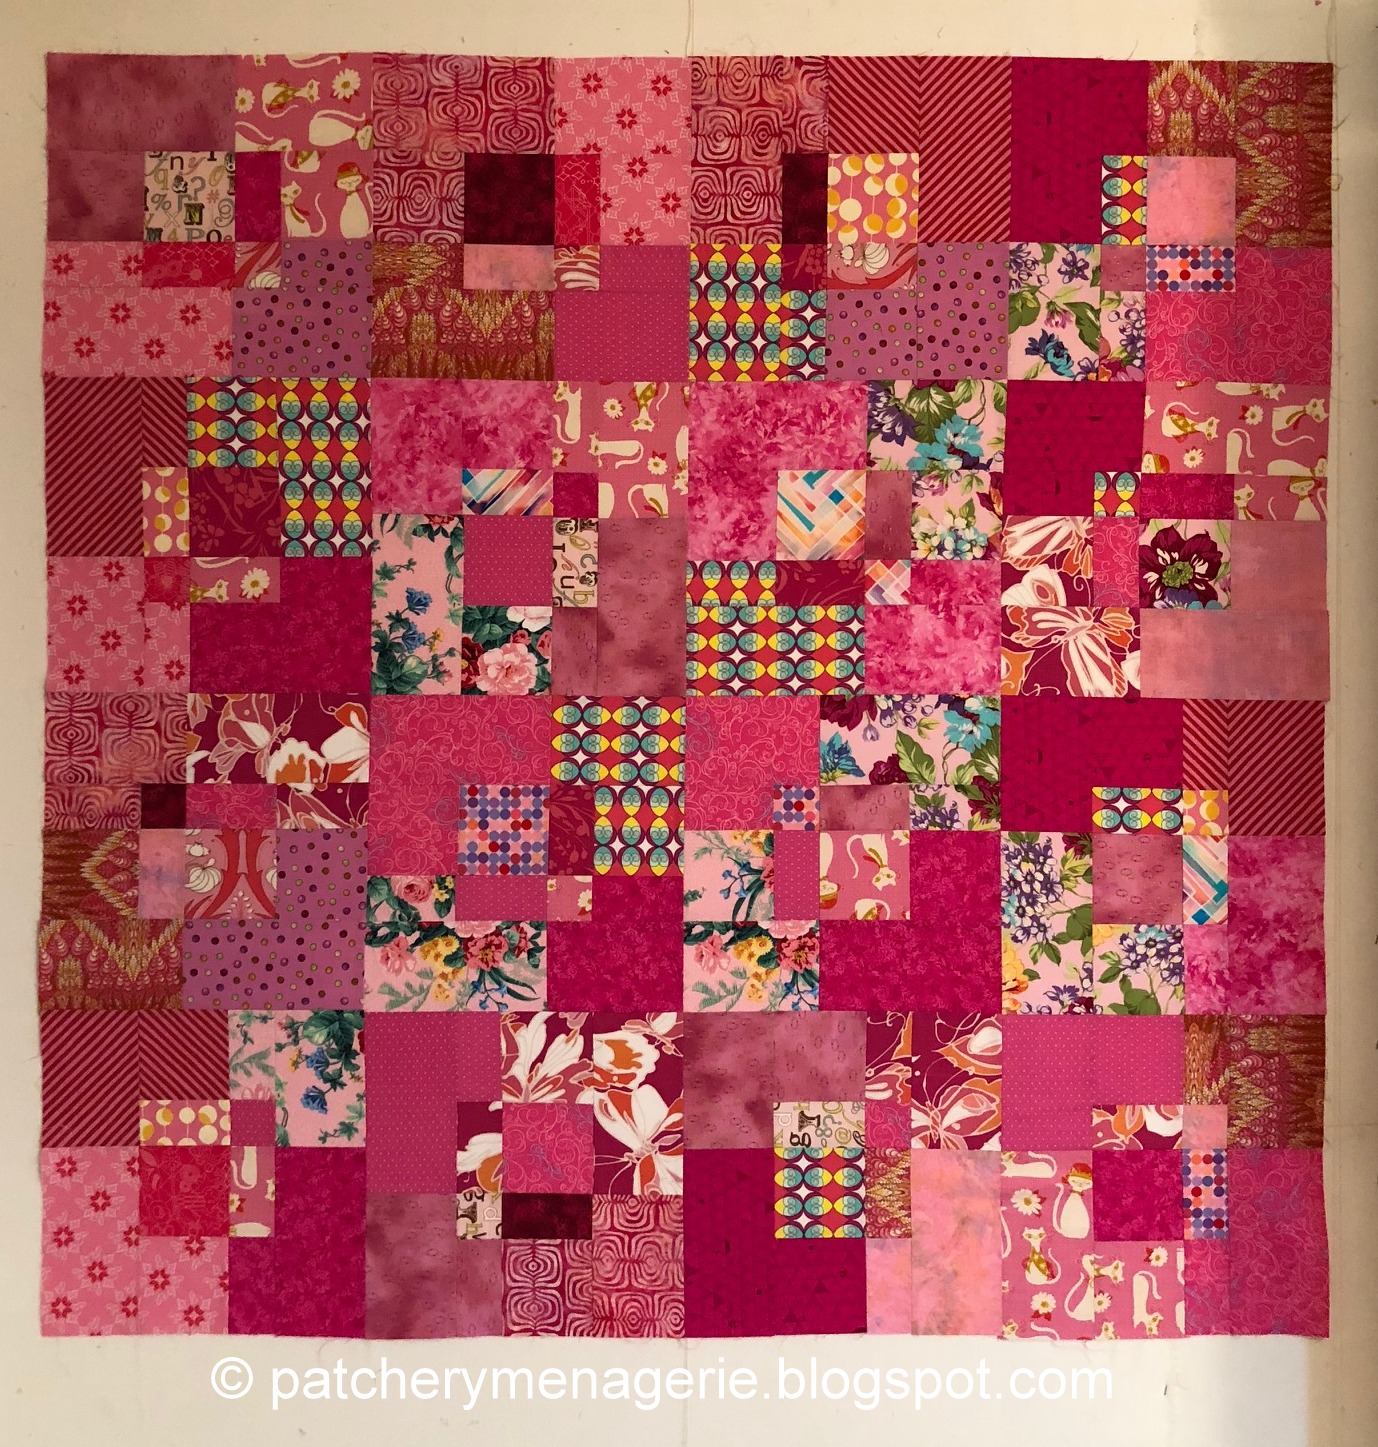
This is the pink Slashed Squares quilt, which I have named Pink Quartz.

This is the Slashed Squares quilt I made from mini blocks, called Jigsaw Puzzle. It's a scrappy quilt, and I was surprised at how much I liked it.

All three quilts are 56" x 56".

If you want to make a Slashed Squares Quilt, you can get my tutorial here, at my Etsy shop. It's an instant download, so you can get started right away.  I've updated the tutorial to include photographs of the Jigsaw Puzzle and Pink Quartz quilts. If you purchased the tutorial in the past, you can log back into your Etsy account and download the new version at no charge.


Scarlett, You can find details about my binding here. I cut the strips 3" wide, but it's how I sew it to my quilts that helps set me up for success. You can read more about that here.

Tuesday, September 4, 2018

Pink Binding

This is the pink Slashed Squares Quilt. I made it as a sample quilt. The blocks are 14" square so this quilt is 56" x 56".

I made the back one big block, and I used fabrics from my stash to do it.

When it came time to find fabric for the binding, I didn't have enough of any one thing I really liked, so I decided to continue the stash-busting quality of this quilt by piecing the binding as well. There are seven fabrics in the binding, and although I only needed six WOF (width of fabric) strips, I didn't have that, so I used some scraps, and cut each strip half that length, then joined them at a 45 degree angle.

Once I had the strips all sewn together, I arranged them so no join would land on a corner, and the striped fabric on the binding did not line up with the striped fabric on a block on the front of the quilt.

This is where the beginning and ending binding strips joined together.

Actually, though, the fabrics in the binding are not represented in the quilt itself, either on the front or the back.

I've been hand sewing it down while watching the tennis at the US Open.


If you want to make a Slashed Squares quilt of your own, you can get my tutorial here on Etsy. It's an instant download, so you can get started right away.

Wednesday, June 6, 2018

The One Block

Now that I have three Slashed Square flimsies completed, it's time to make the backing for them. Since I had so much pink fabric lying around, I decided to start with that one first. But I didn't have enough of any one fabric, so it meant I had to make a pieced backing. As it happened, I didn't have much more than half yard pieces of anything I felt would work.


But then I got an idea.

 How about if I made the backing one big Slashed Square block, but make it BIG! So I worked out some dimensions in my sketchbook, and then started laying fabric out on the floor.

Since I wasn't quite sure how much of what fabrics I had or where they'd go, I did a quick little mockup...

 I thought it looked pretty good, so I kept going.

It was coming along, but that big middle square was lost. I'd need to replace it.

 The more I worked, the less I liked the littlest square too.

Now, this LOOKS easy, but I gotta tell ya, cutting blocks 16 x 32 inches isn't easy. There are no templates that big, and "constructing" a piece that size using cutting rulers and hoping your pieces comes out with four 90 degree corners is a recipe for a mess.

But when it works, it's a hell of an effect. This big block is almost the same size of the finished flimsy, so I have to add fabric on all four sides for the longarm quilter, but that's not going to be a problem.


(You should click, then double click the last photo to see what I used for the smallest square.)


If you want to make some more normal sized slashed squares blocks for your own quilt, you can get my tutorial here at my Etsy shop. It's an instant download so you can get started right away.

Tuesday, May 22, 2018

Pink Slashed Squares

The pink slashed squares flimsy is complete, and while I have said the next one I make will be scrappy, I had a revelation over the weekend.


 I'm going to make a quilt as big as the last two (56" square), but I'm going to make it out of MINI Slashed Squares blocks.

Heh.


If you want to have fun with this easy quilt, you can get my tutorial here, at my Etsy shop. It's an instant download, so you can get started right away.


Friday, May 18, 2018

Rolling, Rolling, Rolling...

I have a favorite quote:

"In theory, theory and practice are the same. In practice, they are different."


You know how somebody tells you how to do something and they say, "Just do... x." We all know that "just" doing "x" is a lot more complicated than that.

This was the first layout of the pink slashed squares blocks. Nothing is sewn together here, it's just up on the design wall.  The color isn't that great either, because the room is a bit dark in that corner, and I have to get some spots installed. Anyway, this was decidedly underwhelming, and there seems to be more busy-ness on the left side of the quilt than the right. It isn't balanced.

Fifteen minutes later I had this, and this was worse.

After 45 more minutes, I had this, and this was getting somewhere, but it wasn't quite there yet.

After another 20 minutes, I had this... and it was getting closer. But it was also getting later. Time for bed.

So just what am I trying to do? I am trying to distribute the "busy" patterns around the whole quilt, and not leave too much of the same print in the same area. I'm trying to spread everything around so it's balanced and has a nice flow.

The next morning, I got up, looked at it, made a couple of changes and I had this. I thought this was IT.

It was not.

That night I came home from work, made dinner, and then tinkered with it a bit more. After another hour or so, I had this, and thought for sure this was IT.

But I saw something that needed changing. This is about as perfect as I am going to get it with the blocks I have. So THIS really is IT and is what I am going to sew together.