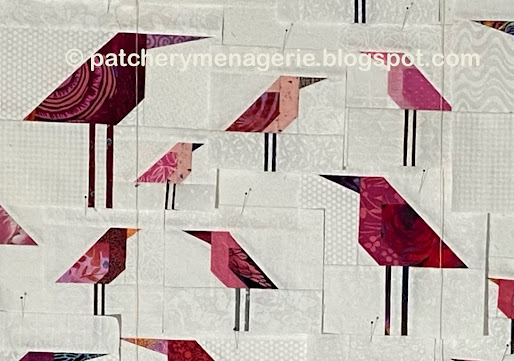
When assembling blocks that are not in regular rows, sometimes you have to use a set-in square. It means Y seams. Sort of. I hate sewing into a corner, but when I insert a set-in square, I'm not sewing INTO a corner, I'm sewing OUT of one. I will show you how I do it.
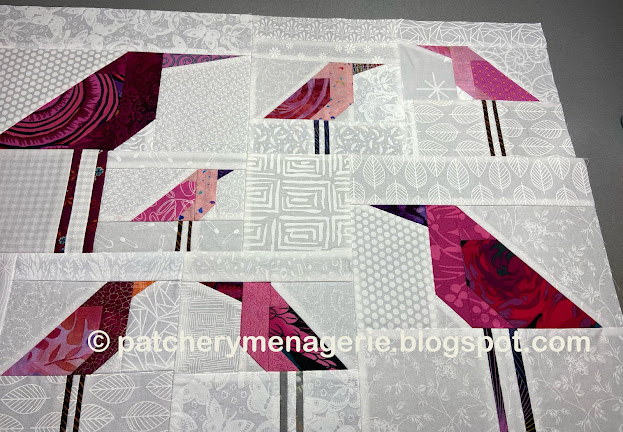
The set in square in this example will fit underneath the middle bird in the top row.First I had to sew the birds surrounding it together. I had to sew the two pink birds in the upper right together, and I had to make sure they had enough fabric above their heads so when the whole thing was complete, there was enough fabric there. I had to do the same thing to the birds on the lower left. I had to join them together, and make sure they had enough additional fabric on the bottom and left sides.
Most importantly (read: MOST IMPORTANTLY) the resulting panels had to be SQUARE, which means all the sides were trimmed perfectly STRAIGHT and each corner was 90 degrees.
The next thing was to sew it to the bird panel to the left of it - the one with the big bird and the little teeny bird. I'll sew the two panels together, from one edge to the other.
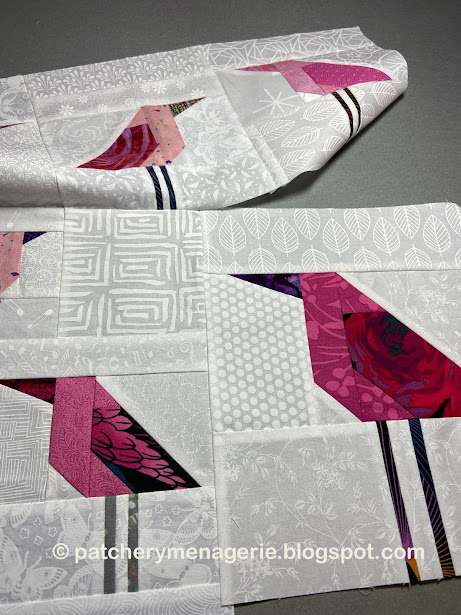
Like this. Next I will sew it to the bird panel (when I have more than one block sewn together I call that a "panel") below it.The next step is to sew the big bird on the right to it.
The last step is to fold the top panel down, line up the edges and sew the last seam across.
TA-DA!
You too can make birds. I explain how in my tutorial, sold here on my Etsy shop. Fair warning: making birds is addictive.


2 comments:
That's the same way I learned how to do set in pieces. Leaving that portion at the end of the first seam un-sewn is the key. Great How-To post.
Thanks for the explanation.
Post a Comment