I love reading your comments, both the ones at the bottom of my posts and those of you who email me privately. I welcome all your comments, and I thought you'd like to hear my reaction to some of the ones I have received while I made the Early Autumn quilt.
~ ~ ~ ~ ~
On Sunday, Starr wrote:
"I certainly did not mean to criticize your design or cause you any angst. I was just trying to understand more about your use of color, which is so wonderful!"
Dear Starr, don't apologize for your comment or your observation. You were absolutely correct. I had thought removing the white tree would fix the problem, but it didn't. The angst was all mine. I tell everybody all the time that we know when it's right, and we know when it's wrong, but when we're not sure, it helps to have another opinion. I had been on the fence about it, and your comment made me take a second look. Thank you.
~ ~ ~ ~ ~
Judy asked,
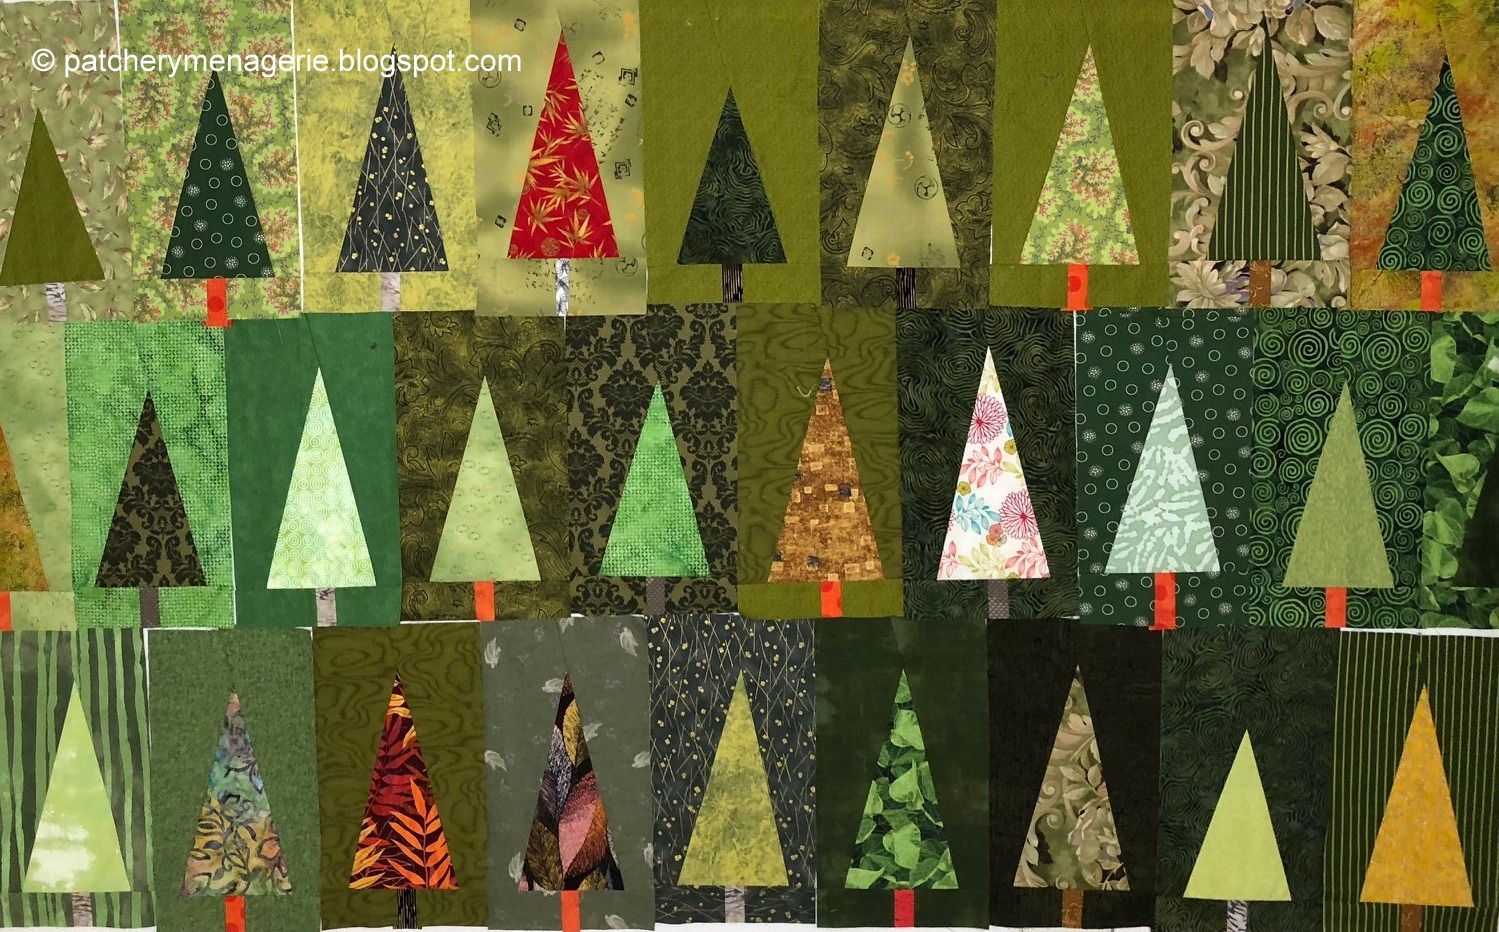
"Can you make a block with 3 trees overlapping? Or trim both sides of 2 trees and stick a smaller one between them to give the depth of looking into the forest???"
Hi Judy, CAN I? Sure I can make 3 overlapping trees, however in order to show one is in front of another, or that two are in front of a third, you have to use your fabrics and colors correctly. Remember this general rule: "Dark areas recede, bright areas come forward"
~ ~ ~ ~ ~
Melanie made my day with this comment:
"This is an out of the box layout for me. I'm very much an "ordered" layout person. I appreciate seeing things presented in different ways and this is going to be very nice. Also, thanks for using the word "comprise" correctly."
Dear Melanie, It's an out-of-the-box layout for me too, but I've come to learn that creativity isn't always neat, logical or ordered. Also, I've never received a compliment for my grammar, so thanks! I'm sure it's due to a lifelong love of reading.
~ ~ ~ ~ ~
TEM Austin wrote:
"This is very interesting... I love it that you show how your mind works and why you do what you do when. I do a lot of improv but I never seem to think it thru like you do."
Dear TEM Austin, I never think of myself as an improv quilter. I never start without an idea and just see where my whimsy takes me. I always have an idea, and I follow where it leads, changing direction as necessary and as needed. I've said it before, "what the quilt wants, the quilt gets." Quilts, like any other kind of artwork, make demands of the artist as the work progresses and each decision depends on the ones that came before it, and limit and inform the ones that come after. Thinking these decisions through is vital. Nothing in my quilts, not the fabric, the shapes, the design or the colors, is willy-nilly. I think about, and plan, everything. Every. Single. Thing.
~ ~ ~ ~ ~
SewGirl writes:
"I was going to suggest you just make a bunch of table runners!! But you obviously know what you're doing... "
Dear SewGirl, Thanks for the vote of confidence, but until I found my way in this quilt, I didn't know what the hell I was doing at all! I was just blundering around. The difference is that after creating for over forty years, "blundering around" doesn't frighten or intimidate me in the least. After forty years of making art I have learned to trust my instincts and my process. I have always "figured it out" in the past, and I know I will again.
Along the same lines, Linda wrote:
"I like the grouping of trees together, mixing the sizes and adding in more of the reds. What a difference from where you started. Not sure I have the same patience..."
Linda, as a quilter, I am sure you have heard people say, "How long did this quilt take to make?" and "How many pieces does it have in it?" Then they'll say, "Oh, you have so much patience." I don't care how long it took. I don't care how many pieces it has, and I don't think you need patience if you're doing something you love. I love solving creative problems, so for me "patience" is not a requirement." (Actually it's more of a "I am going to figure this damn thing out if it's the last thing I do kinda thing.")
~ ~ ~ ~ ~
OK, That's it for tonight. I'll have more for you tomorrow!