Showing posts with label zebra variations. Show all posts

Friday, November 1, 2024

The Updated Zebra


I love taking an idea and pushing it around, seeing where I can go with it. 

When I made my son a chessboard out of fabric way back in 2000 (can it really be 24 years ago?) I never expected to make a quilt out of the leftovers, or that I'd be selling a tutorial about making them 20 years later.

At any rate, I have made nine of the so-called "Zebra" quilts, and since I published the tutorial in 2020 I have made three more quilts, which have taught me things I didn't know when I wrote the tutorial.

I have been working on updating the Zebra tute with those things, and have added ten pages of information. I've figured out how to fix a triangle if you have cut the wrong one (there are four different triangles and they aren't easily interchangeable); a more efficient way of cutting them out, and I've included instructions on how to make the Fourth of July quilt.

The new Zebra tutorial is live!


You can get all my tutorials here, at my Etsy shop.


Monday, June 12, 2023

The Lighthouse


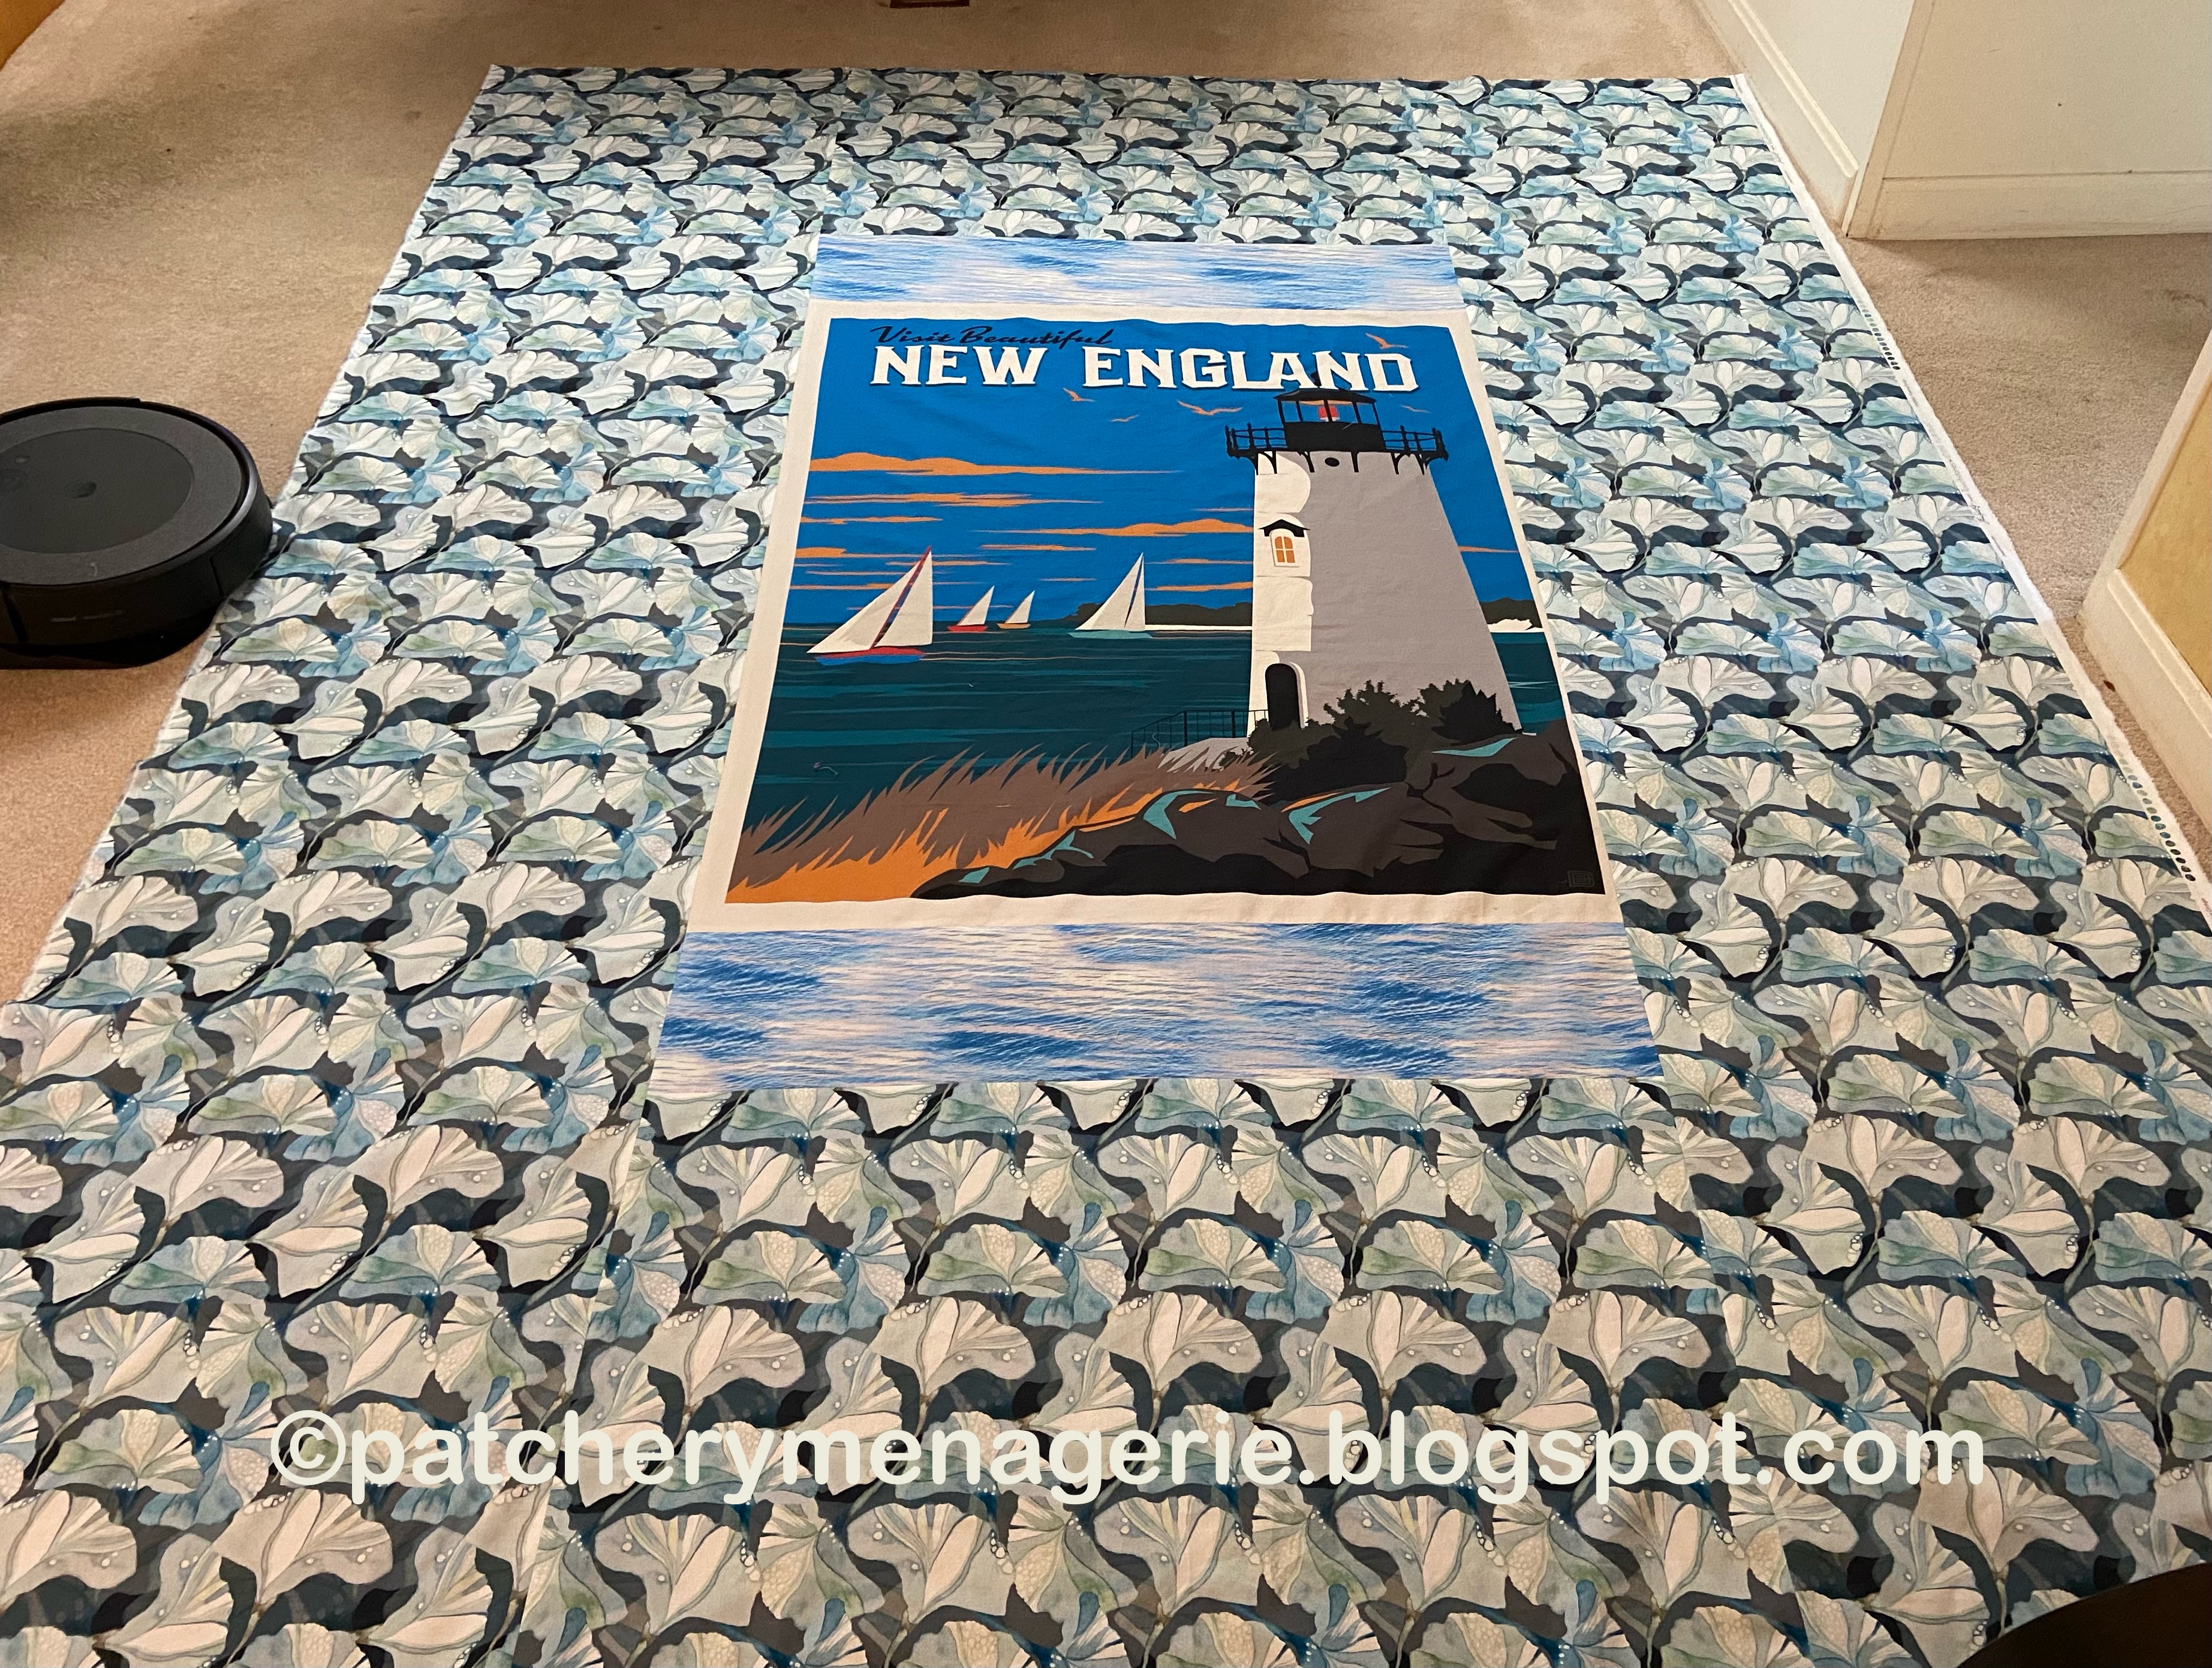
It was pretty clear this lighthouse panel would be the backing of the Fourth of July quilt. But it needed to have fabric added to it to make it big enough.

I had four yards of a fabric I could use, but after doing a lot of math on graph paper, it was clear my four yards wasn't quite big enough. Fortunately I had a piece of fabric that had a water feel to it, so I added strips to the top and bottom of the lighthouse panel.


The fabric I've chosen for the backing is directional, so I had to be careful to cut it properly. I cut two panels and added them to the top and bottom of the lighthouse panel.

Printed panels made great backings, but because they are printed, they don't always line up parallel to the straight of the grain. So I had to trim the edge to be straight. One side of the panel looked fine, but the other was really curved. Fortunately perfection is not required. Yes, these big rulers are used for trimming wallboard, but they are handy for getting long edges straight.


Because reality does not often match what you think, I always line up the fabric where I want it to go, to make sure I have enough. I did, so I started sewing the two long panels to either side.

This looks pretty good. The gingko leaves remind me of clamshells.

Laying the quilt on top of the backing is something I always to do make sure the backing is big enough. It also tells me how the two fit together. It does, and really like it.

This is the reason why I pay attention to the backings of my quilts. It's the back of the quilt that lives on my bed, and my pal Julie made it. Every time I make the bed I get to see the back and how it was put together. Julie has influenced my work in so many ways.

Friday, June 2, 2023

Oh Lynne, You DIDN'T!


I kinda can't believe how perfect this big Jane Sassaman fabric is for the back of the Greensleeves Zebra quilt. My pal Julie gave it to me because she had fallen out of love with it. But when you use yardage like this on the back of a quilt, you have to do the right thing.


You HAVE to sew it together and match the pattern. (Oh Lynne, you DIDN'T) 

OH YES, I DID!


I lined up the two lengths of fabric, and folded the top part over until the pattern matched. Then I pressed it down, unfolded it, pinned the two layers together (because hey, how else do you get the fabric to STAY where you want it to be), drew a line in pencil so I could see it...

and then sewed along the line.

I removed the pins and unfolded the fabric to see if it lined up right. 


It did, so I trimmed the seam and then pressed it open.

ta-da!

Would you know where the seam was if I had trimmed that piece on the right? Probably not. Like many things, this isn't HARD, it's just fussy, and is clearly worth the effort to get it right.

I'll never forget what Chris Ballard said when I sent the Letters From Home quilt to her to be quilted. "I like that you didn't drop the ball on the back." If you're going to put your time into something, do it right.


Tuesday, May 30, 2023

The Fourth of July is a Flimsy!

 Over the long holiday weekend, I cleaned the house, worked in the garden, watched tennis and sewed the blocks together for the Fourth of July quilt.

After I sew four triangles together into a big square, I sew three together to make one big row. Here I have two ready to pin together.

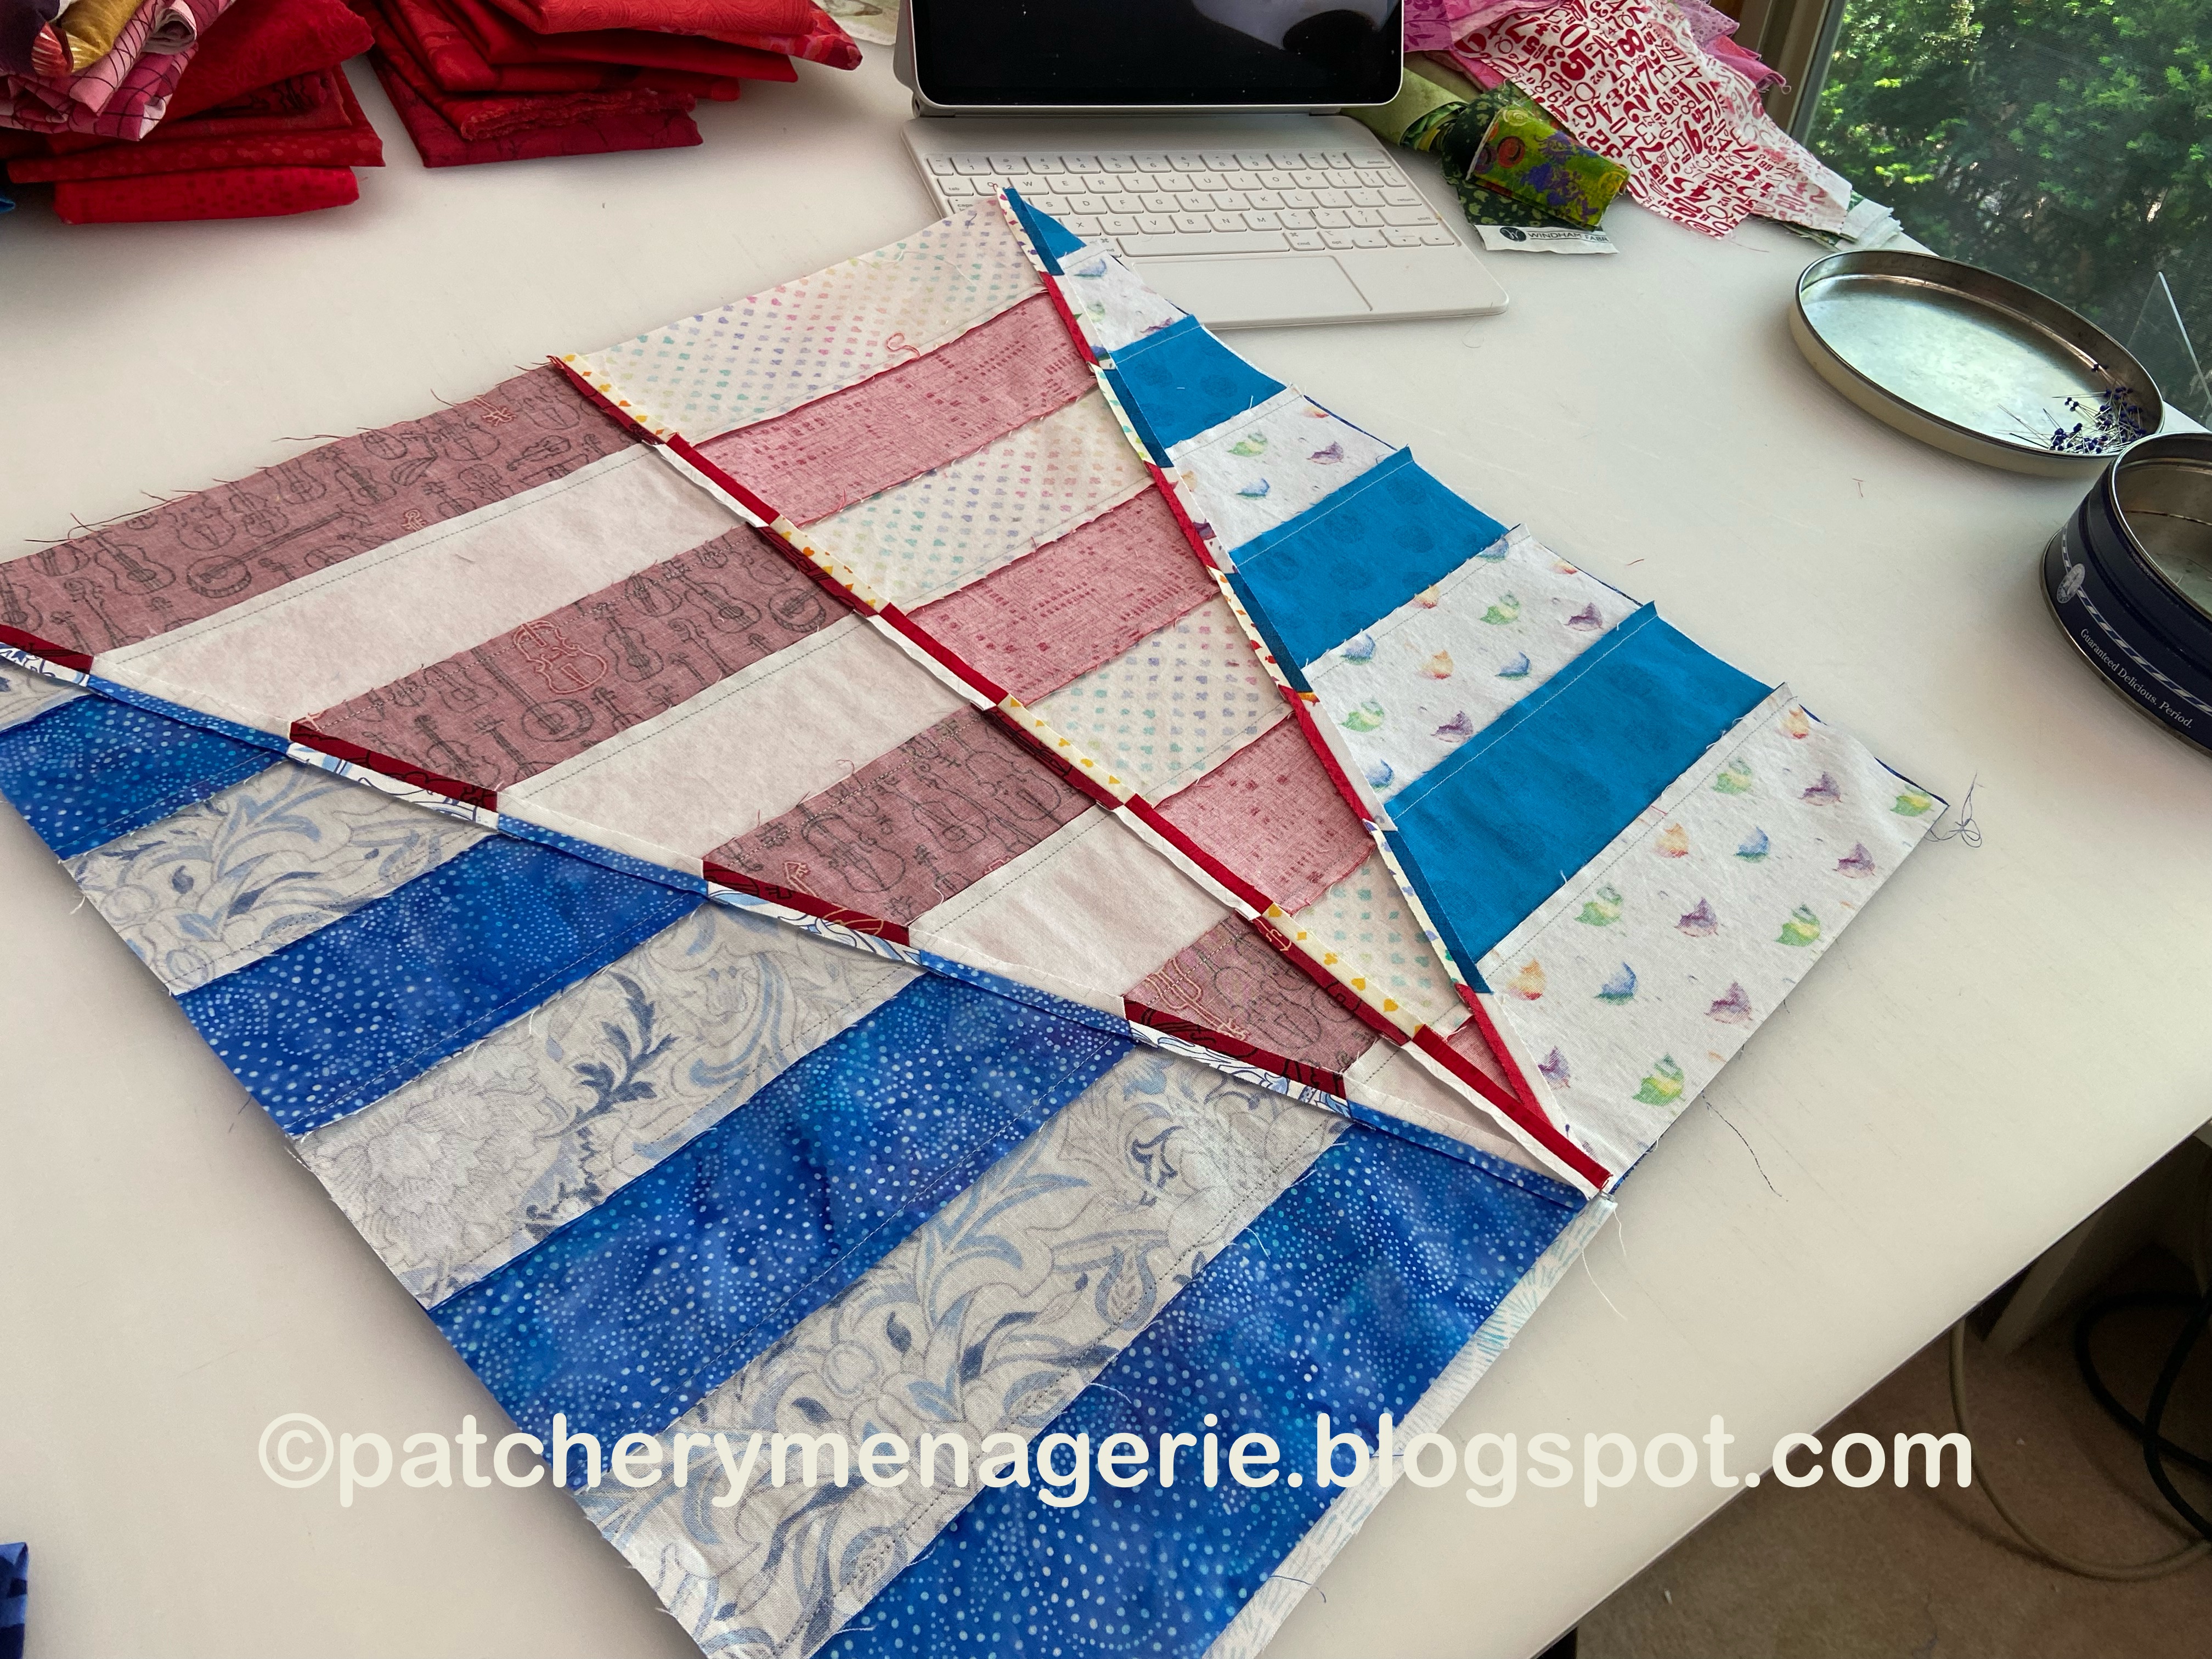
Nobody's perfect. I cut one of the triangles wrong, and didn't have enough fabric to make another triangle, so I cut it apart strategically and then sewed it back together. It's barely noticeable when you are looking right at it, but it never showed up in pictures, so I decided to take a picture of the back to show you all that just because you screw something up, it isn't the end of the world.

This is half the quilt, and you can see just how big the red diamonds are.

Here's the flimsy draped across my ironing table.


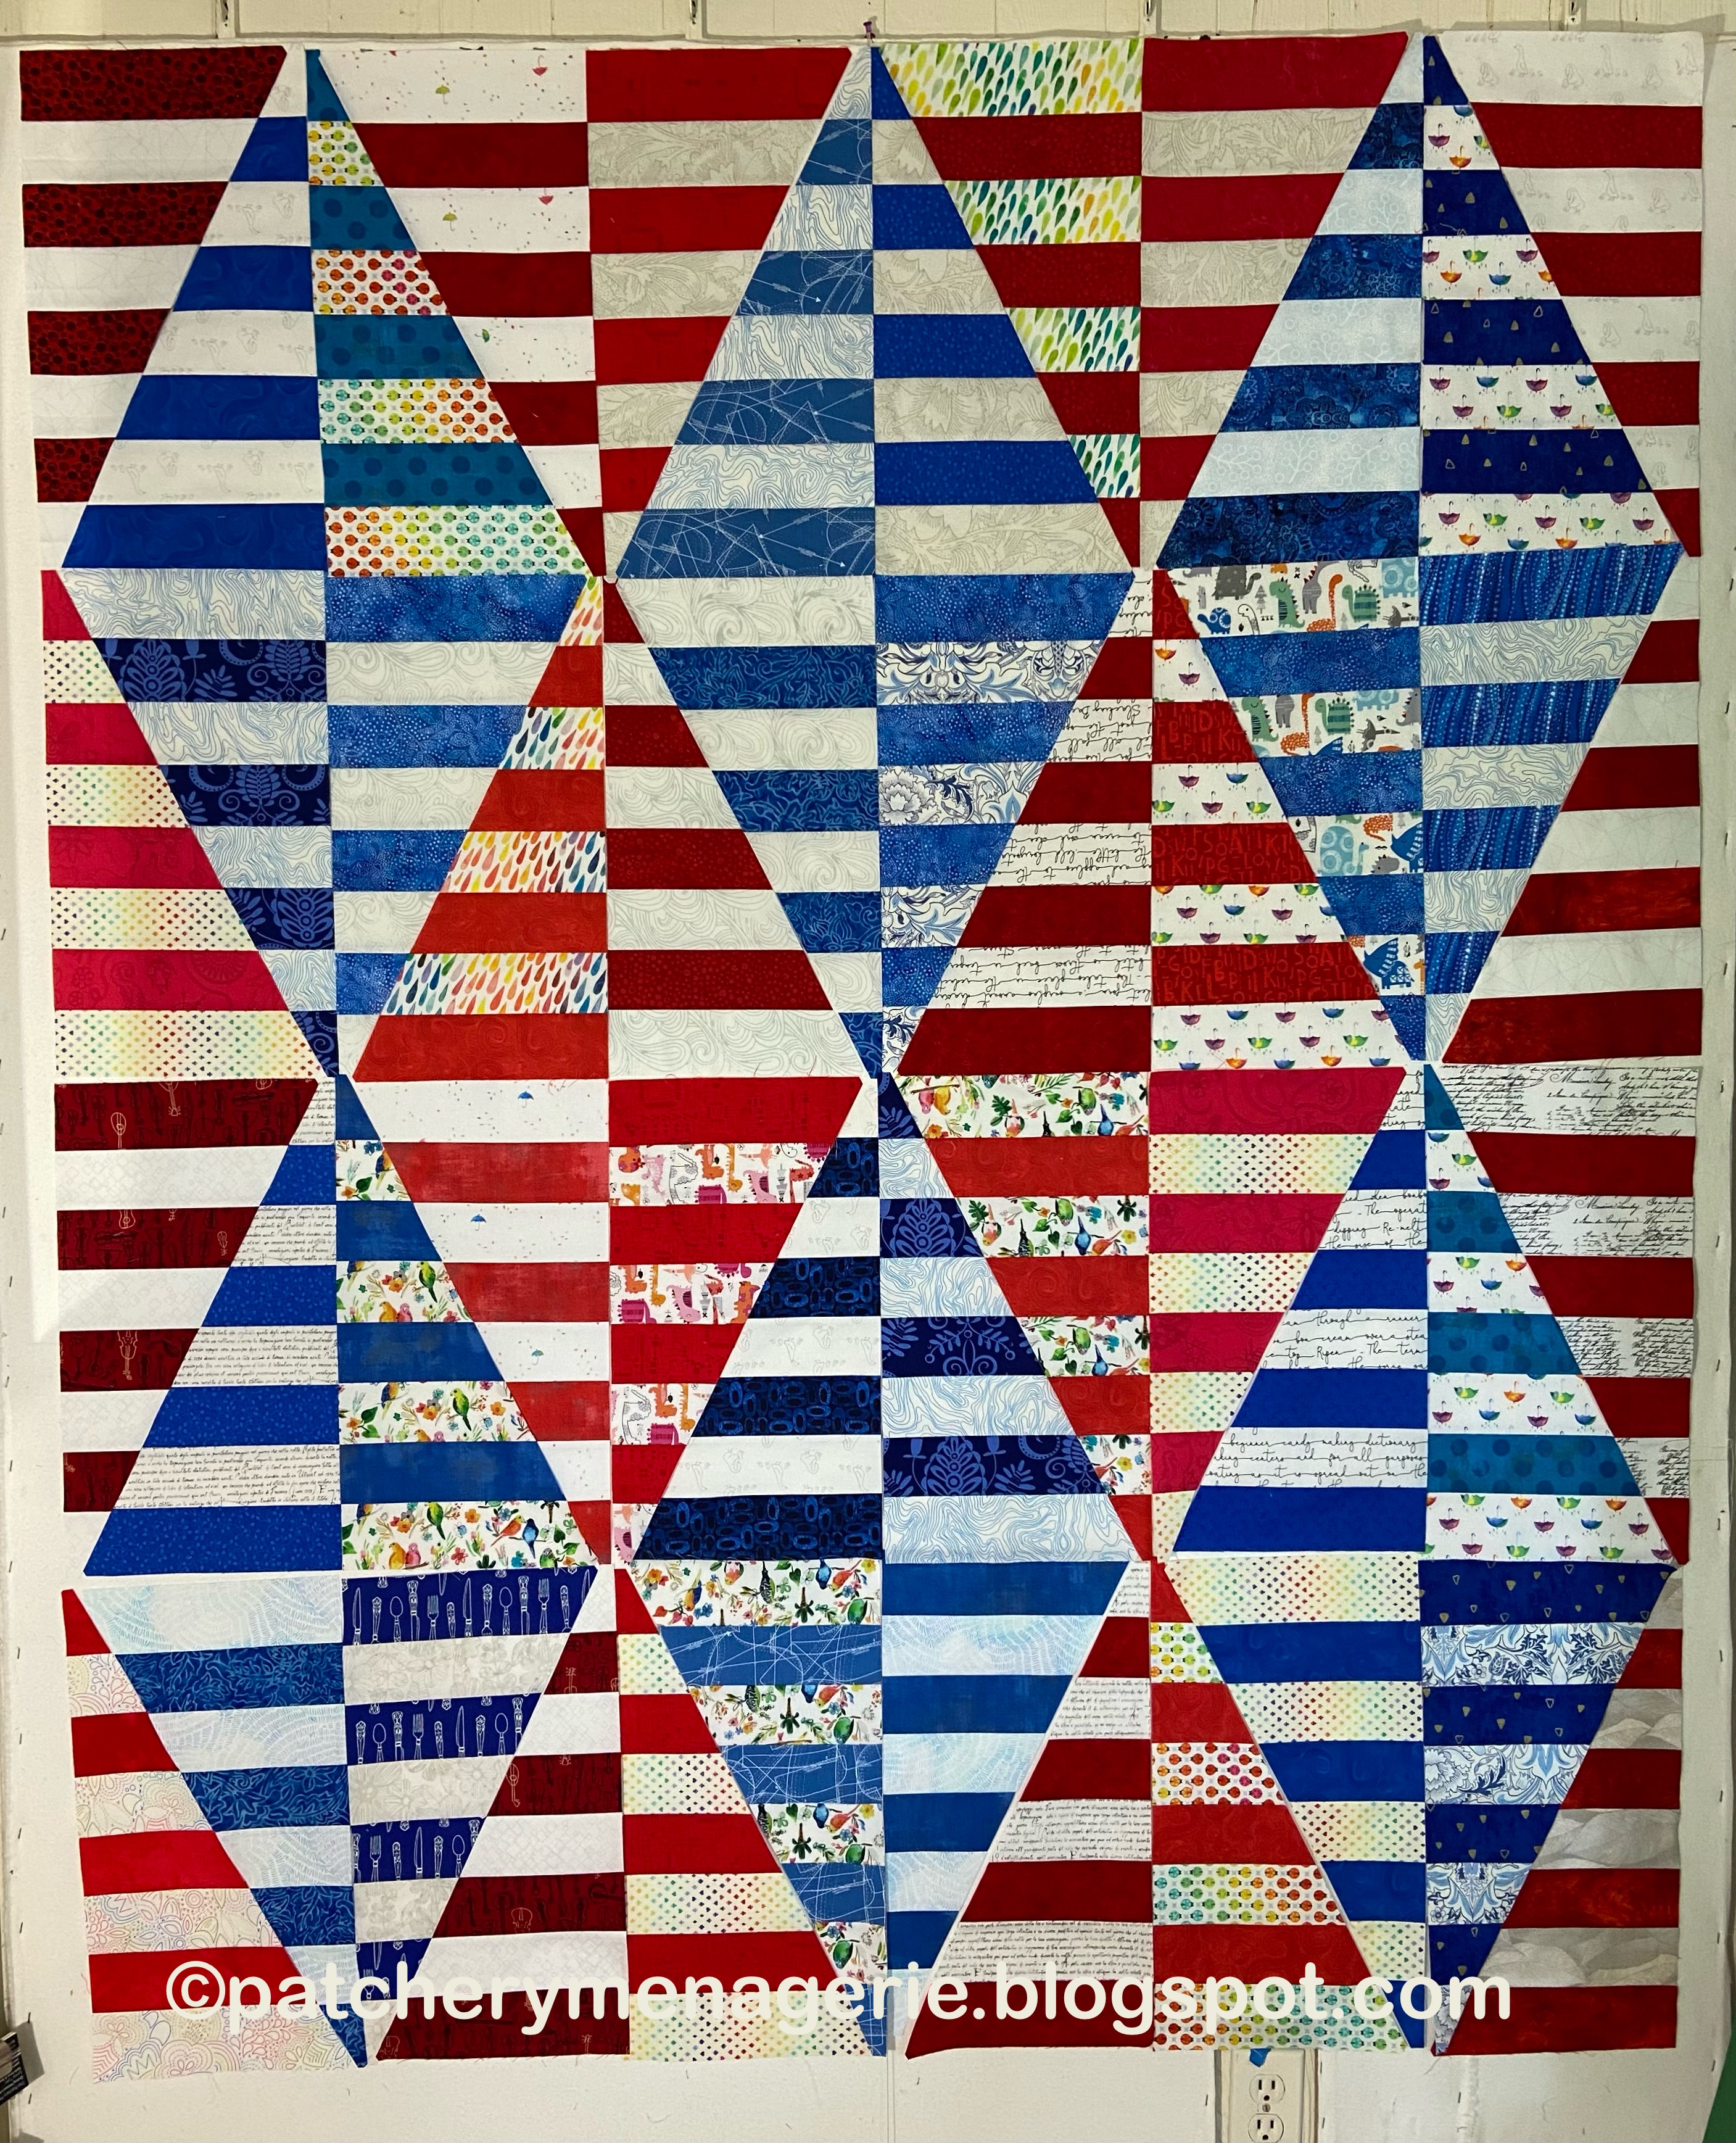
Here is the flimsy. I will add a light border.

It's gigantic. It's big, it's bold, it's bright. I love it. It isn't quite a Zebra quilt, and there aren't specific instructions for it, but you can get the Zebra quilt tutorial here, at my Etsy shop.


Wednesday, May 24, 2023

Sew Me Up!


I tinkered, and now I will sew this together. I already sewed one pair of triangles together in the second row.


Somebody asked me once, when I bought fabric, why did I do it and how much did I buy. I wrote a whole blog post about it a long time ago. I'd find the link, but it's Wednesday morning and I have to go to work in less than an hour so this is going to be quick. 

Anyway, I saw this panel about New England, and since I live in New England, I bought it. Truthfully I thought it was a quarter of the size, and when it arrived I was a little bit annoyed. WHAT THE HECK was I going to do with it, but as I worked on the RWB quilt (which I think I am going to call "Fourth of July"), I thought it would be perfect for the backing.


In real life I have been planning to replace my over 30 year old central air conditioning unit. It works, but it's loud and I'm pretty sure it's very expensive to run. Every time I turn it on I cross my fingers. I won't let anybody touch it, because with old equipment like this, if you start to mess with it it may never run again. 


So I have been getting quotes. The first guy told me to be sitting down when I opened it. Good thing I was, because gosh darn it, everything is so damned expensive. 


Tuesday, May 23, 2023

Why I Love You!

 OH! I love answering questions!

FOUR YEARS AGO... I was working on the first of the Zebra quilts. The block on the right is 18" square (with seam allowances, 18-1/2"). At the time, someone asked me if I could make them smaller, so the block on the left is made with 2-1/2" strips and sews up to be 16" square. Doesn't look like a tremendous difference, but...

When you put it next to the others, there is a BIG difference. What I really liked then, and still like now, is the BIG graphic quality of this. Meaning it is very "design-y" (as one of my college classmates one said of something big and bold.)

When Karen asked yesterday if I could make the blocks of the RWB quilt smaller to be more efficient, the answer is both yes and no. Yes, because, yes you probably COULD get two (smaller) blocks where I can only get one of the larger ones. But it would only be EFFICIENT if you USED the leftover blocks to make something.

Ultimately I did not choose to go with smaller blocks, and part of that was how big the finished quilt would be. The other part was I loved the BIG IMPACT the scale of the diamonds provided.


My Zebra quilts are made basically three big 18" blocks across by four down. Before adding a border, they are in the neighborhood of 54" x 72". If you made the blocks smaller, even 2", then this layout becomes 48" x 64". Not, in my book, big enough to be a real quilt. A quilt that size will NOT cover me up, and a too small quilt is kinda dumb. (Ever wonder why I don't make "lap quilts?" Because where I live in New England it gets COLD, and if I want a quilt to keep me warm, warming up half my body ain't gonna do it.)

To make that quilt BIGGER, you would have to add an additional 16 inches. So now you have 64" across, but to balance the design, you also have to add 16 to the height, and that makes 80 inches. Now you're getting into a quilt size that begins to be unwieldy. I mean, if somebody you're making a quilt for is over six feet tall, and is "big" then a quilt like this might be OK, but to me that's just too big.

If you only made five vertical diamonds across (the one above is six) then you can get a quilt 56" wide, but the design above would have three and a half diamonds across, and that's just dumb. 

It could work for a Ribbons quilt, like this one, because one more (or less) vertical row won't affect the design right to left, but to add another 16" vertically would make a quilt 56" x 80" and to me that's just stupider. The top of a queen sized bed is 60" x 80". Why make something that won't cover that? And for the Ribbons quilt, I'm not sure the lovely wiggle you see above would work with another row below it. And you'd have half green triangles instead of whole ones, and that might look weird.

Bottom line: Scale matters.

I DID, however, figure out how to make the quilt more efficient. Make TWO! I can't be the only quilter who has ever been asked to make TWO quilts that are the same. Or damn close. With not a lot more fabric, and a bit more time (and very clear directions) "you" (or somebody) could make two quilts at the same time. 

Monday, May 22, 2023

Options, Options, Options!


I thought I would finish this quilt on Saturday. I had like three triangles to make.

WELL THAT WAS WRONG... 

I tried to distribute the prints, and make it look balanced. I did NOT finish on Saturday. This was where I was on Saturday night. I got across the room and squinted and thought, hmmm, it looks kinda grayish, from where the red and blue blend in your eye.

NOT exactly what I had in mind. 

And then I thought, well, what if I made the diamonds in one color? So I swapped each pair of triangles.

I liked it better already, but - AGAIN - I had to tinker with the fabrics to make each diamond cohesive. After I remade a half dozen triangles, I had this.

But when I went across the room and looked, I thought, "Damn, that's a lot of RED." What's funny is there is EXACTLY the same number of red triangles and blue triangles.

SO NATURALLY I had to flip the triangles again...

And I like it better.

I have to tinker yet again, and I'll do that later because my brain is already fried.

These are the leftover pieces from cutting my triangles and the triangles I decided to replace to make the quilt better looking.

This is a spectacularly inefficient block to make. Because of the way this pattern is, the leftovers from the two striped triangles you make for this quilt CANNOT be transformed into each other. So there is a lot of waste. When I started to make this quilt I thought I would update the Zebra tutorial with it, but it is so fussy and creates so much waste that I have decided against it. 

But I think it's going to be a pretty terrific quilt.

Friday, May 19, 2023

Ding Ding Ding!

 Red and Blue fabric has arrived, been washed, ironed and cut into strips. I have been making one triangle at a time and tossing it up on the design wall to see how it goes. So far so good.

Yes, I also used some dinosaur fabric in this quilt. What the hell.

I was not really worried about arranging this yet. Just getting blocks made and tossing them up on the design wall. There is a very particular way they are arranged, so by this time, after I get a pair of fabrics sewn together into a four strip set (like the photo above) I considered where best to place it in the quilt and cut the triangle accordingly.

This isn't it by any means, but it gives you an idea of where I am headed. I am pretty pleased. It will be a great summer quilt. For somebody.

About the Spelling Bee: I've played since the start and for months I was thrilled simply to get to Genius on my own. That was pretty normal. One day, quite by surprise I hit Queen Bee ABM, as they say in the Community. A few months later I realized there are HINTS, and then later I realized some hardy folks like Steve G and Kline and Jenn and many other leave nifty hints on the community bulletin board. Once I figured that out, I was able to reach QB regularly. Daily in fact. Now I strive to get the pangram on the first word. I did that today (5/18/23) and then I discovered there were FOUR pangrams today. I got the second one pretty quick, struggled with the third and got the fourth as my very last word which gave me QB status.

I asked my boss where he liked fishing the best, the ocean or a local lake or pond. His reply was terrific, and I thought you'd all enjoy hearing it:

"I like fishing so much I'd fish in a puddle."


GREAT line!


Sunday, April 30, 2023

Greensleeves


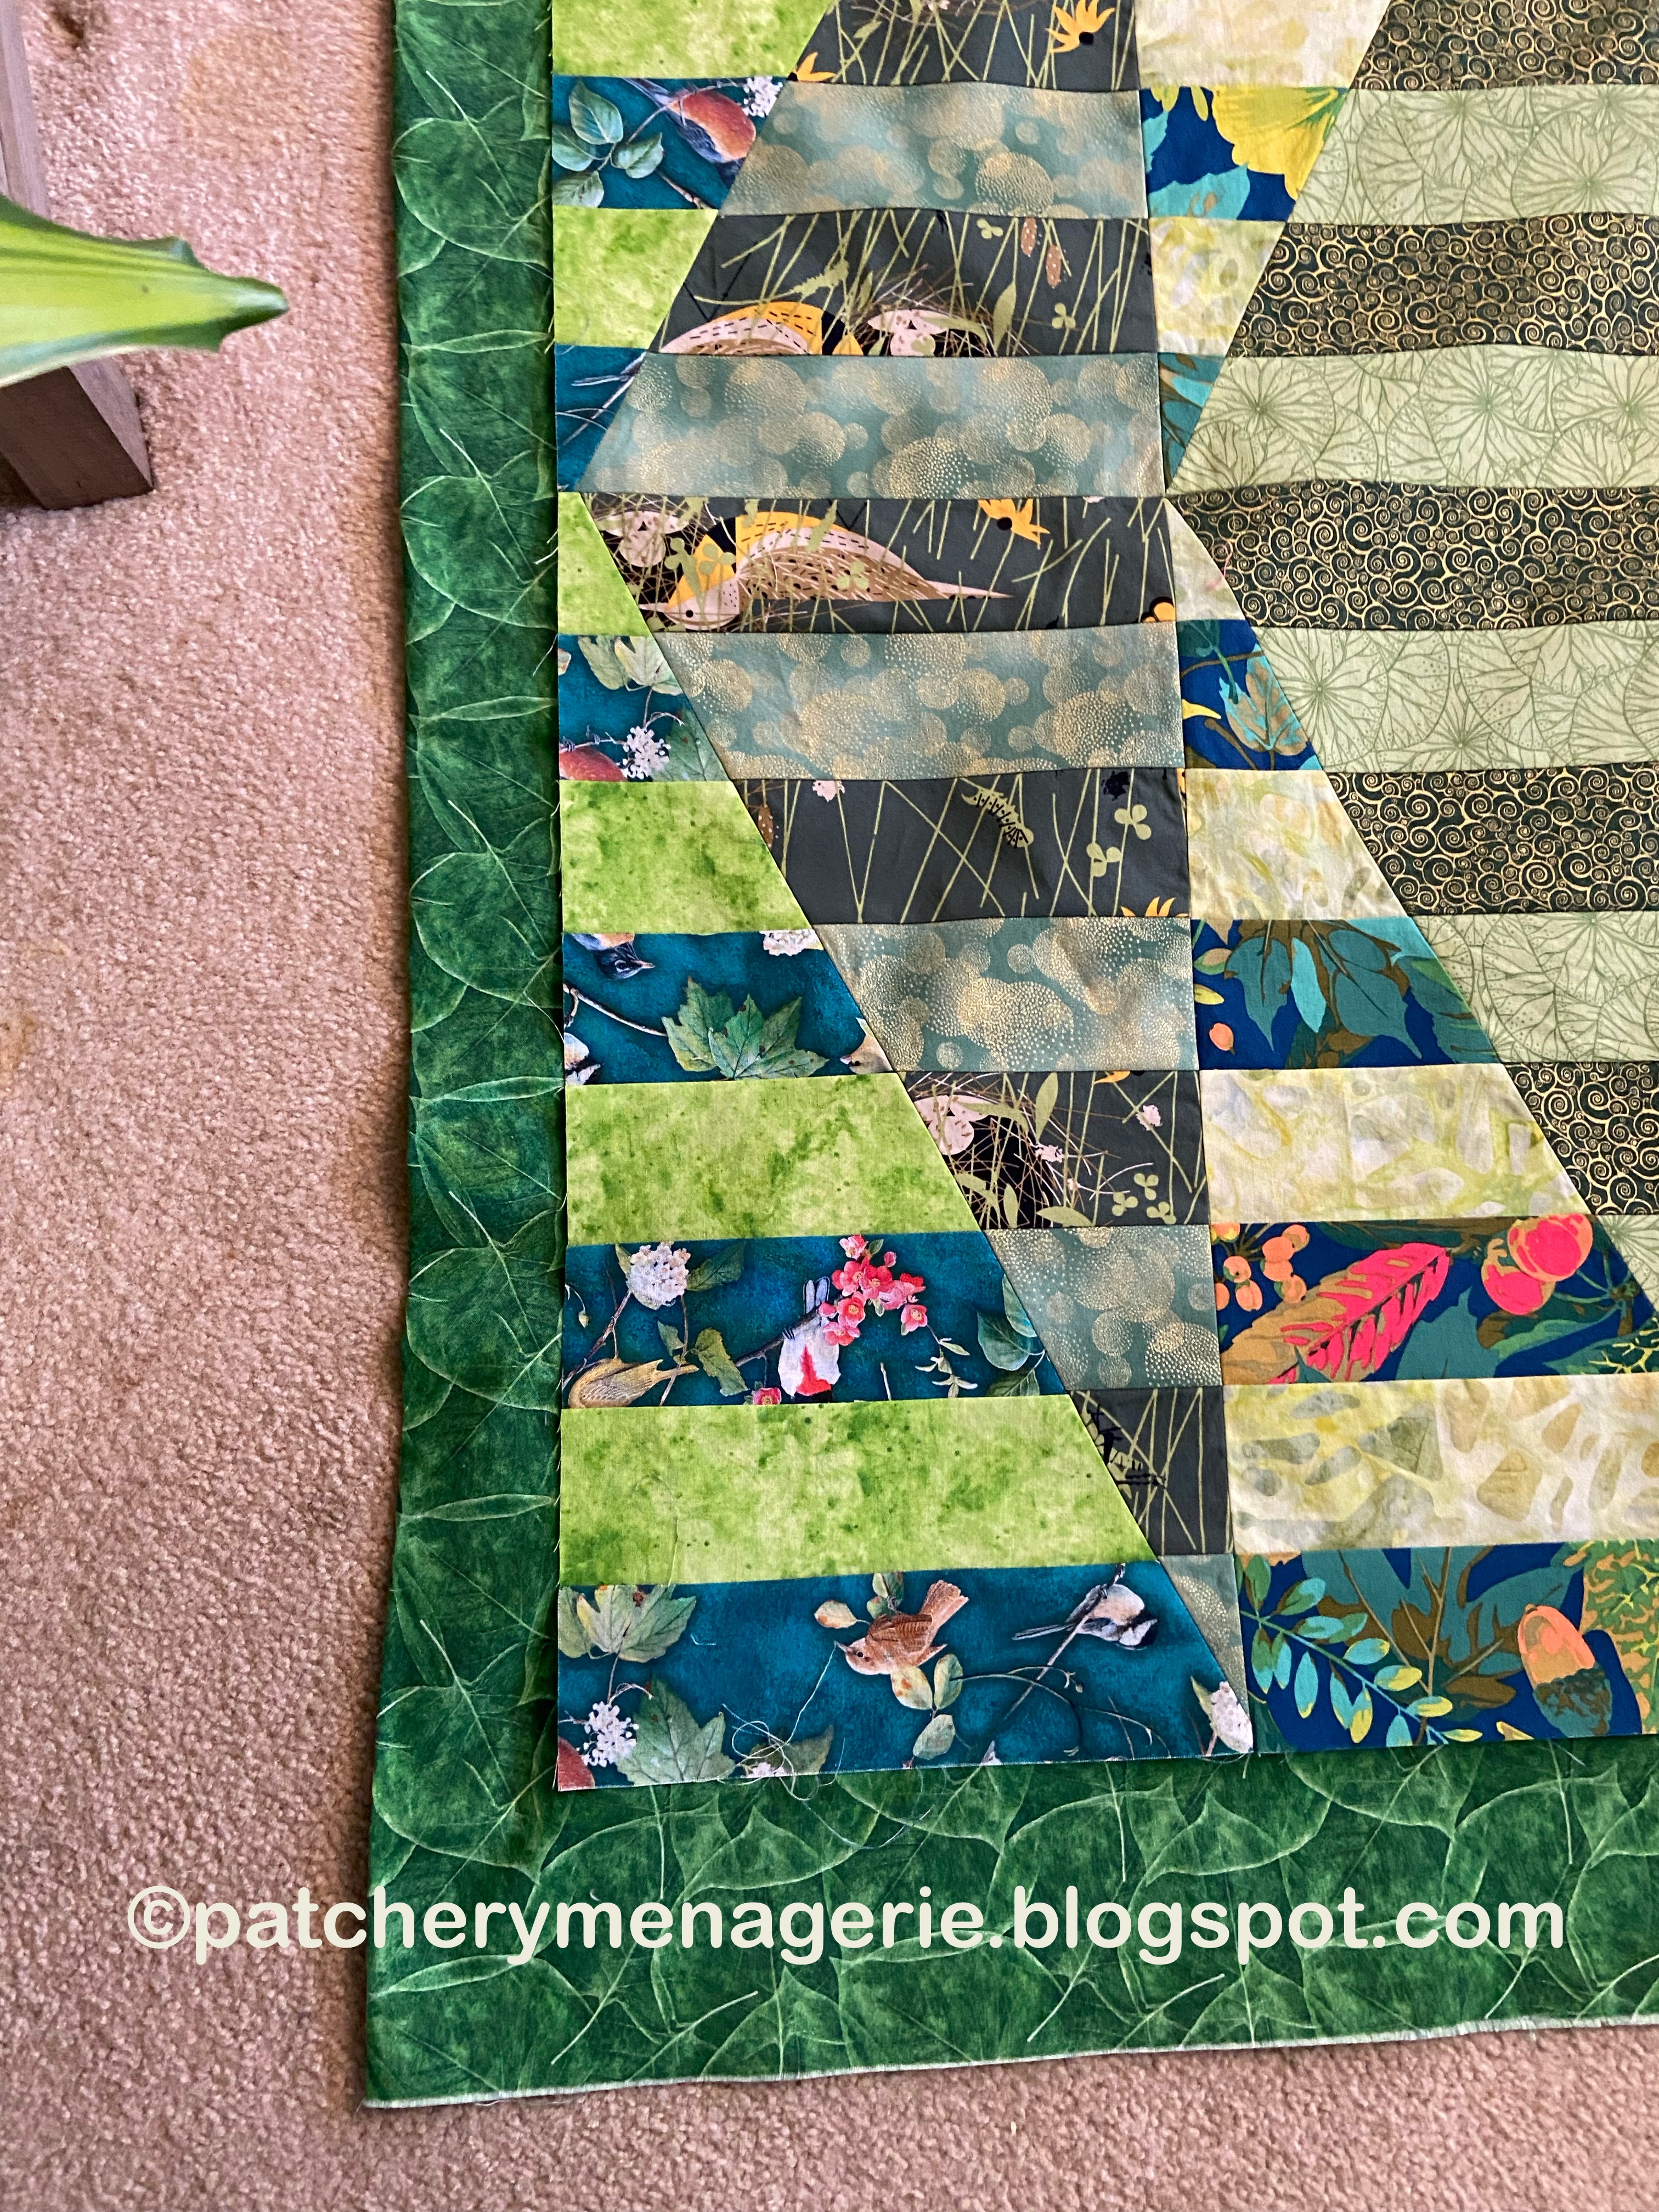
The green Zebra quilt is now a flimsy, and I've decided to call it "Greensleeves." There is a piece of early music with that name and I always liked the tune.

Some time ago my pal Julie sent me this big Jane Sassaman fabric, and I will use it as the backing of the quilt. But the quilt needs a small border...

This dark green seems too harsh.

This one is in the quilt itself, but it seems to mushy to me.

This one seems too cold (translation: it's too blue).

This olive isn't my favorite color by any means, but it is the spirit of the rest of the quit, and it doesn't call attention to itself. I will probably use it, but I will put it all up on the design wall so I can look at it for a day or so to be sure.

Now, I don't know what it's been like in YOUR neck of the woods, but this is what the weather looks like for the next ten days here. Which is pretty miserable. The thing that makes it WORSE is that this is what the weather has been like here for the LAST TWO WEEKS.


Friday, April 14, 2023

Being Green


 I'm pretty sure these are the greens and pairings that will make it into the new Green Zebra quilt.

Sunday, April 9, 2023

From One Thing to Another...


These are some of the greens for the new green quilt. As you can see, I have set out the dark green fabric strips over the lighter green to see how it might work together.

I had thought that these two would work, but as you can see, this pair don't bring out the best in each other, the way the pair at the top photo do. This is why you have to put things next to each other and try them out
These are a couple of samples I've sewn together to see how it's going to look. I have several fabrics on order, so I can't really get started until those arrive. I thought to myself, DAMN! I don't want to wait. Then I looked over at my worktable and saw lots of PINK fabrics....


I bet you can see where this is going.

(What? You never associated a humpback whale with the color pink?) The photo above shows something I always do when I make a Zebra quilt. I try to sew the fabrics together in such a way that the alternate strips keep the pattern on the fabric going. You can see it in the whales above,

And also in the lighter fabric above. I think this helps the design flow because your eye connects the shapes and continues the design. In other words, it LOOKS right.


So here are some pink ladies dancing. (Maybe that's a quilt title?)


So this is a Zebra quilt, and you can get a tutorial here on how to make it. You can see more examples of my Zebra quilts here.