Showing posts with label backing. Show all posts

Monday, December 29, 2025

Working in the Studio


I spent the last couple of days cleaning the studio and preparing backings and bindings for the quilts I have been making.

Next up I'll be sewing the binding on the Green birds quilt.

For those of you who haven't made birds yet, you can get my tutorial for them here at my Etsy shop.


Tuesday, March 11, 2025

Backing for the Carnelian Quilt


It turns out I had a great piece of orangy-ish backing in my stash. I don't know when I got it, or what I got it for. Problem is, it isn't big enough for the backing, because I need six extra inches on all four sides.

I sewed a long strips of leftover blocks together. I would use that to make the backing wider, but that wouldn't be enough. I decided to cut 12" across the backing strip along the bottom, add some extra orange fabric to it, and sew it to one side of the backing, then I'd insert the strip of blocks into the backing.

I often forget to use my great big dining room table as a work surface, but I put it to good use trimming the backing fabric. Before I could sew something to the side, I had to trim it straight. A great big long table is really useful here.

Then I sewed my extra strips to a big chunk of the backing.

Here's what that looked like. Lastly, I sewed the other piece of backing to the other side of the pieced blocks.

Before I bring any quilt to the long-arm quilter, I always lay the quilt on top of the backing so I can make sure the backing is big enough. 

It's big enough, and I think this is going to be terrific!


Wednesday, February 12, 2025

Binding and Backing


I made the backing for the Needle in a Haystack quilt. I know it's going to be terrific!

I figured as long as I was at it, I should create the bindings for the other quilt tops I have waiting to be quilted. From left, the binding for the second Nightingale quilt; the binding for Needle in a Haystack; binding for the third Nightingale quilt; binding for the Joyful quilt, and binding for Cat's quilt.

I thought, well, in for a penny, in for a pound, so I also made the binding for three other quilts, the Bananas quilt; binding for the Little Boxe and the binding for the Harlequin quilt. And then I got the bright idea of labelling them in case something happened and I lost my mind and forgot which binding was for which quilt.

So here they all are, waiting for their appropriate quilts.  I'll be collecting the Joyful quilt next week, and will be dropping off Harlequin, Kangamangus and the Little Boxes quilts for quilting.

And by the way, you have not lost your mind. I have made tenths  quilt tops since I retired.

What's next? I did some stash replenishment shopping and I have ironing to do over the next few days.

Sunday, January 26, 2025

Is it Square?

I love using preprinted panels on the backs of my quilts. There is, however, one problem. They are never square. I want to insert this into the feathered fabric, but I have a little work to do first.

What is "square?" A square is a polygon with 4 sides equal in length and the corners are 90 degrees.

Something (like a quilt) is considered "square" if it is a four sided polygon and has four 90 degree corners. If your quilt is "square" it has four 90 degree corners and it will lie flat. 

Another interesting fact: if your quilt is "square" the measurement from diagonal corners will be the same.
 

This fabric panel is not "square." It is slightly bowed. Forget the printed lines around this design. As any quilter knows, stripes printed on fabric do not always (in fact hardly ever) follow the straight of the grain.

To use a fabric panel like this first it has to be trimmed until it is "square," which is no small feat.

Here I have trimmed the bird panel so it is square and added a strip of fabric to all four sides. NOW I can add the feathered fabric all around.

Your quilt being "square" is a very big deal. As I have said before, if a quilt is square it will lie flat as a pancake and there will be no wobbles or ripples and your long arm quilter will love you.

Your quilt will be "square" if each of your blocks is square. Many people think my quilts are paper pieced. I really couldn't figure out why for a long time, but now I know it is because my work looks perfect and lies nice and flat. How do I do it? I trim every edge straight and make sure every panel, block or whatever, is "square before I sew components together. And even after I do THAT, I make sure the result is "square."

Very. Big. Deal.

Worth. The. Fuss.


Friday, December 13, 2024

Murphy Reigns!


This is the backing of the quilt for Cat's quilt, and if you notice there is a big chunk of something else at the bottom of the green bit. This was not originally planned.  (Did you see Murphy's name in the title of this post?)

Long-arm quilters require the backing for a quilt be six inches larger on all four sides. The green bit above is barely three inches, so I had to add more fabric to the bottom. (The eagle-eyed of you will recognize that extra fabric as the leftover backing from the Cobblestones quilt. See! I told you I keep all leftover bits and re-use them where needed.)

So why did this happen?

Because I ordered the backing fabric before I decided to add a border to the quilt, so I didn't order enough backing fabric. Oh gee darn. That meant I had to add extra fabric to the bottom.

I knew I had to do this because I ALWAYS lay the backing fabric on the floor and set the quilt top on top of it, making sure I have the allotted six inches extra on all four sides. If I don't, then I add more fabric, as I have done here.             


Monday, October 14, 2024

Backing for Morning Garden Quilt


There are several Charley Harper prints in the Morning Garden Quilt, so I decided this one with frogs and butterflies would be the centerpiece of the pieced backing I will make for the quilt.

I used the leftover blocks on the backing too!

This is the finished backing for the Morning Garden quilt.

I always place the flimsy on top of the backing so I can ensure the backing is at least six inches bigger than the quilt top all the way around.

This one is ready to go!

Sunday, March 24, 2024

Let It Rip!

 My least favorite part of making a quilt is getting the backing ready. I don't often use the large 108" wide fabric sold for quilt backings. I bought some for the Awash in a Sea of Blue quilt, but then also bought a panel to fit into the backing.

If you've ever worked with one of these panels you know they aren't square (all corners are 90 degrees) and the sides aren't straight. Look at the right edge of the panel above, you can see how much it bows out.

The first thing I had to do was figure out where the panel would fit in the backing piece, and what size pieces of the background did I need to cut.


Then I had to figure out how to cut the pieces out of the big piece of fabric I had. You would think that a piece of fabric 81" wide by 108" long would be plenty big, but remember this quilt is 66" x 78" and needs an additional 6" all around, so that grows to 78" x 90" Sure that looks big, but I'd need two pieces about 30" x 90" and two more about 24 to 28" by about 36-40". That was going to be a bit fussy.

So the first thing I did was to surround the panel with strips of dark blue fabric. This allowed me to straighten the edges and make it "square." Now that I didn't have to worry about how to adjust the backing, I could move forward.

An aside: If you have ever bought fabric from the Portsmouth Fabric Company, you know they TEAR the fabric, not cut it. This is a shock when you first see (and hear) it, but if you need a 90" long piece of fabric on the straight of the grain 28" wide, it's actually easier to tear than to cut. (Do YOU have a table 90" long?) So the straight edge you see in the photo above was achieved that way. I notched one edge of the fabric and let it rip.


I sewed the chunks to the top and bottom first, then added the long side strips.

TA-DA!

That's done!

One other thing: I did not expect to wake up yesterday to four inches of snow on the ground. On the first day of Spring.


Saturday, March 23, 2024

Backing and Binding for Awash in a Sea of Blue

 The backing and binding fabrics for the blue Scrap Slab Triangle quilt, Awash in a Sea of Blue, have arrived.
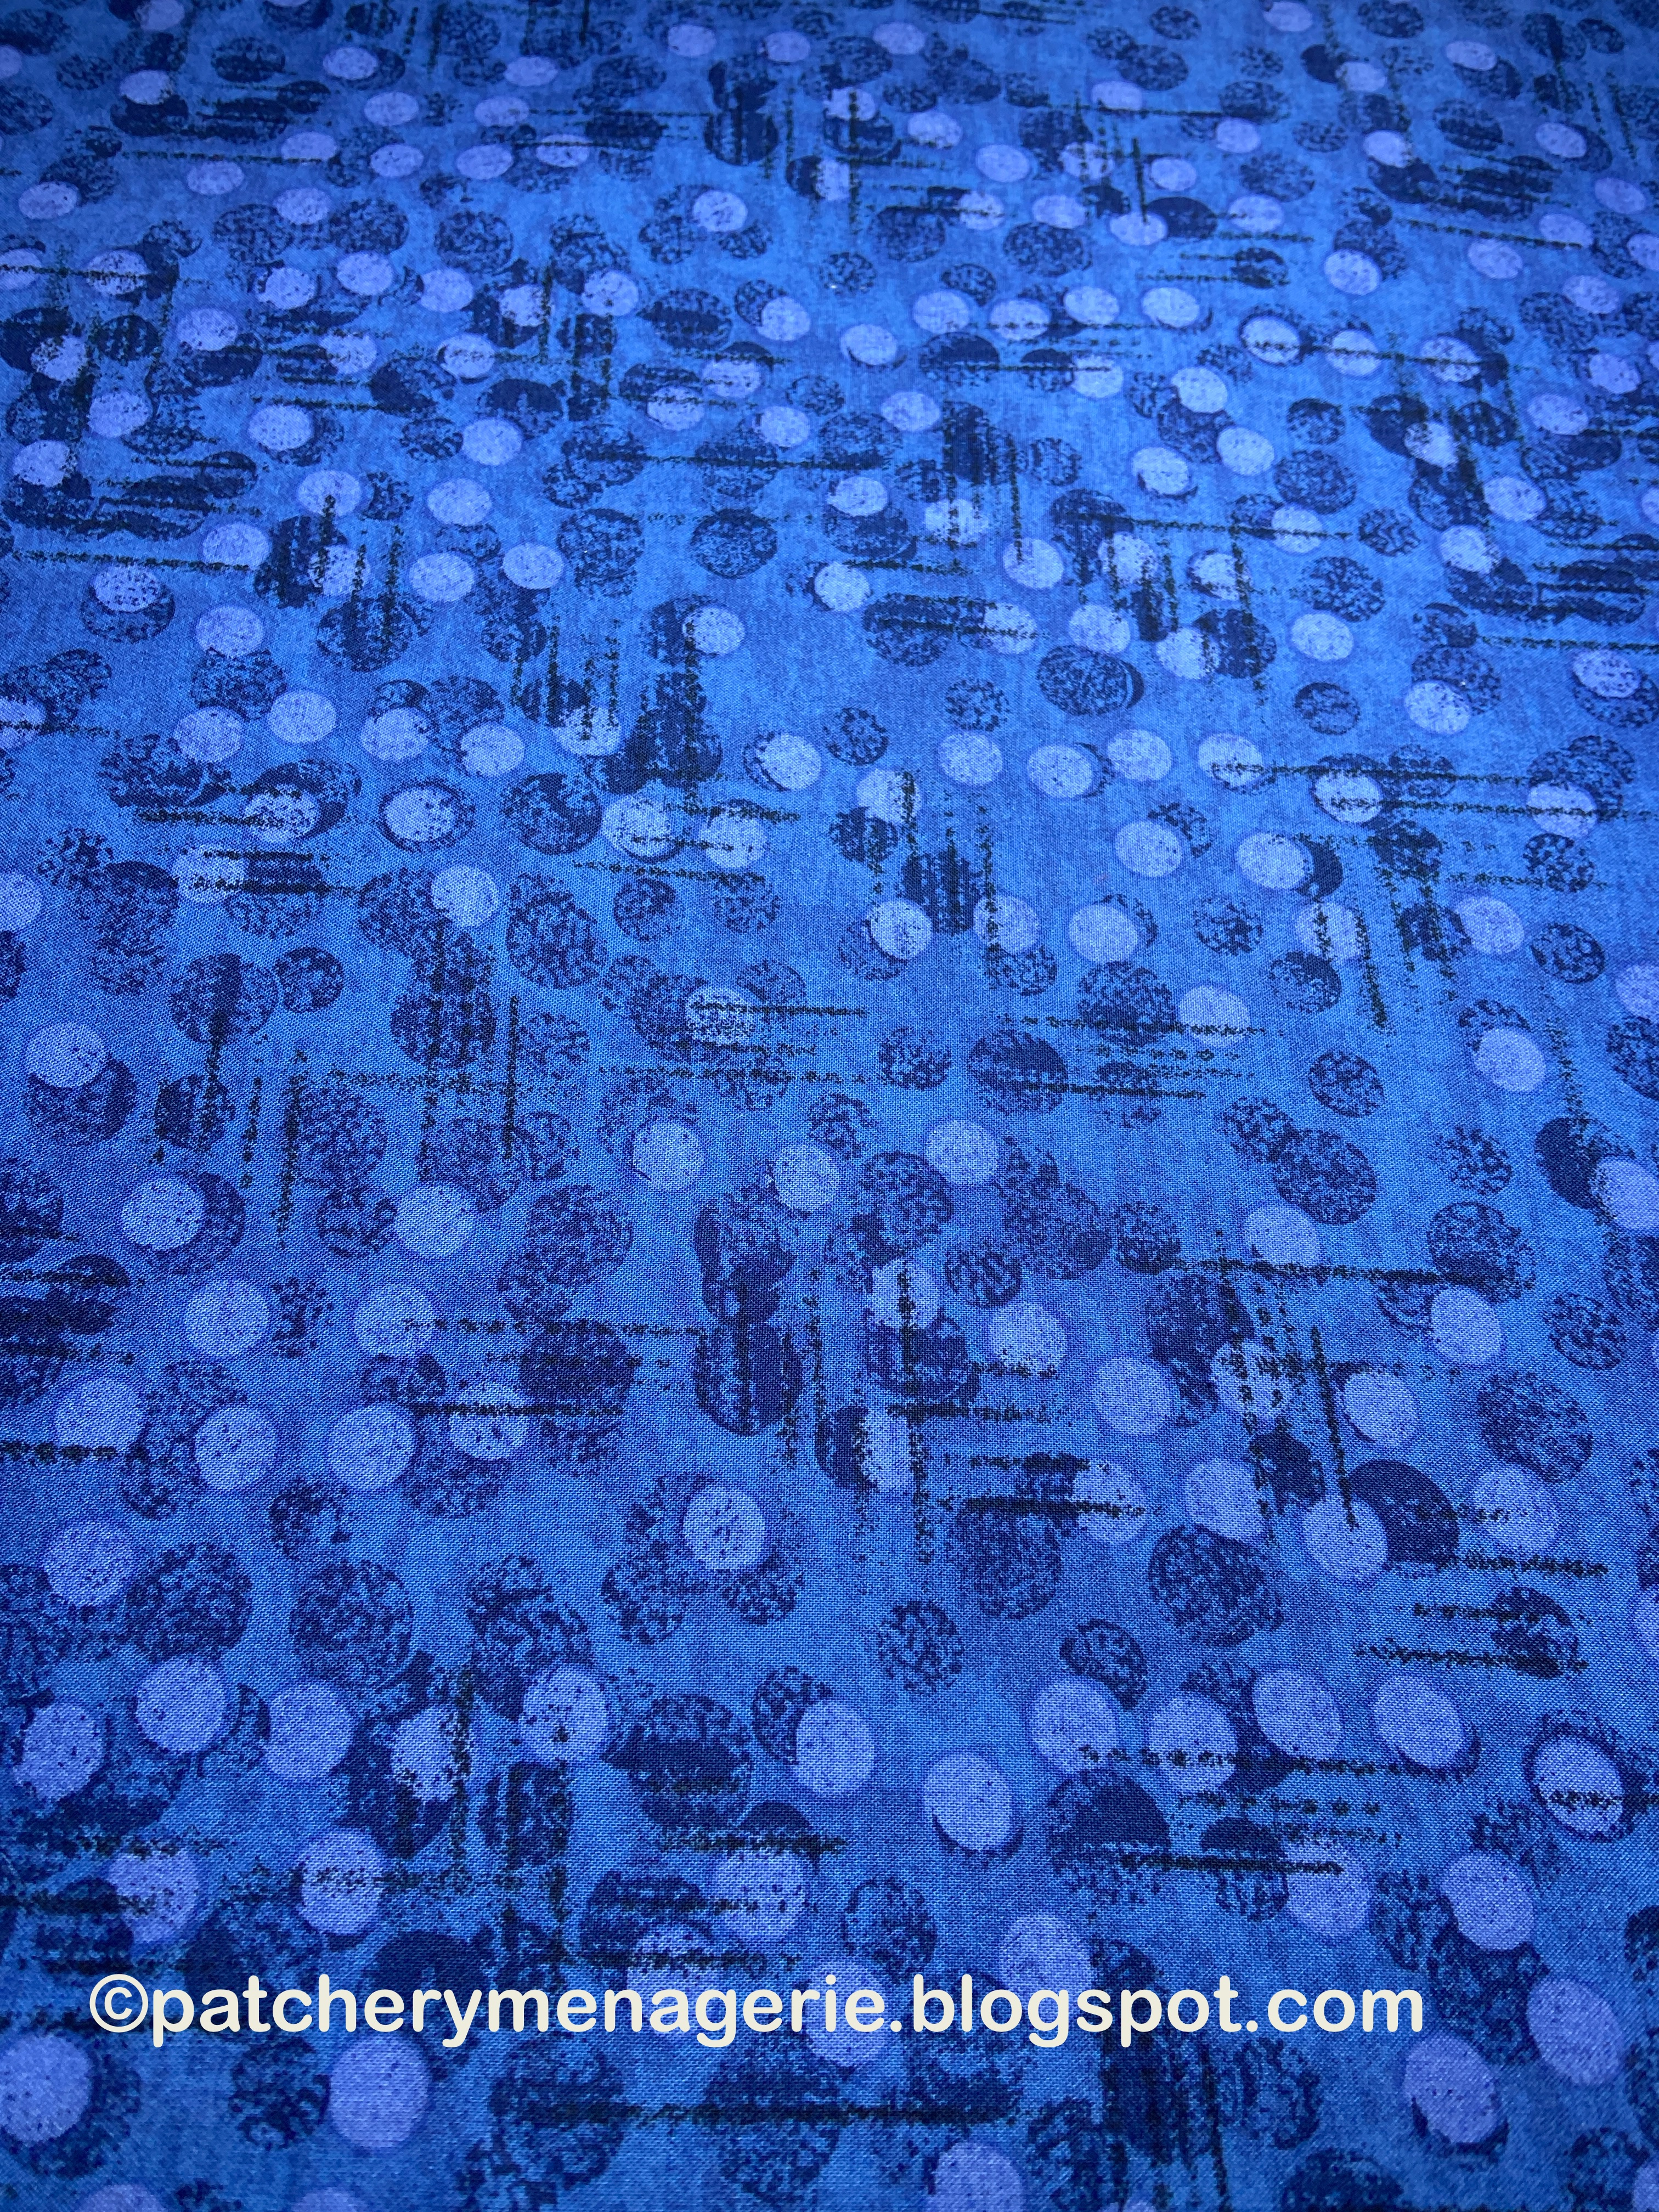
This will be the majority of the backing. I had placed this in my shopping cart, and then went hunting for the binding.


This swirly blue will be the binding fabric. I was ironing it (because you know EVERY SINGLE PIECE OF FABRIC that comes into my house gets a trip through the washer and dryer before I bring it into the studio) and I figured, might as well cut the strips for the binding at the same time. 

I didn't really NEED anything else, but I decided to browse through the online shop. 


I found this lovely panel, and knew I would put it on the back of the quilt. I have hung it up on the design wall on top of the quilt itself, just so you can see how well the two look together. I will surround this panel with the blue fabric in the first photo in this post.

That's my task for tomorrow.


Tuesday, September 5, 2023

Making Lemonade

 There's a saying that goes, "When life gives you lemons, make lemonade."

I am getting fabrics together for the backing of the pink and white zebra quilt. I figured I'd use what was in my stash, but I knew I'd use all the leftover pink triangles somehow. So I stated to lay them out, and I got an idea. Or rather I remembered one.


Instead of arranging the extra blocks as I usually do, emphasizing the contrast between the triangular blocks, here I arranged adjacent blocks so the darks in each "connected," creating rhombus shapes instead of triangles. I figured once I got to the center, I'd change direction.

I needed more, so I designed a second row, a mirror image (more or less) of the top row. I used only the leftover pieces, but I did cut a couple of triangles from the leftover 8-strip sets from the original quilt.


So this is the result. It's about 36" x 72", and I'm pretty happy with it. I'll add the fabric you can see in the top photo to either side of this, and then fill in the top and bottom and then that will be ready for quilting.

Still needs a name, and yes, I know this could indeed be the "front" of a quilt.


Sunday, July 2, 2023

In Which Lynne Changes Her Mind


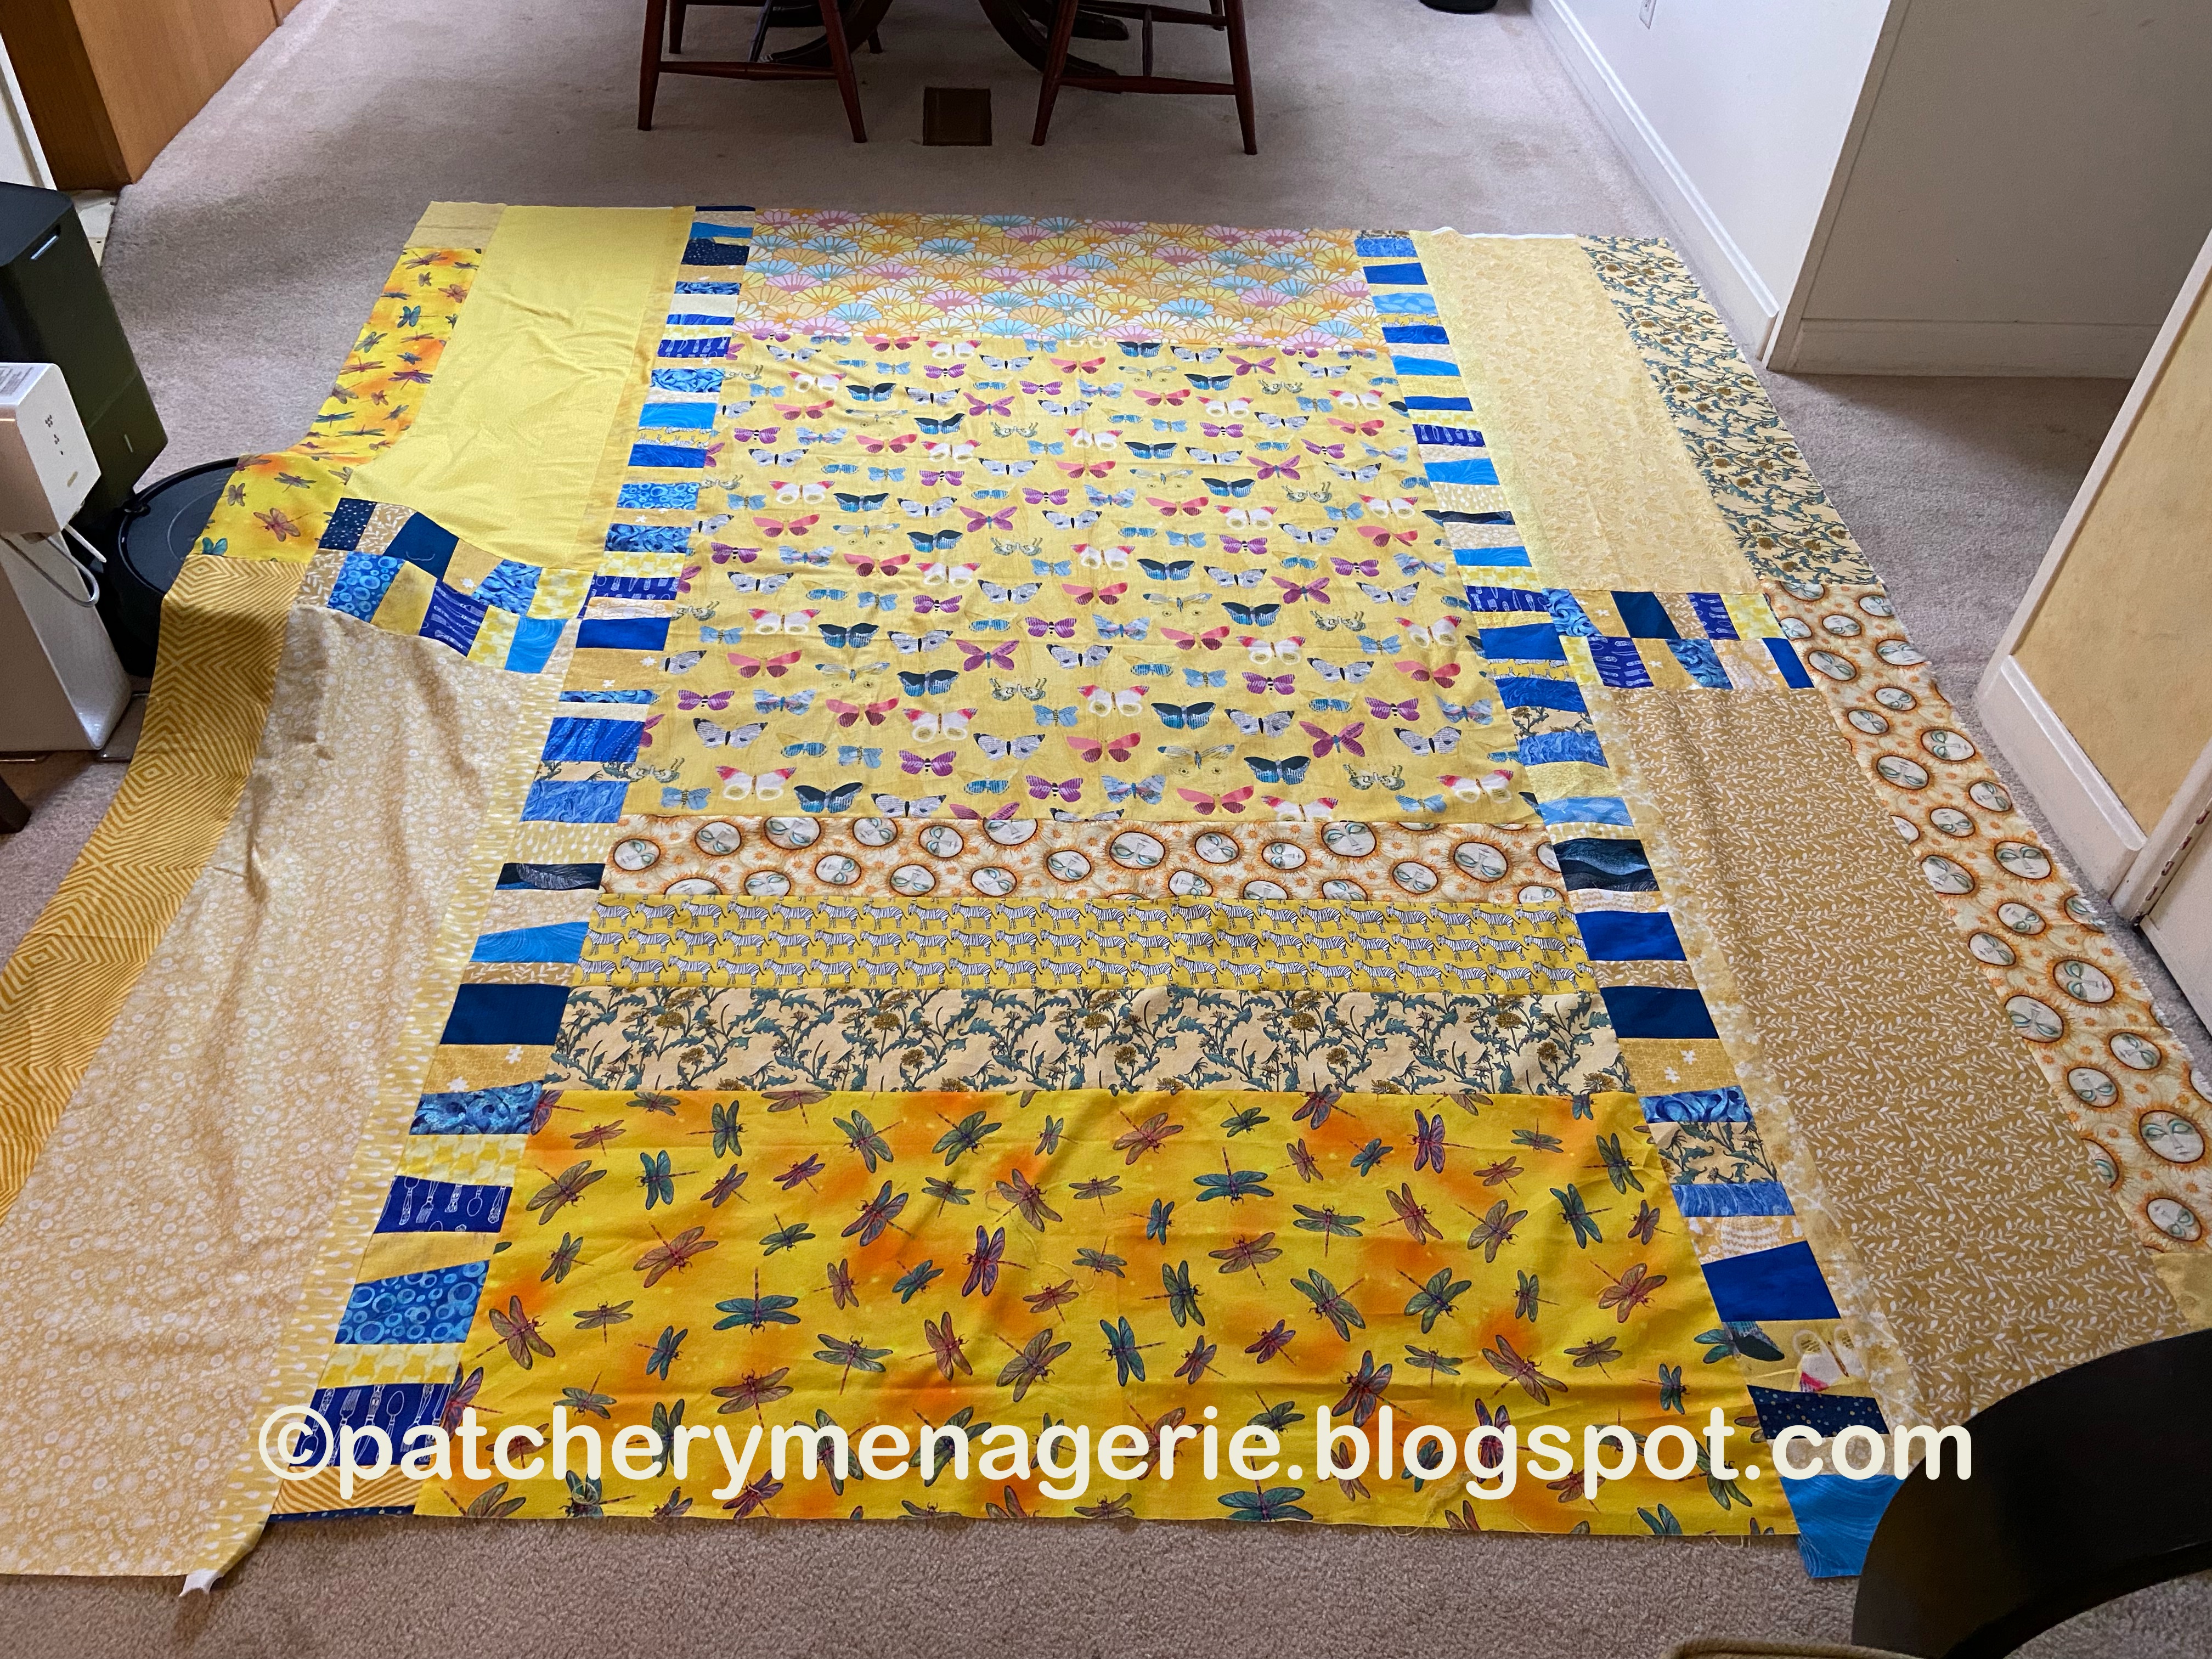
I knew the Stairway to Heaven Quilt needed a border, so I sewed a selection of yellow fabrics all around the quilt. All the yellow fabrics in the border are in the quilt itself.

The more I looked at the blue Marcia Derse fabric that Julie sent me the less I liked it. Rummaging through my stash I found bits of the yellows that were in the quilt itself, and sewed them together. 


I used more yellow fabrics and the long strips of the leftover blocks to the sides of the center panel.


Because I added a border to the quilt itself, the backing had to be still bigger, so more fabric on the sides.

I should probably have sewed two of the long pieced strips to either side of the center panel, but I didn't quite have enough. Oh well.

But I like this backing a lot better than my original concept.

Monday, June 12, 2023

The Lighthouse


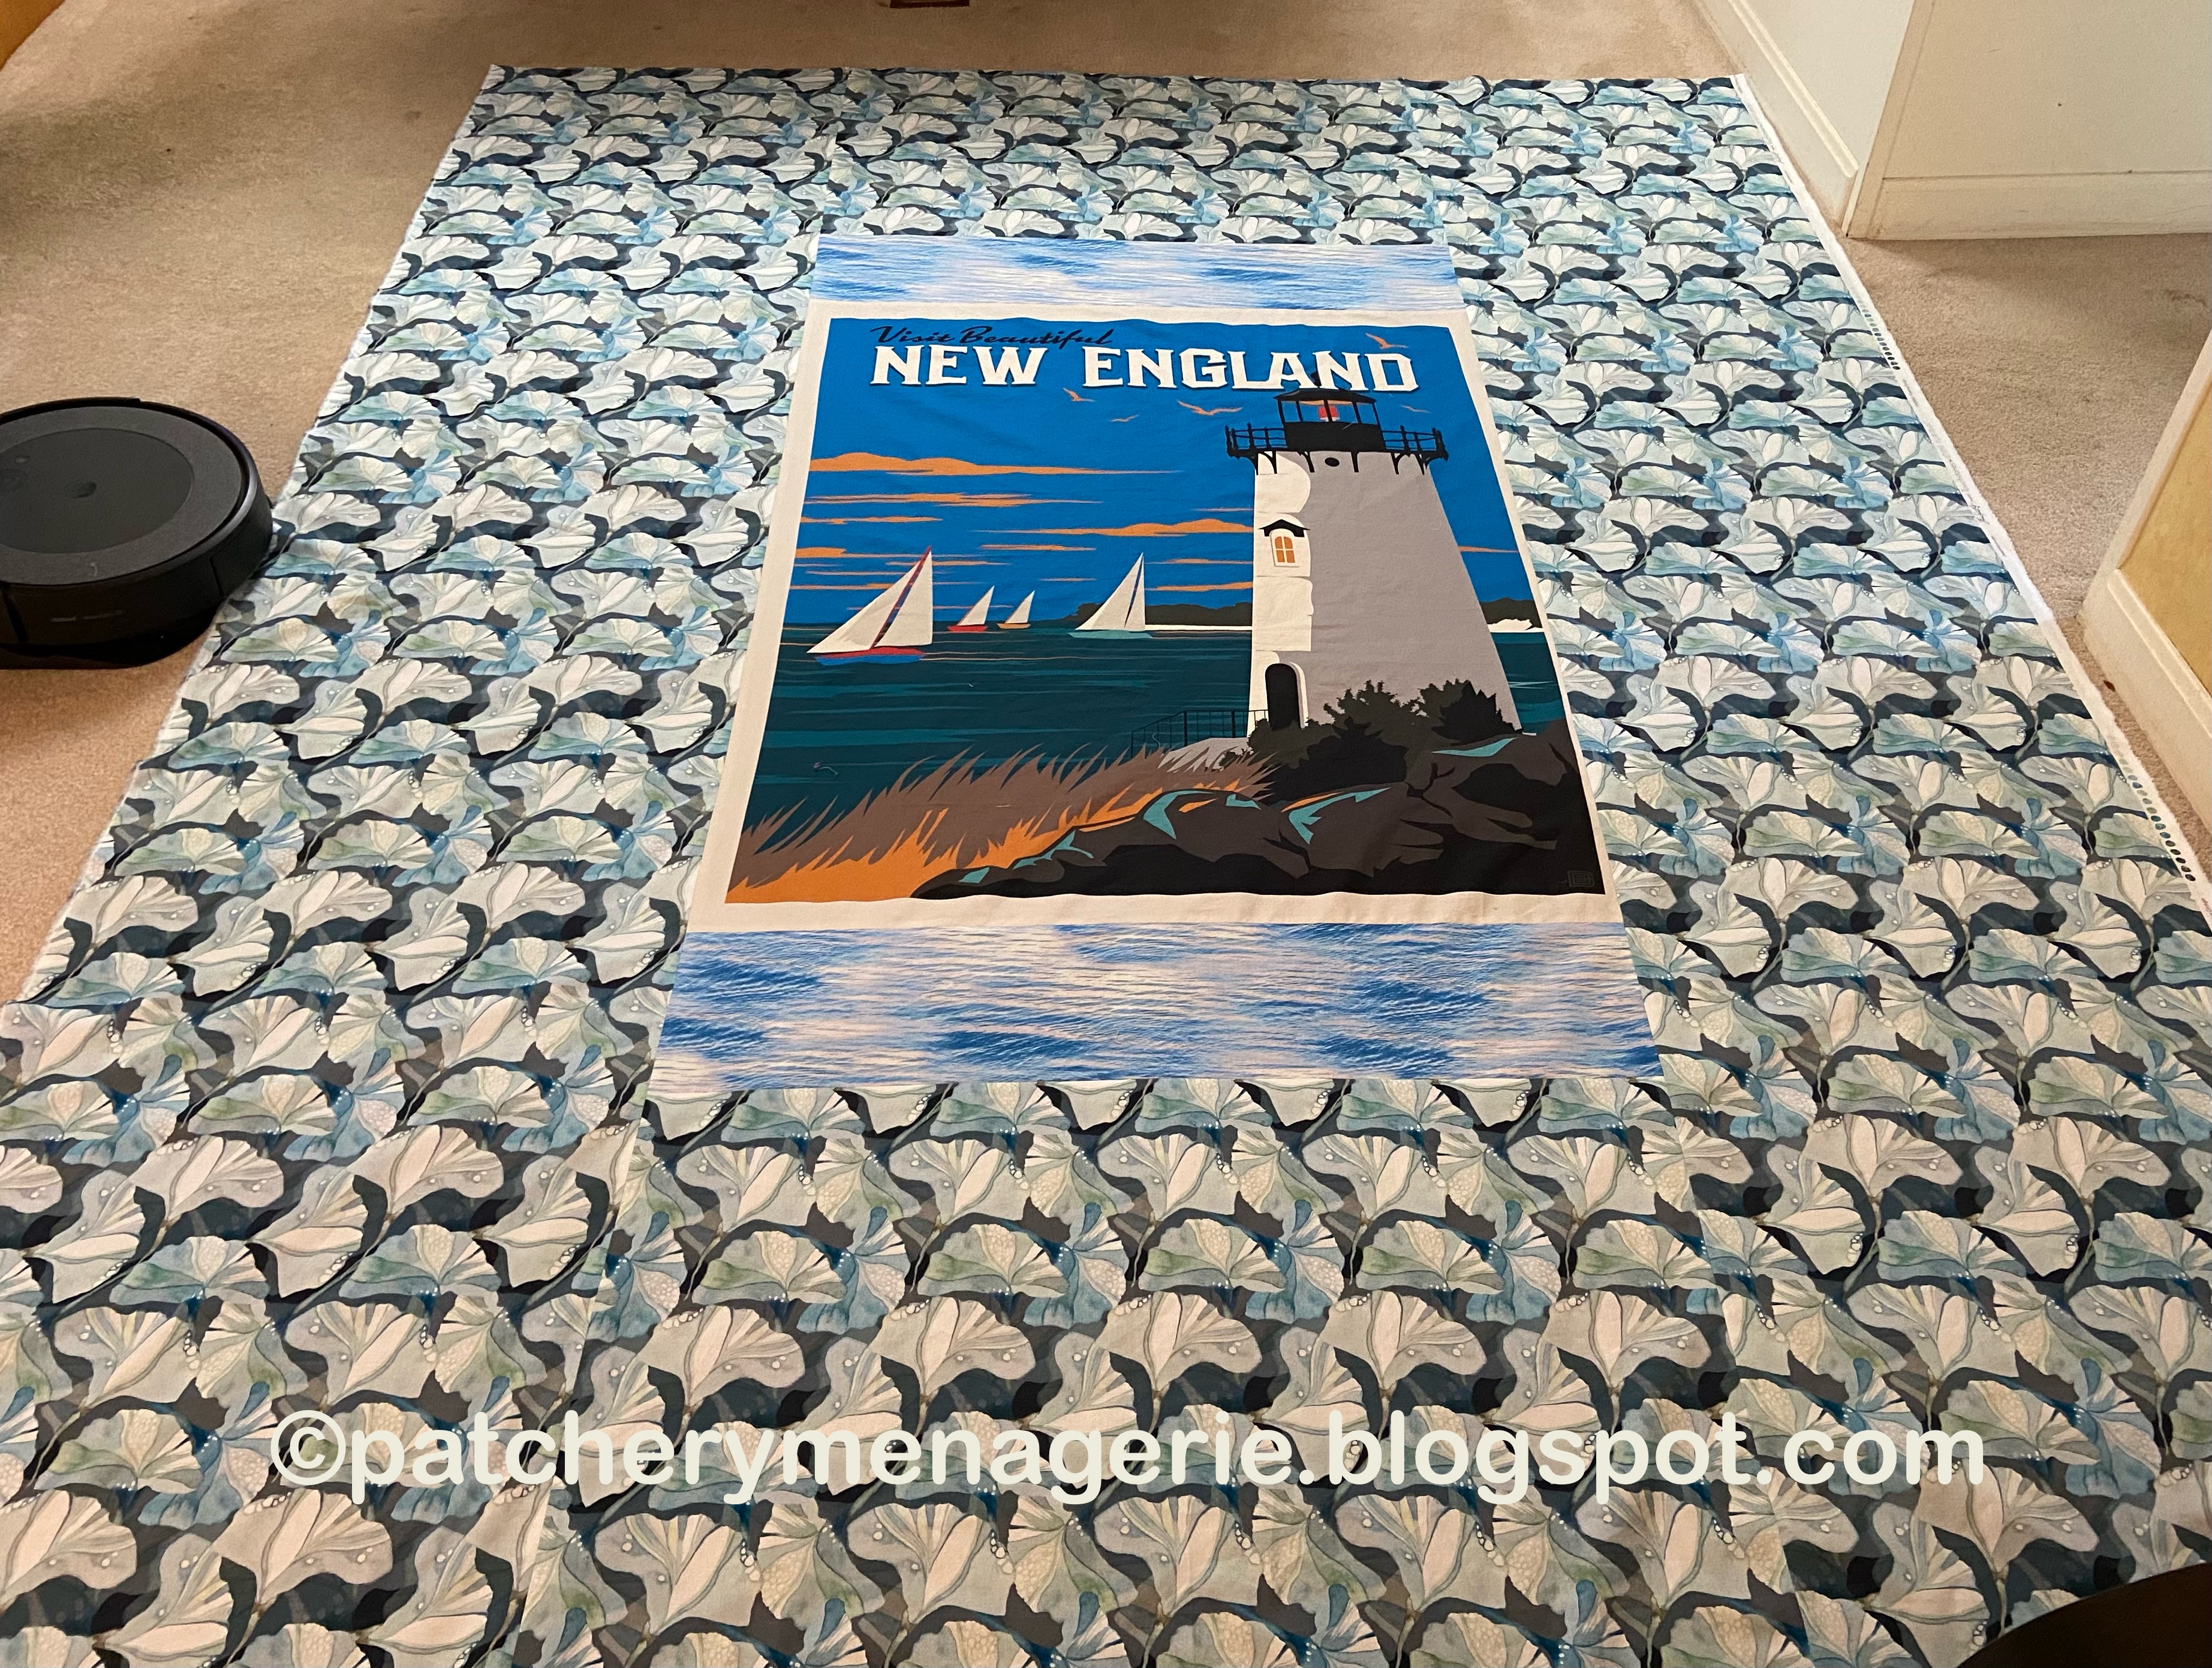
It was pretty clear this lighthouse panel would be the backing of the Fourth of July quilt. But it needed to have fabric added to it to make it big enough.

I had four yards of a fabric I could use, but after doing a lot of math on graph paper, it was clear my four yards wasn't quite big enough. Fortunately I had a piece of fabric that had a water feel to it, so I added strips to the top and bottom of the lighthouse panel.


The fabric I've chosen for the backing is directional, so I had to be careful to cut it properly. I cut two panels and added them to the top and bottom of the lighthouse panel.

Printed panels made great backings, but because they are printed, they don't always line up parallel to the straight of the grain. So I had to trim the edge to be straight. One side of the panel looked fine, but the other was really curved. Fortunately perfection is not required. Yes, these big rulers are used for trimming wallboard, but they are handy for getting long edges straight.


Because reality does not often match what you think, I always line up the fabric where I want it to go, to make sure I have enough. I did, so I started sewing the two long panels to either side.

This looks pretty good. The gingko leaves remind me of clamshells.

Laying the quilt on top of the backing is something I always to do make sure the backing is big enough. It also tells me how the two fit together. It does, and really like it.

This is the reason why I pay attention to the backings of my quilts. It's the back of the quilt that lives on my bed, and my pal Julie made it. Every time I make the bed I get to see the back and how it was put together. Julie has influenced my work in so many ways.

Friday, June 2, 2023

Oh Lynne, You DIDN'T!


I kinda can't believe how perfect this big Jane Sassaman fabric is for the back of the Greensleeves Zebra quilt. My pal Julie gave it to me because she had fallen out of love with it. But when you use yardage like this on the back of a quilt, you have to do the right thing.


You HAVE to sew it together and match the pattern. (Oh Lynne, you DIDN'T) 

OH YES, I DID!


I lined up the two lengths of fabric, and folded the top part over until the pattern matched. Then I pressed it down, unfolded it, pinned the two layers together (because hey, how else do you get the fabric to STAY where you want it to be), drew a line in pencil so I could see it...

and then sewed along the line.

I removed the pins and unfolded the fabric to see if it lined up right. 


It did, so I trimmed the seam and then pressed it open.

ta-da!

Would you know where the seam was if I had trimmed that piece on the right? Probably not. Like many things, this isn't HARD, it's just fussy, and is clearly worth the effort to get it right.

I'll never forget what Chris Ballard said when I sent the Letters From Home quilt to her to be quilted. "I like that you didn't drop the ball on the back." If you're going to put your time into something, do it right.