Thursday, January 28, 2016

Of Birds, Eggs & Signatures

When Gerald Roy first appraised my quilts he asked if I signed them. I replied that I did, and I showed him. "Not big enough" was his comment.  Since then I've made sure to make them "big enough."

 This will be on the back of the birds quilt, Flight of Fancy.

Can you see what the letter fabric is? They're not rocks.

they're EGGS!! I thought it was perfect. This will be the binding of the quilt too.

The rest of the backing will be these green leaves.

 And, of course, there had to be a bird! (Yes, the beak is the egg fabric).


And if you don't think the signature is big enough, check it out next to my hand.

Wednesday, January 27, 2016

Flimsy Complete

Here's a photo of the rumpled flimsy.

Here it is on the front steps. A bit too much shade, and it was hard to arrange the quilt without making marks in the snow,

or finding a spot without shadows,

or this! LOL!

You just have to be very persistent.

I started cutting fabrics for this quilt on 16 January, and the flimsy is complete on 24 January. (Remember I work full time.) I'm going to take a break!  See you in a few days. I've got backing and binding fabric for the birds quilt, and will be making a signature panel for the back of it.  Don't worry. All will be revealed.

Now I have to clean the house!

Tuesday, January 26, 2016

One by One by One

One of the reasons this quilt is so quick to make is the finished blocks are 14" square (35.56 cm). Here is my hand next to one of them.

Now the long, boring process of sewing the blocks into rows and the rows together begins.

This is the first four rows of the quilt all sewn together. That's all that will fit on my design wall. (sideways!)

Monday, January 25, 2016

The Layout

Once your blocks are all sewn together, arrange them in a layout. For me, working on the floor is easier. The blocks are large, and would require a very large design wall to have room for them all, and I'd have to be getting up and down a ladder to arrange them, and that gets old fast***.


Arrange the blocks. Here I have 6 rows of 5 blocks each. Rotate the blocks to your heart's content.

Make sure you don't have any "blobs" or areas of too many darks or brights next to each other. Strive for a flow of some sort. Try to distribute colors and values so your eye doesn't stop moving around. (If it stops, it's stuck, and that's bad.) Be patient. It took me over an hour to get this far, and looking at this photo as I write this post, I see a block in a place I don't like. (I've just moved it. Twice.)

Now all I have to do is sew it up!


***In my old place, the dining room had a linoleum floor, so I'd lay them out there. That posed two problems.

One problem was my cat Millie, who loved nothing more than to play "slip and slide" over all the pieces. To counteract that, I took lots of pictures. But now Millie is older and less interested, and I live in a house with wall-to-wall carpeting throughout.

The second problem was getting up and down from the hard floor. If you're of a certain age, you know what I mean. The fix was surprisingly simple. A length of 1/2" PVC pipe with a crutch tip at the end. I could hold one end of the pipe, and select and drag the block along the slippery floor. The soft plastic crutch tip caught the fabric, and allowed me to drag, place and spin the block into position while standing up.

Sunday, January 24, 2016

Slice & Dice; Mix & Match

OK, you've made all your square-in-square blocks. Place a block on your cutting mat, and line up your 6-1/2" wide cutting ruler along the left edge of the block. But don't cut yet. It's more important the center square is perfect when the pieces are sewn up, so make your cut 2-1/4" away from the seam. Cut the block along this line. Do not move the fabric.

Now place your ruler alongside the bottom edge, and slice through it, again, 2-1/4" away from the seam between the center block and the outer square.

Slice through all your blocks this way.


Now mix and match your pieces, and reconstruct the blocks any way you like. Try for a good balance of color and value. Try not to make any particular block too dark or too light.


 If you're worried about sewing your blocks up one at a time and ending up with some ugly blocks at the end, you can lay out your all your blocks so you can rearrange them before you start to sew them up. Or not.


Sew your new rearranged blocks together.


Have some fun. There are no rules.


Here are a few of the blocks I sewed together.

.


Try to avoid doing this:


when you should be doing this:


Have yourself some fun! See you tomorrow.

Saturday, January 23, 2016

I'll Show You Mine...

Here are my sixteen blocks with the busy fabrics on the outside.

Kinda crazy, huh?  Yup, I like them too.

So here are the same 32 fabrics with the "calm" fabrics on the outside.

(Yes, I can hear you all saying... "But Lynne, that acid green Ogee patterned print in the top row of the second photo is hardly what I would describe as a 'calm' print...") It's true. Sometimes the "calm" prints can be a bit noisy. But that's not always a bad thing.

Next up, we are going to cut these suckers apart...

You will need a 6-1/2" wide x 24" cutting ruler. Fortunately, most of you already have one in your studios.  So, make your Square in Square blocks and I'll see you tomorrow for the next step!

Friday, January 22, 2016

A Square in a Square

OK! This is easy. Take a 7" square and sew some of the 4-1/2" strips around it to make a block like those above.

BUT WAIT.... THERE'S SOMETHING VERY IMPORTANT TO DO FIRST!!!!

If you select a "calm" 7" square, you MUST surround it with a "busy" print. And if you start with a "busy" 7" square, you MUST surround it with a "calm" print.  This is very important. For the quilt to be truly successful (and let's face it, nobody wants to make a dud quilt), you MUST follow this rule.

Half the blocks should have calm insides and busy outsides, and half the blocks should have busy insides and calm outsides.
Now I decided to keep my pairs together, but you are under no such restriction. Do whatever you want.  HOWEVER...

If you end up with a pair of blocks like this, (and really, this looks better in the camera. In real like I could barely tell this two fabrics apart at a distance) you must recognize failure when you see it, and set it aside and try again.

 This is a much better combination. There must be CONTRAST between the two fabrics. If you don't have that, you might end up with a dreaded blob of dark in your quilt, and it will look terrible.

 Sew the long strips around the square...

Then trim off the excess.

42 blocks will make a Queen sized quilt, 6 blocks in 7 rows.  The Sunshine quilt had 36 blocks, 6 rows of 6, and it's fine for a double bed.

So make your blocks. I'll show you mine tomorrow.


oh, by the way... DON'T SEW THE BLOCKS TOGETHER. We're going to  (...gasp!!!) cut them apart!!!

Thursday, January 21, 2016

Color Color Color!

Oh boy, do I love color. For my next project, I need contrasting pairs of fabrics. One of the pair needs to be "busy" and "bright". The other one has to be "calm." There has to be a good contrast between the two.

Here are the first four "busy" ones I chose:
And here are the first four "calm" prints. They won't necessarily be paired with the ones above them.


Here are the next eight pairs.

 Here are the last four pairs. Sixteen pairs in all will give me 32 blocks. The finished blocks end up 14", so yeah, this is big. Don't try to shrink this down to 12". It will not work. You'll see why later.

Remember, I'm making a Slashed Squares quilt. Here is the tutorial...

For each color, you'll need three 4-1/2" x 17" strips (this is more than enough, but I would always rather have the strips a bit longer than run out. The strips can't be shorter than 16" but the 4-1/2" is critical. AND you'll need one 7" square. Exactly 7" and square. No wiggle room there.

When fabric was sold 44" wide I could get all of this (with two 7" squares) out of a fat quarter. But now fabric is barely 42" wide, and sometimes you have barely 41" once you remove the selvages.  So now I often cut two 4-1/2" WOF (width of fabric) strips and one 7" square out of each fabric.


NOW! You do not need to make this with new fabric. You can use scraps. Simply sew 4-1/2" wide pieces of fabric around a 7" square, to make a square in a square, like this:

When you get to this stage, the square should measure 15" on each side.

Here's a photo of this pattern made with all yellows. It's the Sunshine quilt I made for my son.


OK! That's enough for today. More fun tomorrow. 


Wednesday, January 20, 2016

Flight of Fancy Wrap Up

Before I show you the next thing I'm working on, I thought I'd answer some questions and comments I've received since I started the birds quilt.

 First, the scale. Here is my hand next to a typical bird block. These are not small.

 For my readers outside the US, the ruler above marks the size of the block in centimeters.

Here you can see the size in inches.

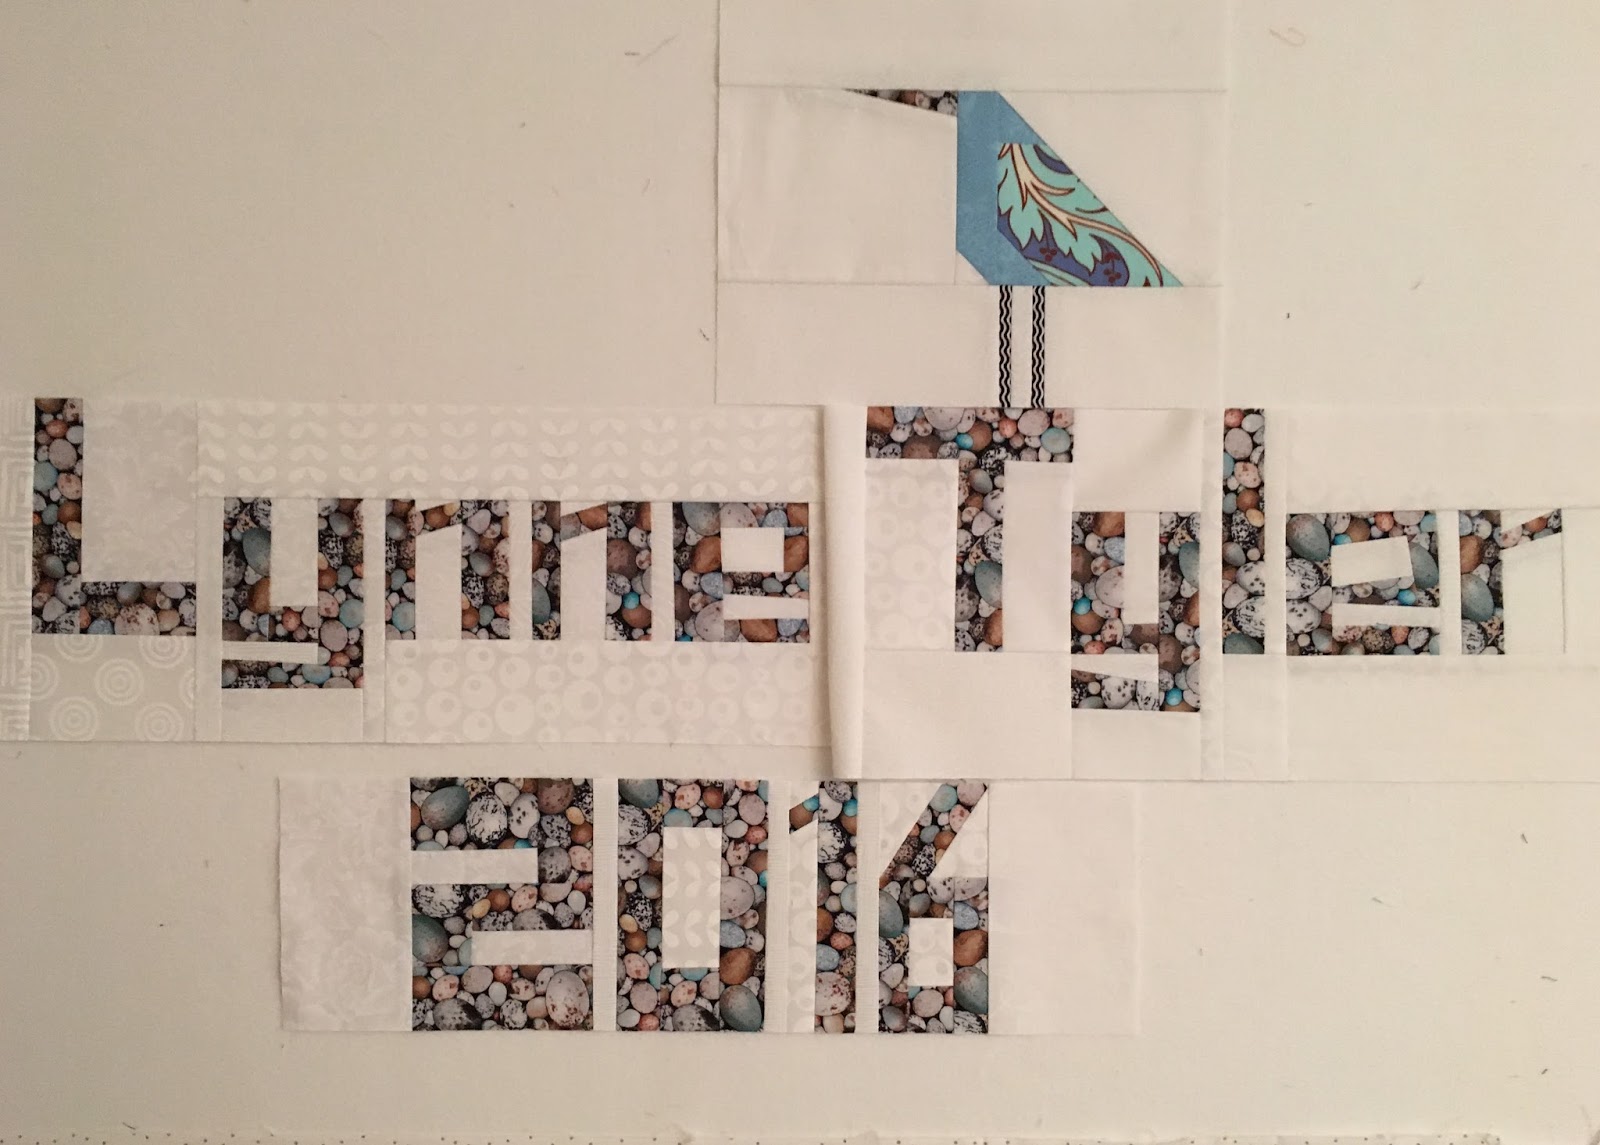
I'll make the bird bigger, if I want to accommodate a particular print.

The birds aren't my creation. I don't know where they came from. I saw a photo somewhere in 2009 or so, and figured out how to make them on my own. I have a tutorial for them here. It's pretty basic, but you should be able to work it out on your own. In this photo you can several of the triangles I used to make the bird wings. I always find fabric that looks "wingy." The tutorial gives you a way to look for "wingy" stuff.

I don't mind hard work, but I hate doing "busy" work, or what I call "stupid work." So when I know I'm going to make a lot of birds, I make a big strip of  "legs" and then just cut off what I want.

And if you think I cut a strip of fabric 3/4" wide for a 1/4" finished leg, you are crazy. I sew a wide piece to the white, then trim some off, as you can see in the photo above. It makes for a much cleaner edge, and it's a lot easier to iron. No burnt fingers!

 I don't make the beaks all the same size. (That would be boring and predictable, which isn't very interesting to look at.) Sometimes I want them small, and sometimes I want them bigger. I always "audition" different fabrics, and then test where I want them to go.

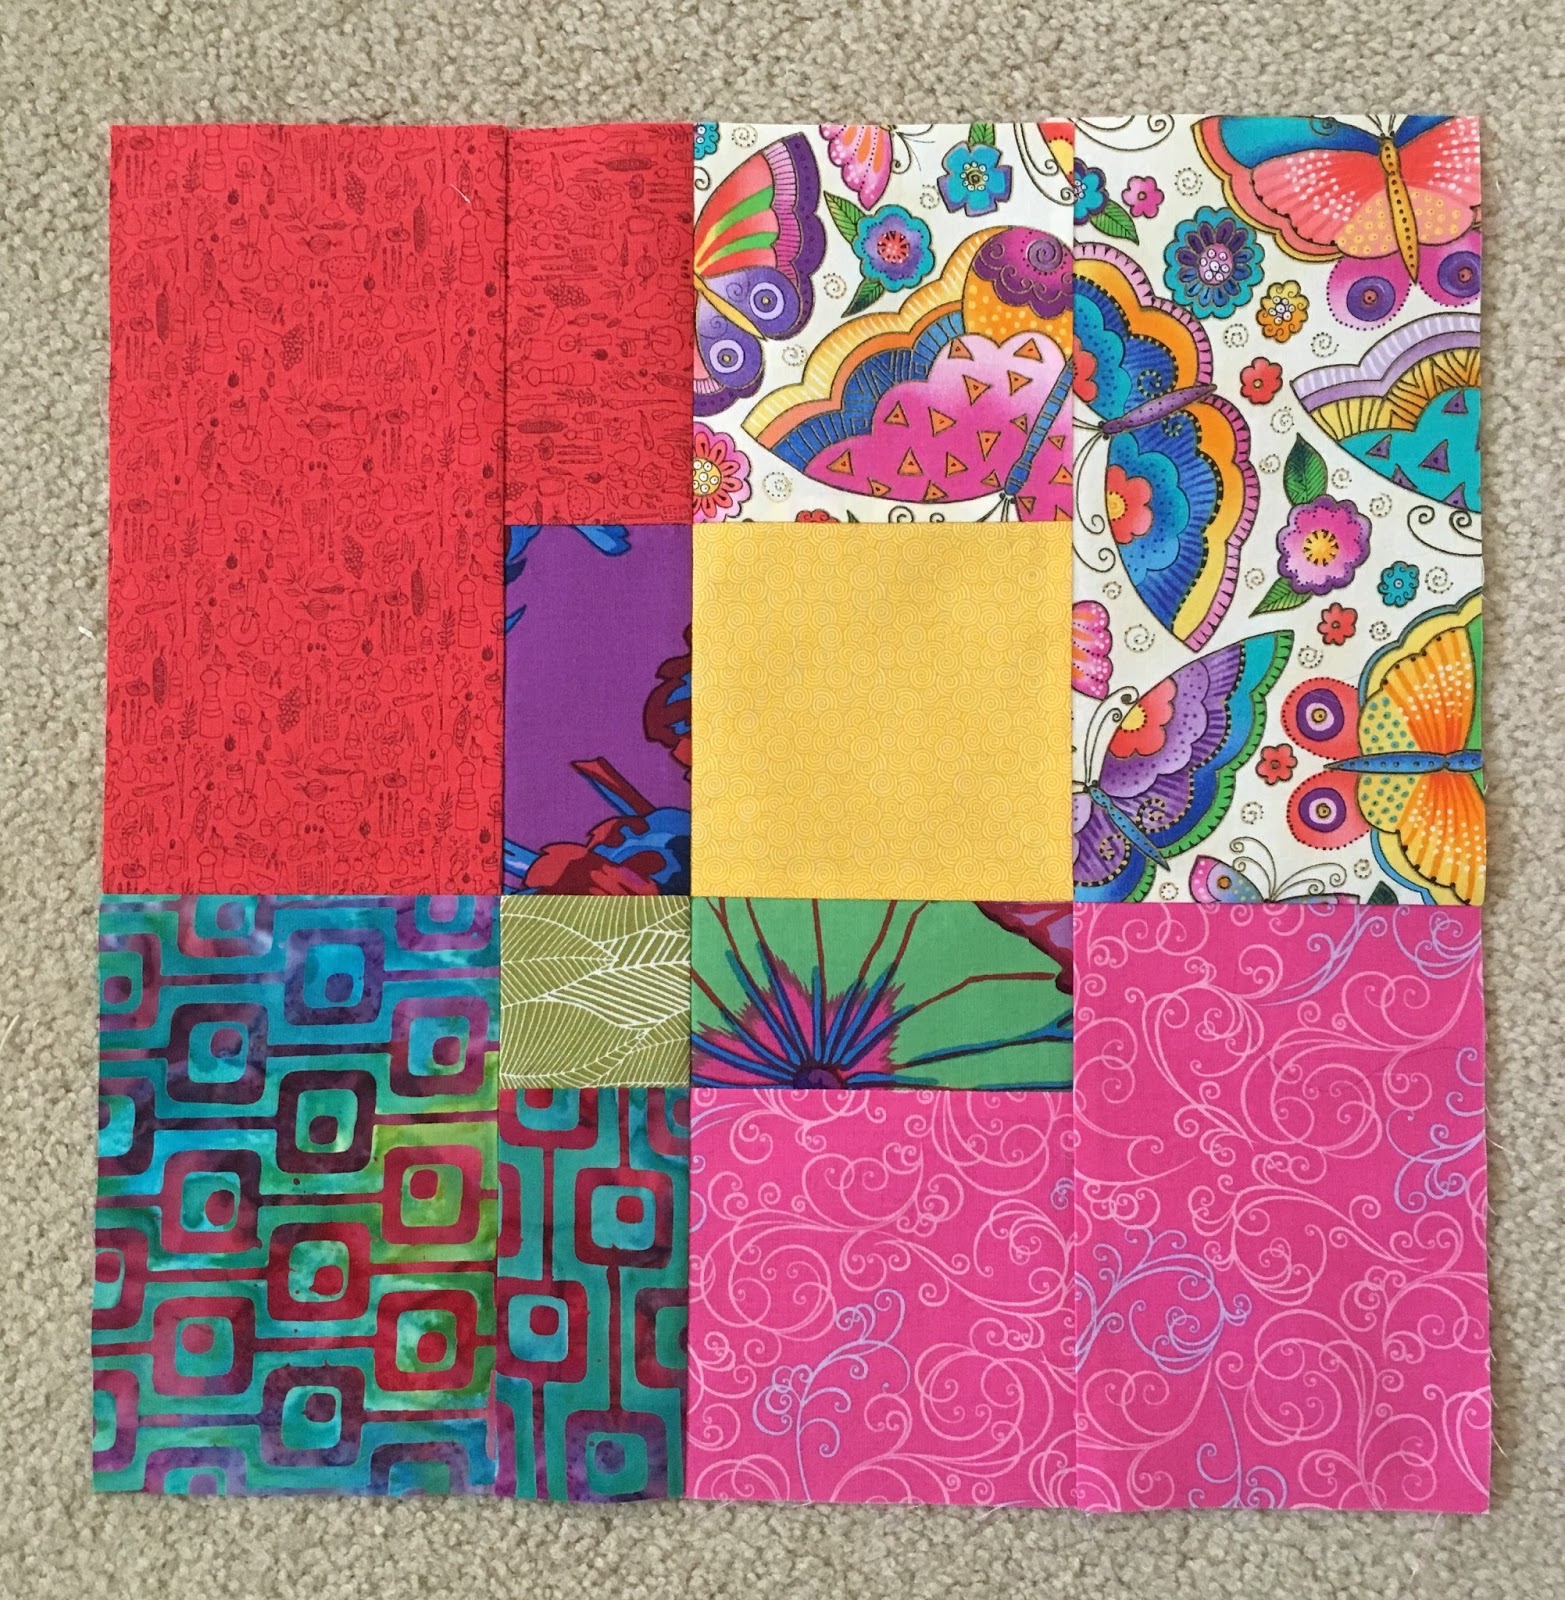
I never use plain white as a background for my quilts. (In fact, I don't use solids at all.) I always use a variety of White on White (WOW) fabrics. You can see them in the Black and White Crayons quilt, above. This quilt, by the way, will be in AQS shows in Daytona Beach FL, Phoenix AZ, and Lancaster PA later this year. This quilt also has six black and white birds, which just goes to show you how flexible they really are.

 Pat, years ago I bought a very large cutting mat, 48" x 96", but I cut it down to fit on my worktable and had this long piece left over. It's useful for cutting long things. It's the green underneath the panel above. The long ruler came from one of the "big box" hardware stores (Cees: that means it's a GIANT store.) Sometimes the best tools don't come from a fabric store. And the great big 45-45-90 triangle right next to the ruler on the lower right came from an art supply store.


Because I "fussy cut" fabric for my wings (to get them to look just the way I want), people always ask if I cut a piece right out of the middle of a piece of fabric.  Well, yes!


I find it amusing when I see bloggers show off how many empty spools of thread they used in one year. I sew ALL my quilts using medium-gray thread. I buy a giant spool of it at the quilt shop, and it lasts about a year. I keep a little container near my sewing machine with 20 bobbins pre-wound with this gray thread. It's not fun to have to stop in the middle of a seam and wind a bobbin.

Before I forget, the finished flimsy measures 62" x 78" (or 157 x 198 cm).


I should probably also mention that I do not use any patterns or templates when I make my birds or letters, and they are NOT paper-pieced. It should go without saying that all my quilts are completely original and designed by me, and no, there won't be any patterns for my quilts. Ever.

However I have absolutely no problem sharing any and all information about how I make what I make, and why I make the choices I do. And you could never get all that in a pattern.

Besides, I think you should make your own quilts and not anybody else's. You all get yourselves dressed in the morning without help, you can make your own quilts too. It's not rocket science.

If I missed anything, leave a comment or email me. I'm always happy to hear from readers. You all help and inspire me more than you know.