Showing posts with label holiday banner. Show all posts

Tuesday, May 28, 2024

Noel Banner Finish


The Noel banner is finished. I am happy with it.

Here is a closeup of the quilting.

This isn't where the quilt will hang during the holidays, but it gives you an idea of how big it is. It is about 34" wide by 68" tall.

Sunday, May 26, 2024

Binding for the Noel Banner


I cut the strips for the Noel quilt and joined them together.

I sewed it to the back of the quilt.


I also created the hanging sleeve. I sew the hanging sleeve to the quilt when I attach the binding to it.


Then I folded the binding over to the front and pinned it down.


I've started sewing it down.

And, get this...


I've decided to write a pattern of the Noel Holiday Banner and sell it. To do that I had to map out the quilt I made. Took me a bit...

Stay tuned.

I published the Seminole Patchwork tutorial. If you are interested, you can get it here.


Wednesday, May 22, 2024

Binding for the Noel Banner


The Holiday Noel banner has been quilted and now I have to choose the binding for it. 

I ordered some fabrics- two were white with silver. This (above) is one of them. I knew I didn't want to use white, but this didn't stand out moe than the white.

This one didn't work either.


I had already discounted the candy cane fabric. Seeing it again didn't ring my bell.


I knew I didn't want a dark binding, but when you are experimenting, you shouldn't leave anything out.


I had originally chosen this red print on white as the hanging sleeve, but since nothing was ringing my bell, I had to see what this would look like.
I can't help myself. Even AFTER I have selected the fabrics I wanted when I shop online, I have to keep looking. Even though I had discounted a darkish fabric as the binding of the Noel banner, I ordered a yard of this red and gold fabric. As soon as it spilled out of the package, I knew.

I mean, the quilt is Red, Green and Gold. Those are Holiday colors for me, so the red and gold will be the one.


Monday, January 29, 2024

Back White Back

I'm adding WOWs to the decorative panel I'm using for the back of the Holiday Banner. Because the banner is white, I didn't want to use anything other than a white so it wouldn't show through. 

Photographing anything white on a white background is not only hard, it's hard to SEE and looks like, well, a polar bear in a blizzard. I worked on adding all the extra fabric around the decorative panel I am using for the back of the new Holiday banner. Here I have added fabric to the sides and top of the backing.

Here I have set the completed backing on top of the banner itself on the design wall. 

This is the back of the flimsy. If you click to enlarge it you can see the details. Just because I am a liberated quilter, and don't use patterns or templates and my quilts are ABSOLUTELY NEVER PAPER PIECED, it doesn't mean my work is sloppy. Quite the opposite.


If you want to make some birds, my tutorial is available here.

If you want to make letters, my tutorial is here.

If you want to make asterisks, my tutorial is here.


Monday, January 22, 2024

Holiday Banner is Finished!


I sewed the pieces and parts of the Holiday banner together.

This is the boring part. Adding fabric to the sides of what I already have, and trimming the edges. Then sewing the next section.


It's 35" x 64-1/2". The darkish fabric shows the outline of the banner.


This is what I'm planning on using for the backing. I've got more fabric to add to it. It will be WOWs.


Sunday, January 21, 2024

Oh No Noel!

So this was good, but I felt the NOEL letters were too blocky.


I made some taller, slightly thinner NOEL letters. I wasn't worried about the color, but I was just working on the shape. These did not thrill me.

So I trimmed down the O from the first word, are reworked the E from the first word into a lower case e.
I wasn't real thrilled with this either. Yeah,  I know the word isn't centered, but it still bugged me.

When I get stuck, I set the issue aside and move to something else. In this case, I sewed the trees together,, which meant I had to add fabric to the tops and in some cases, the bottoms of the trees and then I sewed them all together. I also replaced the big box with the bigger, busier box. Then I went to bed.

The next morning I got up made breakfast and then went straight into the studio. I was still in my nightgown and bathrobe.

In the end, I made four Ns. The original one is at the upper left. I knew I wanted the new N to be a bit taller and thinner, so I made the one at the upper right. This was a test, so the fabric didn't bother me. I liked it. The one on the lower left was too fat and the fabric was too busy. The one on the lower right made the cut.


Then I made another O, because I hadn't been in love with the original. The e is the same as the first one, and then I threw up a piece of red fabric for the l. And I made the letter O jump. 

But I didn't like the fabric in the O, so I did another one, and then I made a fancy E. 


My son didn't like the jumping O, and the N was too fat, so I took it apart and made it skinnier. But the L was too dark.


I decided to add the umlaut above the E, and I cut the letter L from one of the legs of the too busy N.

In the middle of all of this, a convo with Julie induced me to widen the design slightly.


My son said, "SEW!"


Rosie, why are the birds in the quilt? Because I like them.

Saturday, January 20, 2024

On Second Thought...

 The world is indeed a funny place.

I thought, Oh, that middle box should be bigger, so I dug through my leftovers and found this one. I thought it was nice, but a little busy. So I figured I'd make another red one.


Easy peasy lemon squeezy. I didn't have any more of the gold fabric I used for the ribbon on the original red box, so I used this one.

Then I put it on the design wall, and OH HELL, it's the same ribbon fabric as the box on the left. CAN'T HAVE THAT....


Ok, that's done!

But you know, I got to looking at pictures and...

I thought, geez, that looks awfully bottom heavy. I had moved the elements up on the design wall so I could reach them easier, and now it had a lot of empty space at the bottom. So I wondered...

I wasn't QUITE sure, but it was late, so I went to bed. The next morning I got up and decided I liked it better.

So now I think I see the end in sight, and I decide this would need a small thin inner border before a wider border of white before you get to the edge of the quilt, because you know it's going to hang on a white wall and I want to distinguish it from the wall... so I cut thin strips of a candy cane fabric and stick it up on the wall. Now this is GOOD because it tells you the shape of the final quilt, but otherwise, YUK!

SO ANYWAY... I sew the row of boxes together, and then I sew the birds together, and I add fabric to the right and left sides, because, you know, I'm in the home stretch.

It's late. I go to bed.

I get up the next morning and go into the studio to look at it and I think...

(You kinda knew something like this was coming, right?)

I decide I like the busier center box better.

Too funny.

Friday, January 19, 2024

It's Funny How Things Work

Way back in early December I drew this in my little notebook.


Now you have to understand, I drew this in about three or four minutes. CLEARLY I didn't stress over it.
Small star, smallish birds, asterisks at the very bottom.  

???

So OF COURSE I had to try it out.

Because THIS was clearly not working.

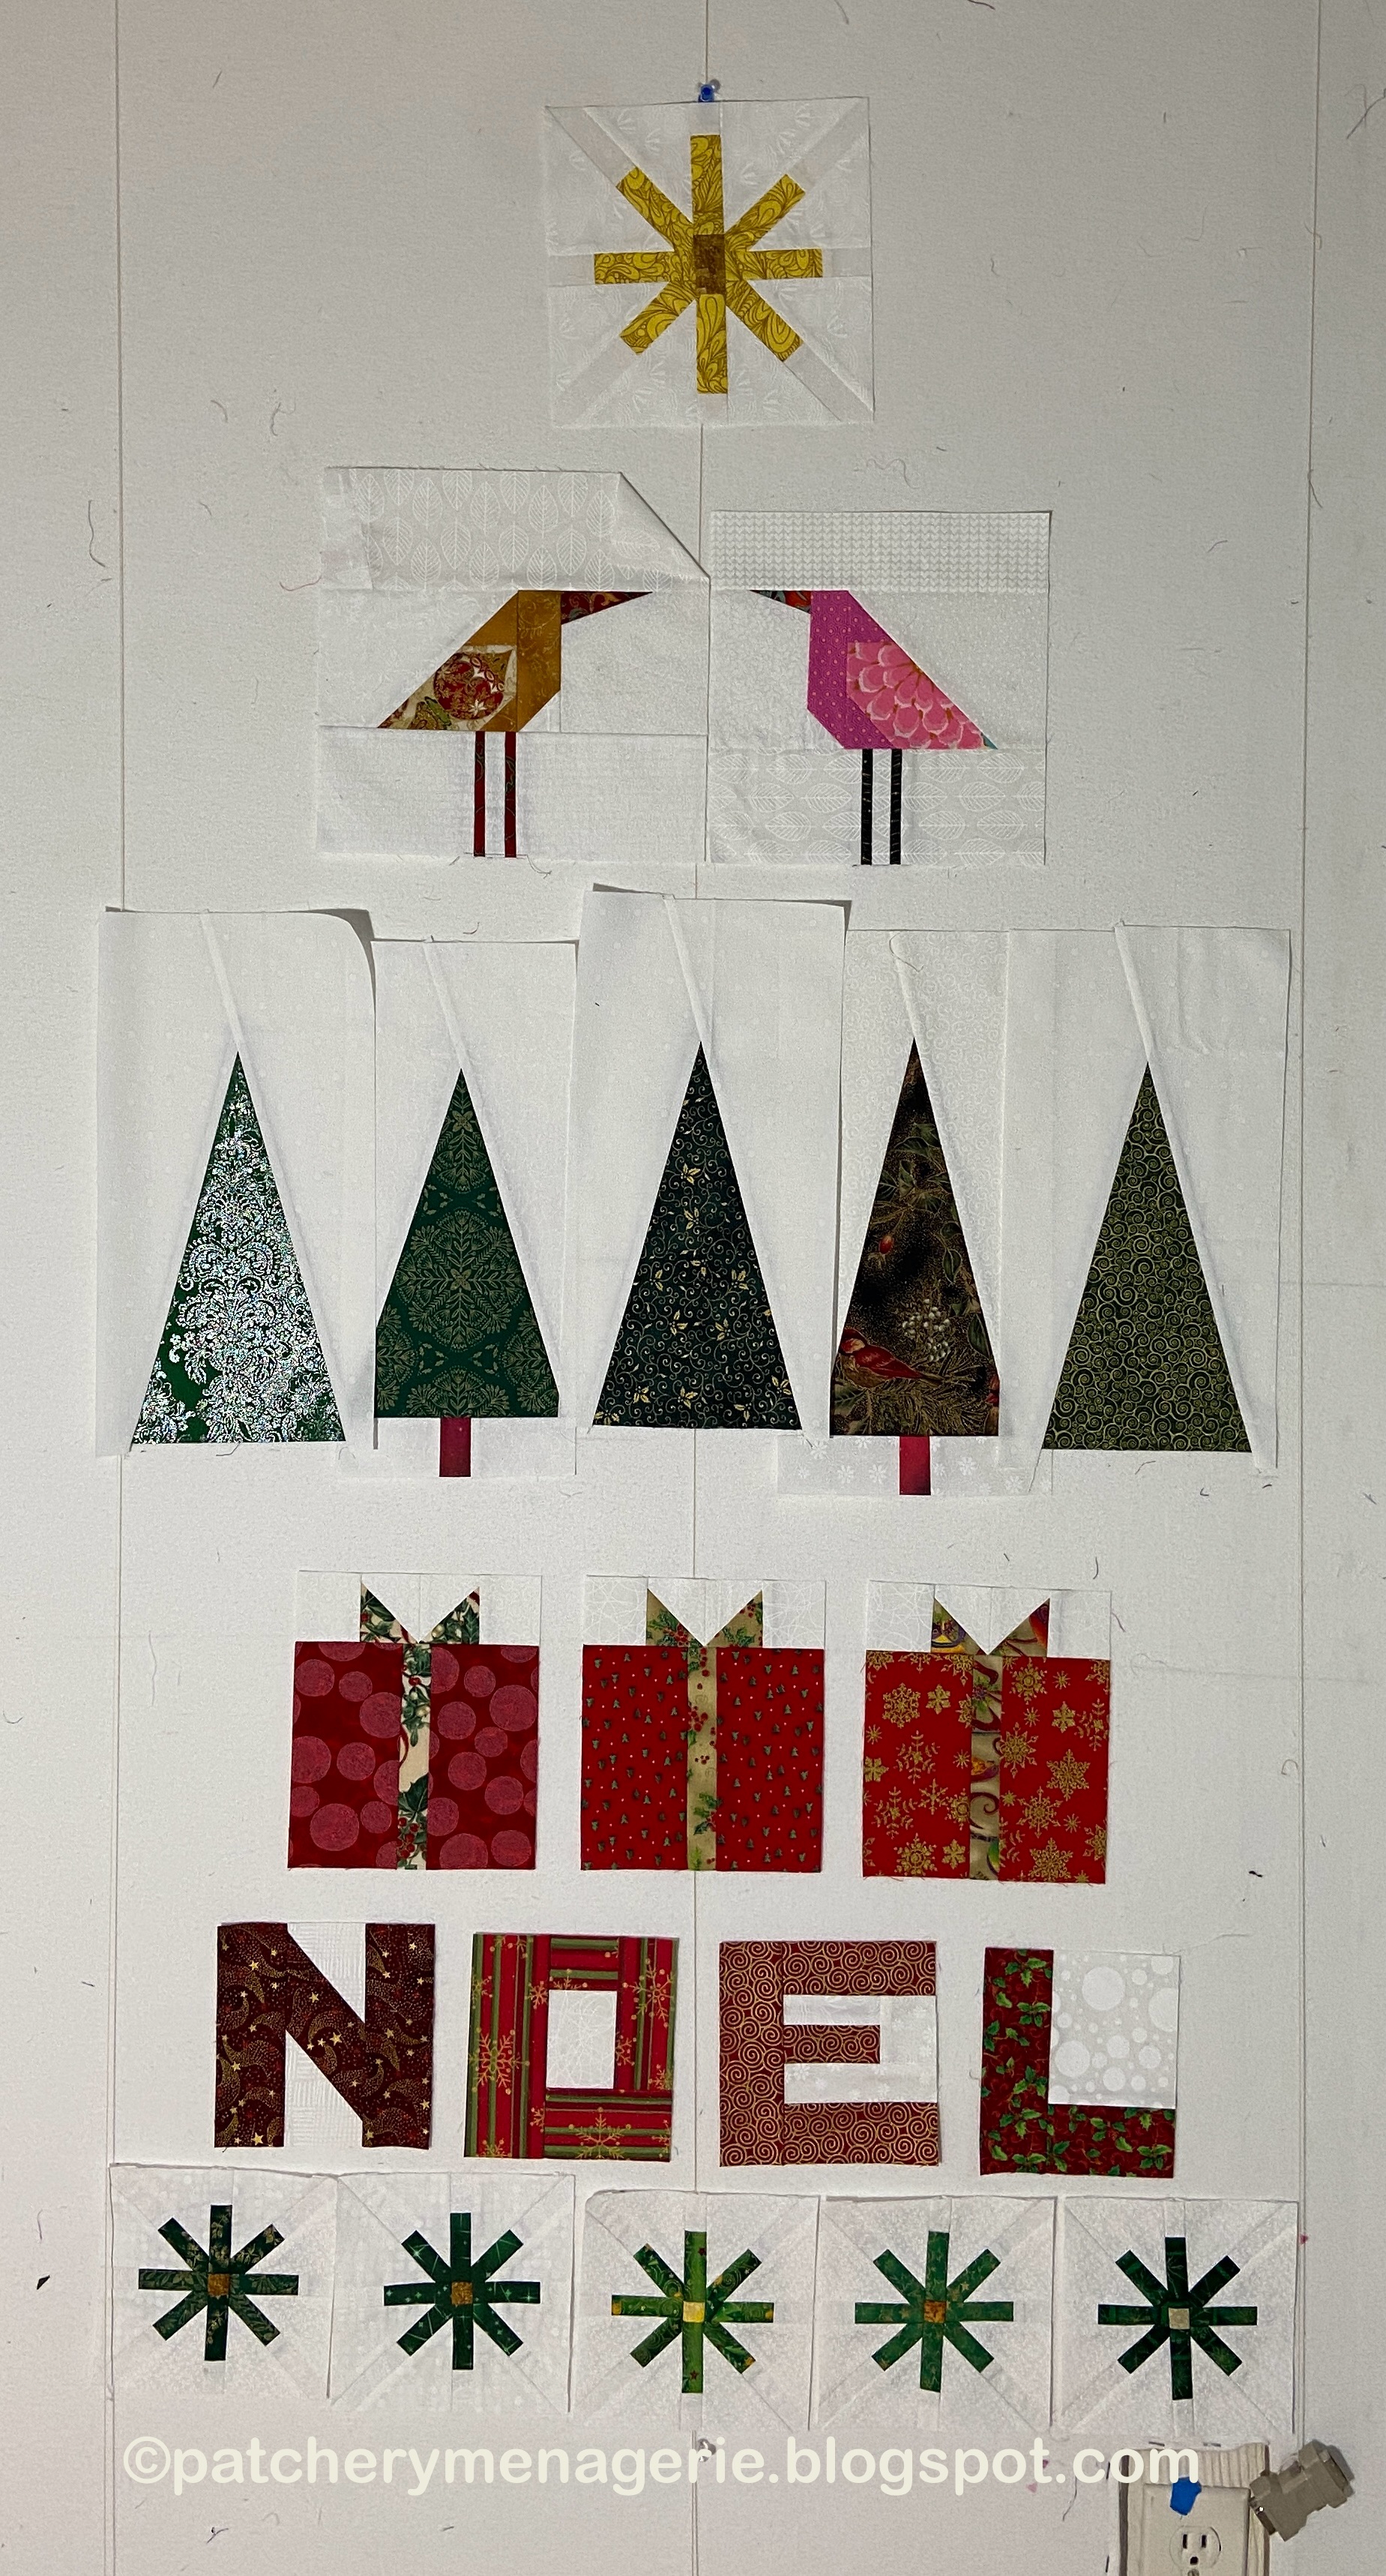
So I moved the asterisks to the very bottom, then I put the letters above them, and then the boxes, but only three because four made the row too heavy visually. Then I put my trees, and I made them arch a little from the bottom so they wouldn't be to visually heavy, then the birds, and then I threw up some leftover asterisks, because may be I needed some very pale silvery or gold up there in the sky to fill up that empty space.

Then I went across the room to look at it.
Nope. Birds are too big.
Rummage around to find medium birds.


Wellll.... dunno about that. Let's try small birds.

THAT's not right. The birds and the asterisks can't decide who's the boss. Nope.

Gotta get rid of those extra asterisks...


Oh yeah, that's better. But I should probably make my trees the same size. Because, that's the way they are in the original drawing...

Ok tree fabric chosen...

Oh hell no.

Okay, this is better.

But now I wonder, there's an awful lot of nothing above the trees. Do I REALLY need the birds?

Apparently not.

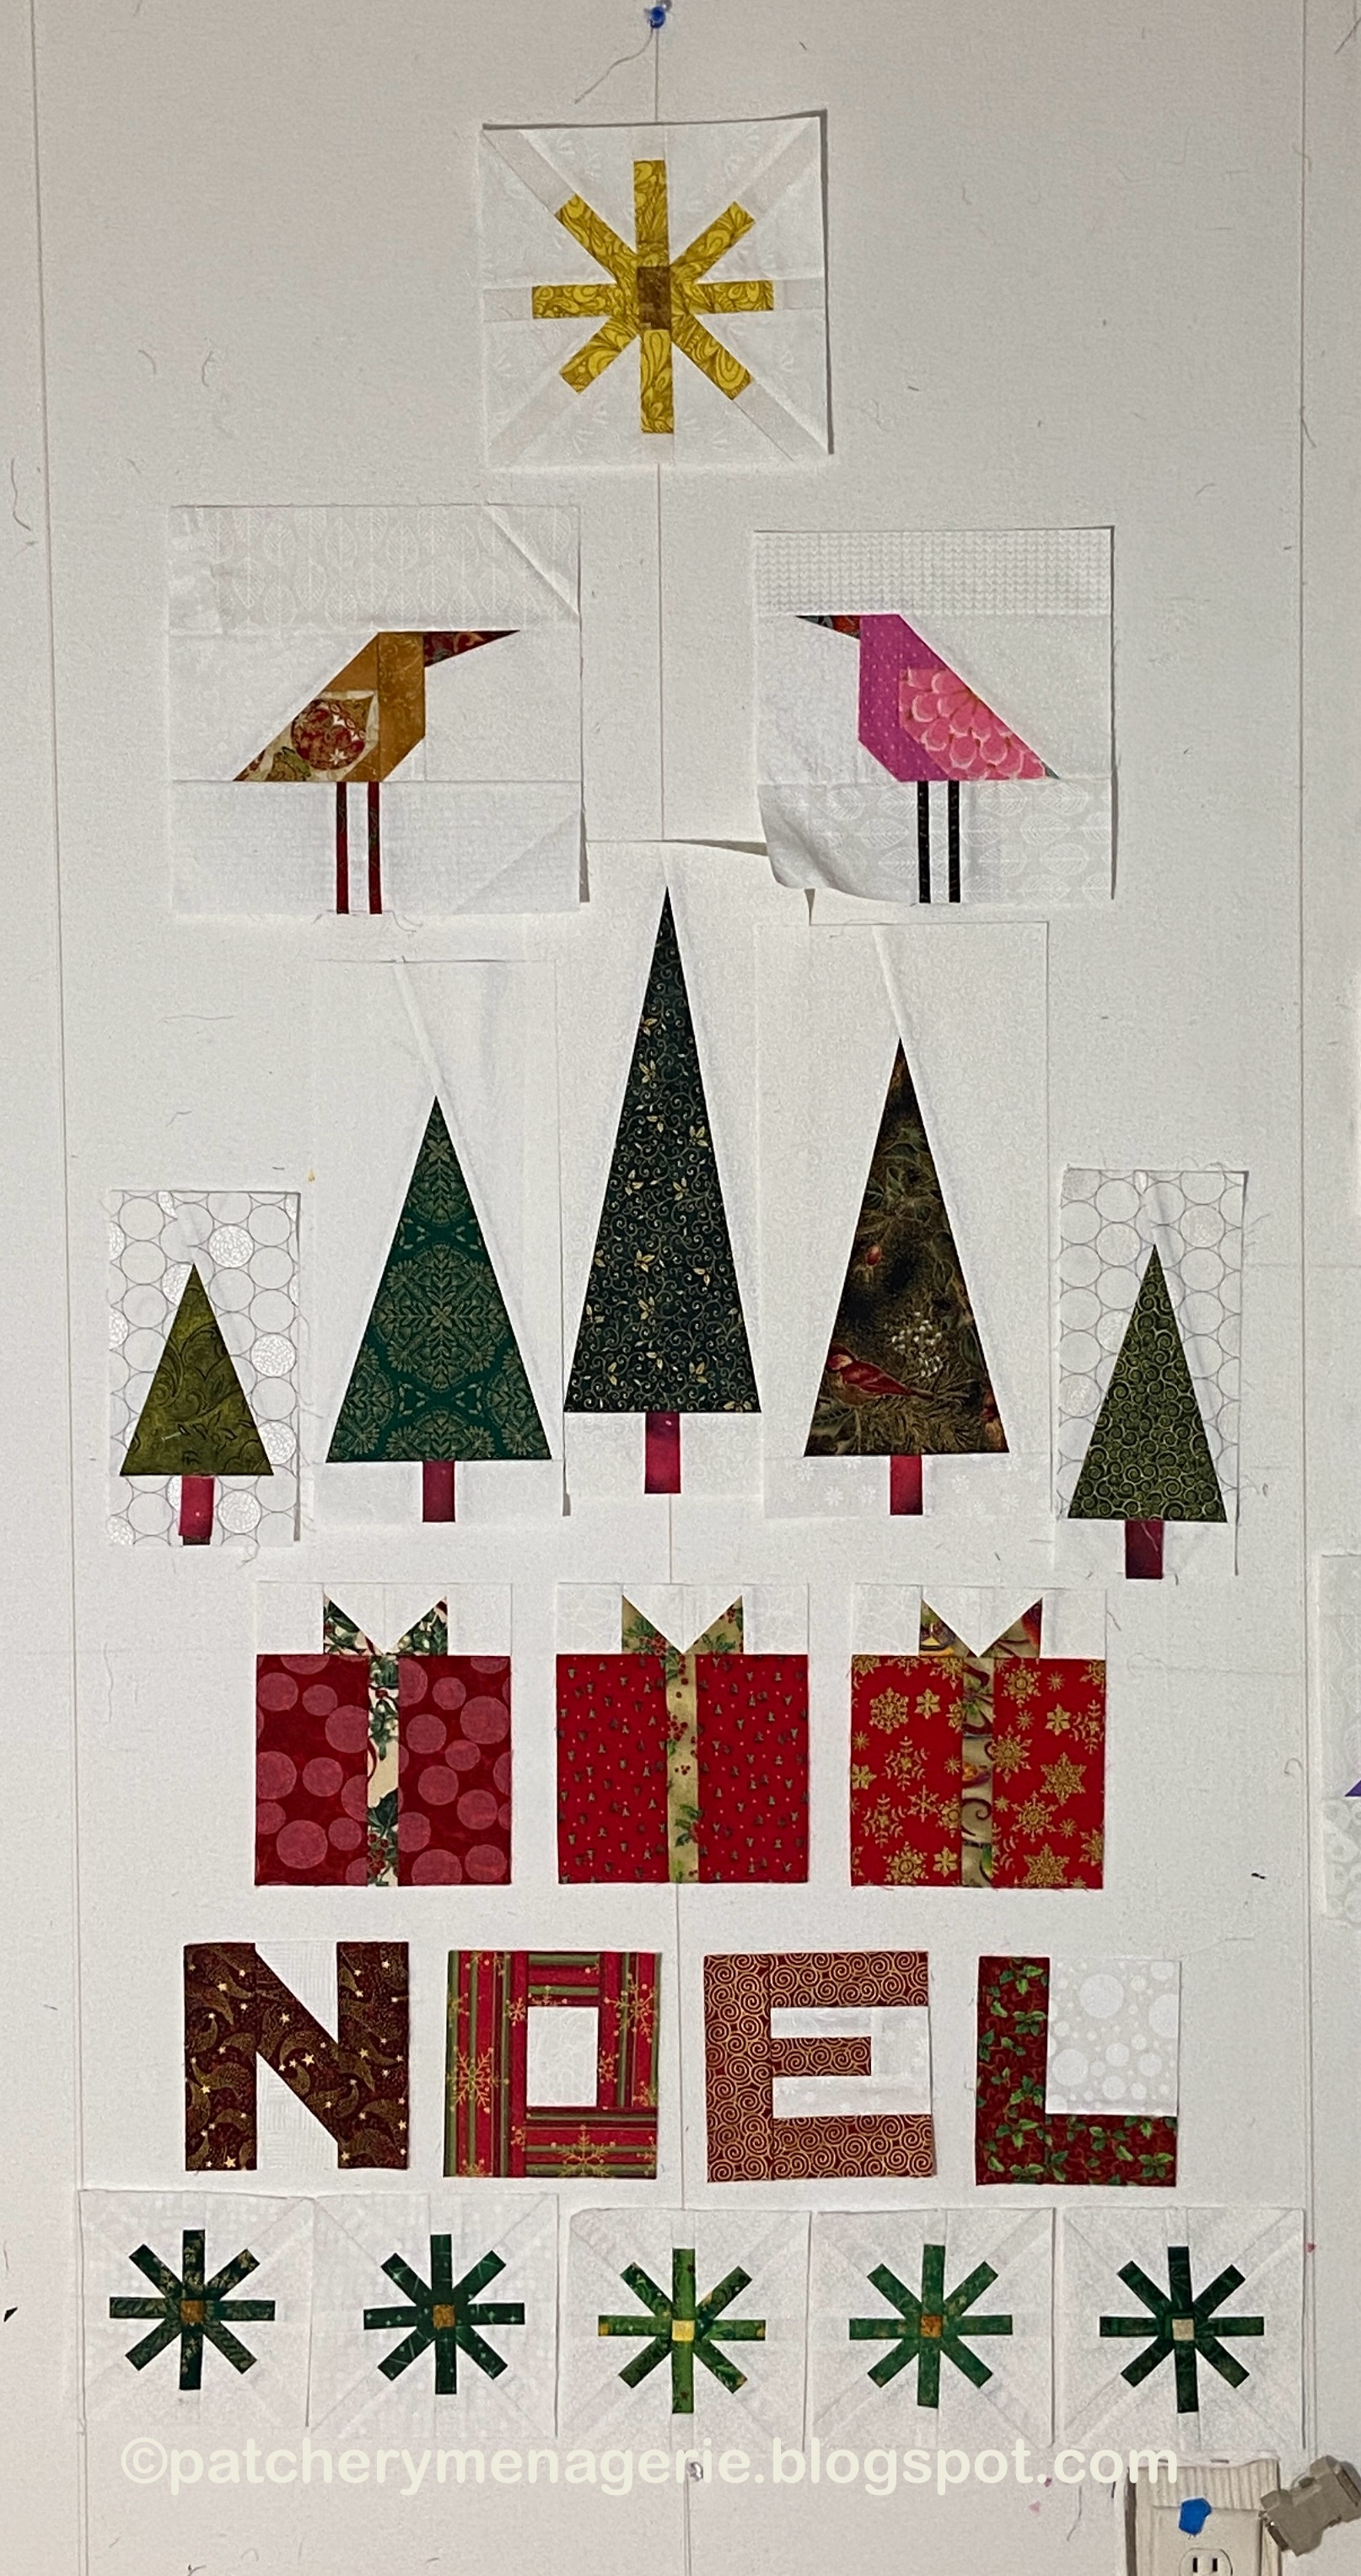
So I will make my final elements (I need a couple of smaller trees on each end with red trunks and I think I need a replacement bulb in my spotlight), and then I will sew this together.

THIS GOES TO SHOW that THINGS CHANGE and you have to let them. You cannot FALL IN LOVE with any element because you may have to sacrifice them. In writing, they say "Kill your darlings."

I may fine tune this a bit. I may make the center box a bit bigger than the other two and see how that looks. I've wondered about putting an umlaut above the O in Noel, and that would mean making it a bit smaller. It would also throw off the symmetry, so I am not sure about it. And it adds an element of "cute" that I am pretty sure this does not need. In writing Kill Your Darlings means to get rid of that overly crafted piece of writing. I would say "Don't get too cute." I don't want Cute in this. I wanted a simple banner that would proclaim the holiday season.

Message accomplished. Now I have to finish it without mucking it up.