Showing posts with label Nightingale. Show all posts

Tuesday, July 7, 2026

They Love It!

The Field of Dreams quilt has arrived in the City of Angels and as you can see, it was very well received.

My DIL exclaimed, "It's so light!!!" 

They said the sheets were in the washing machine so they could make up the bed with fresh sheets and the new quilt.

Then my granddaughter asked if I could make one for her. To which there was only one reply possible...


YES DEAR!


This is simply a Nightingale quilt made in Green. You can make one any color you want, of course. You can get the tutorial to make one here, at my Etsy shop.


Friday, July 3, 2026

Field of Dreams is Finished!


I tied all the knots on the Field of Dreams quilt, then trimmed down the excess backing, folded it over and pinned it down.

Then I machine stitched the binding in place.

(Look at my empty studio!)


The quilt is 78" x 98" or so, and it's already on its way to the City of Angles. It should arrive on Monday.

Woo hoo!


This is a Nightingale quilt, just in greens. If you want to make one, you can get the tutorial here, at my Etsy shop. It's an instant download, so you can get started right away.


Sunday, June 28, 2026

Left over Right, Right over Left...


I am tying the Field of Dreams quilt with crochet cotton. I use a needle with a big eye and a sharp point. I am tying the quilt at the corners and center of each block. First I do the corners, going. up and down the rows.

I have a little pair of scissors that are designed to remove stitches (in people), so the bottom edge can slide under the thread and not risk cutting the quilt underneath. I cut all the threads.

Next I tie the knots. Square knots. Left over right, right over left. I pull the threads to one side. 


When I'm done tying all the knots, I go back and grab the threads and trim them. Then I go back and do the centers of the blocks. This way I have threads long enough to grasp comfortably to tie the knows.


This is the color of the crochet cotton I'm using, and if you can't see the knots in the photos above, then that's a good thing. It means I picked the right color. I've got about three quarters of one half the quilt done. This is rough work for my hands, so I do it in smallish doses.  


When I was much younger I used to do this with the quilt spread out on the floor.

Not anymore!


This is a Nightingale quilt, in all greens. It is one of the easiest quilts you will ever make, and it is fat quarter friendly. You can get the tutorial here.


Friday, June 26, 2026

Needs Must


I finished sewing together the Field of Dreams flimsy. The thing is enormous. I didn't know how I was going to lay out the backing and place the top on it without moving any furniture in my house.

But I had an idea. I knew a place that was big enough, and empty enough, and had a nice clean floor. I made a call. The answer was yes.

Later, after my Tai Chi Quan class ended, I unfolded the back of the quilt, and taped it to the very slippery floor of Studio C at the YMCA in my town. With the help of the instructor and another student, we placed the quilt atop the backing and centered it.

Both the instructor and the other student couldn't get over it and kept complimenting me on how beautiful it was. They laughed as they pointed out fabrics they liked. "Look at those pretty flowers!" "Oh how cute, there are dinosaurs..." My instructor asked me how long it had taken me to make it, and were shocked when I told them less than three weeks.

They left and I got down on my hands and knees and used safety pins to secure the top to the backing at regular intervals. After about half an hour I folded it up and brought it home. I'll work on tying the two layers together over the next couple of days, then I'll fold over the excess backing and sew it down. I expect to have this in the mail early next week.

The folks at the Y were more than happy to allow me to do this between classes in that studio. Sometimes the answer to a thorny question is easy and nearby, you just have to ask.


Wednesday, June 10, 2026

Field of Dreams


My son and DIL have decided the name of the Green quilt should be "Field of Dreams." 


I finished sewing all the strip pairs.

I'm starting to subcut the strips into chunks. That should take me a couple of days.

Here's a sample block, so you can all see where this is going.

I think it's going to be beautiful.

Tuesday, June 9, 2026

Work Begins


Work on my son's "No Batting Quilt" begins. I will call it NBQ until I find another more suitable name.

I started cutting strips, and then did some math. The quilt will be quite large by my standards, but hey, it's for my son so naturally that isn't an issue. I just need to make a lot more blocks, so I needed a lot of fabric. This is the first batch of strips that I cut.

This is almost all the strips that I cut. After I took this photo I added about five or six lighter greens to the mix and cut them into strips.

I matched the strips into pairs and then sewed a few together.

These are some of the pairs I sewed together before I called it a night.


This quilt is a Nightingale quilt in all but color. It is made in exactly the same way. It is very easy. You can get the tutorial here, at my Etsy shop.


Friday, June 5, 2026

Party Animal

I was going to name the White Nightingale quilt "Mourning Dove" but I was talking to my friend  Susan and she said the quilt was way too happy and cheerful. "It's a party," she said. "It's a party animal."

I liked that idea, so the quilt is now named Party Animal.


I've told you that I plan to make this quilt the way my grandmother made us quilts, and that means no batting and no quilting. I will tie the quilt with white crochet cotton.

I used a needle with a big eye, and tied the quilt in the corners of each block. 
.
It's a square knot. I thread the quilt in the corners, working from one block to the next, then I cut the ties in the middle, then tie the knots, gathering the excess to one side and move to the next knot. When I've got them all tied, I go back and trim the excess threads.
.
There is no binding.I trim the backing to four inches wide, fold it to the edge of the quilt, and then fold it again. up to a predetermined width, then pin it in place.
.
I mitered the corners.
.
Then I machine sewed it in place. After that, I ironed the quilt. (What a concept!)
.

Here is the finished quilt. Later I will run it through the washer and dryer. Since the ties are 100% cotton, they will shrink, making the knots permanent.

Later this weekend, when I change the sheets on my bed, I will put this quilt on the bed, on top of the top sheet and underneath the summer blanket, and the only person who will ever see it is me.

When I was growing up, we brought these quilts to the beach, to the lake, to the fireworks. They were great at the beach because they were so cool (literally) to lie upon. They were utilitarian quilts, and they were made from scraps. We never considered them fussy. If we spilled drinks or food on them nobody got upset. The quilt would just get tossed in the wash when we got home. 

So the Party Animal is going to live a pretty quiet life, in spite of the name. It will NOT be going to the beach, or to the lake or to the fireworks.


Saturday, May 23, 2026

White Nightingale


The White Nightingale quilt is now a flimsy. Here it is on my front porch.  It's really pretty and cheerful.

There is a tutorial for the quilt here, on my Etsy shop. I've said it before, it's one of the easiest quilts you will ever make.


You can also see one of Chuck Hayes's flower sculptures. I got mine from Cherie last year. Her father makes sculptures using leftover scrap metal. You can read more about him here.

Friday, May 15, 2026

More White Blocks


After I made all the components I sewed the first batch of blocks together and threw them up on the design wall. It looks about like I thought it would. 

After another power sewing session I had enough blocks to cover the design wall. Again, these are not rearranged in any way.

I've decided I want this quilt to function exactly the same way the original black one does - tied but not filled with batting - and living above the top sheet on my bed and underneath the blanket. To that end it needs to be large enough to cover a double bed mattress and be long enough to tuck under the mattress at one end, so I'll be making this (and it's okay, you can laugh at me) 72" x 90".

When I made the original black quilt I made panels that were 24" wide by however tall I liked. Then I arranged them and sewed them into long columns. and then together into the quilt. Here I have decided to make them 18" square, or 3 x 3 blocks. That way I can arrange them in five rows by four to get the size I want. So I have been making these larger 3 x 3 "panels."

So far I have made nine of these, and again, here they are just on the design wall. I'll rearrange them later.

I think this will look really good with white sheets, and it will be summery.

Thursday, May 7, 2026

Nightingale, Redux


This is the original black quilt, that started me writing the tutorial for what I came to call the Nightingale quilts. You can go read the whole story here. You actually should go read it, then come back. I'll wait.

I'd always known the quilt was different, but I often wondered if others might like to make one. When at the end of 2024 I decided to make another one, my friend Susan jumped right on the bandwagon, and made one of her own. She has some terrific insights here, and you can go read that too, if you want.

What really stuck with me however, was her comment that "you could be blind and make this quilt and it would still be beautiful."

I think she's right, and I kind of want to go back to that thought, because I have another idea. (You knew that was coming, didn't you?)

I think the reason these Nightingale Quilts work is because they are all about color and pattern, and not patchwork. The unifying thing is the black background. It's consistent, and colors really pop when surrounded by black. This is. because the light that hits the quilt reflects the colors back to your eyes, but the light that hits the black doesn't reflect back at you, it is instead absorbed. This allows the brighter colors to really shine and show off.

In this quilt, what you see first is the COLORS, and THEN you see that the quilt is made of many different fabrics, and THEN you realize the thing is PATCHWORK, and there is no obvious pattern. The patchwork is subordinate. The quilt is actually made of squares and rectangles, and it doesn't matter one bit if the corners of each block line up or not. How radical is THAT?

I wrote in the tutorial that I think it is the easiest quilt on the planet to make - all you need to do is use fabrics that have colors on a black background. IN THEORY, you could do this with fabrics with a consistent color as a background, but in REALITY, it is very difficult to find a lot of colored fabrics with (for example) THE SAME blue background. Or red, or yellow, or whatever other color. The effect would be slightly different with a color in the background as colors are affected by the colors that surround them. Black shows them off to great advantage, other colors, not so much. 

Susan and I were talking recently and she says that everybody who sees her Nightingale quilt "goes nuts, they love it so much," and she can't understand why the tutorial is not flying out of my Etsy shop, the way Lynne's Liberated Birds does.

Well, I was thinking along the same lines. The original black nightingale quilt (above) lives on my bed, and I've been sleeping under it for over 20 years. The quilt is made the way my grandmother made them, with no batting. It is tied, not quilted. On my bed it lives on top of the top sheet and under the wool blanket, so nobody ever sees it but me. One day recently as I was making the bed I noticed some of the edges were wearing. Maybe I should make another one?

But you know me, I like to push ideas around.

What if I made a white one? It isn't as easy as it looks. Sometimes you can get away with a slightly off white background, and sometimes a fabric looks like one thing online and then in real life it's different.

So I searched through my stash, and then did a bit of shopping. The fabrics arrived yesterday and they all took a trip through the washer and dryer, then I ironed them.


I love the dragonflies, but there seems to be too much gray in the background. I'm not sure about the butterflies in the upper right either.

Three of these seem to be out, one might be back in, but I'll bet it's not the one you think.

I originally thought the big print at the bottom wouldn't make the cut, but I am not sure. The second one from the right at the top is out. Too much gray in the background, although it looks fine in the photo.

These all fit the brief, but the bright blocks at the bottom left don't really "read" as print on white. Since I don't want any one fabric to jump out and grab your attention, this may not make the cut, but only time will tell.

These will all be in the quilt, and since this is a quilt that benefits from MORE fabrics rather then fewer, I've got another half dozen or so on order. And I haven't cut the ones I am on the fence about.

Remember, what I want is a "party of color," or a happy colorful dance of color across the surface of the quilt. I do NOT want to emphasize the patchwork or even the individual fabrics themselves.

In Drawing we call two adjacent shapes that share the same color or value along their shared edge to have "lost and found edges." In traditional patchwork you do not want that, because you want the edges to define the shape, like the difference between one block and another. In this quilt, I very much want those "lost and found" edges, because the colors will blend from one block to another and carry the viewer's eye across the surface, discovering things to look at, and to bring delight.

My goal is to surprise and delight the viewer.

Stay tuned.

Saturday, July 12, 2025

The Second Nightingale


The second Nightingale quilt is back from the longarm quilter and has had the binding added and is now complete. This one has a home and it will be going there soon.

It's bound with bright dots on a black background.

I know it's "black" but it's amazing how bright it really is! This is the easiest quilt to make - you just need a wide variety of brightly patterned fabrics on a black background. You can get my tutorial here, at my Etsy shop.


I'll be speaking and giving a workshop at the Connecticut Piecemakers Quilt Guild on September 8 and 9th this year in Trumbull CT. This particular meeting of the guild is open to visitors so if you are nearby, come on down!

Friday, January 31, 2025

Nightingale Goes Home


Me, Erik & JF.

Tony, Erik & JF.


Tony is my insurance agent. At a meeting last fall when we were discussing my retirement, he mentioned that Erik's house had. burned down last summer and that he and his fiancee had escaped with nothing. They lost everything.  "Oh my gosh, does he need a quilt?" I asked.

Tony practically exploded from his chair. "That's a terrific idea!" 

I brought out my phone and a picture of the Nightingale quilt. "This is a picture of the quilt I just finished. Would that work?" Tony thought the quilt was stunning. "YES!" 

So we made plans. I wrote the story and send the quilt out to be quilted.

Tony and I presented the quilt to Erik on Wednesday. Erik is a big guy, and was near to tears when I told him the story and presented him the quilt. He kept saying the quilt was so beautiful, and he loved it, and his fiancee was going to love it too. We took pictures. 

I then presented the printed copy of the quilt's story to Erik. "I could tell you this story, but you'd forget it. This way you can remember it and share it with Jessica." Erik said, "Wow, now I'm gonna cry." He paused,  "I thought I was in trouble when Tony called me into the office!

"Well you will certainly be invited when the house is finished and we have our big housewarming party."

I accepted that invitation right away.

Erik kept saying he couldn't believe it.

Then it was time for me to leave and Erik and the team to get back to work. "I'll be here, but I don't think I'll be able to concentrate..." Erik laughed.

It's always fun when you gift a quilt!


Tuesday, January 28, 2025

Backing for Nightingale # 3


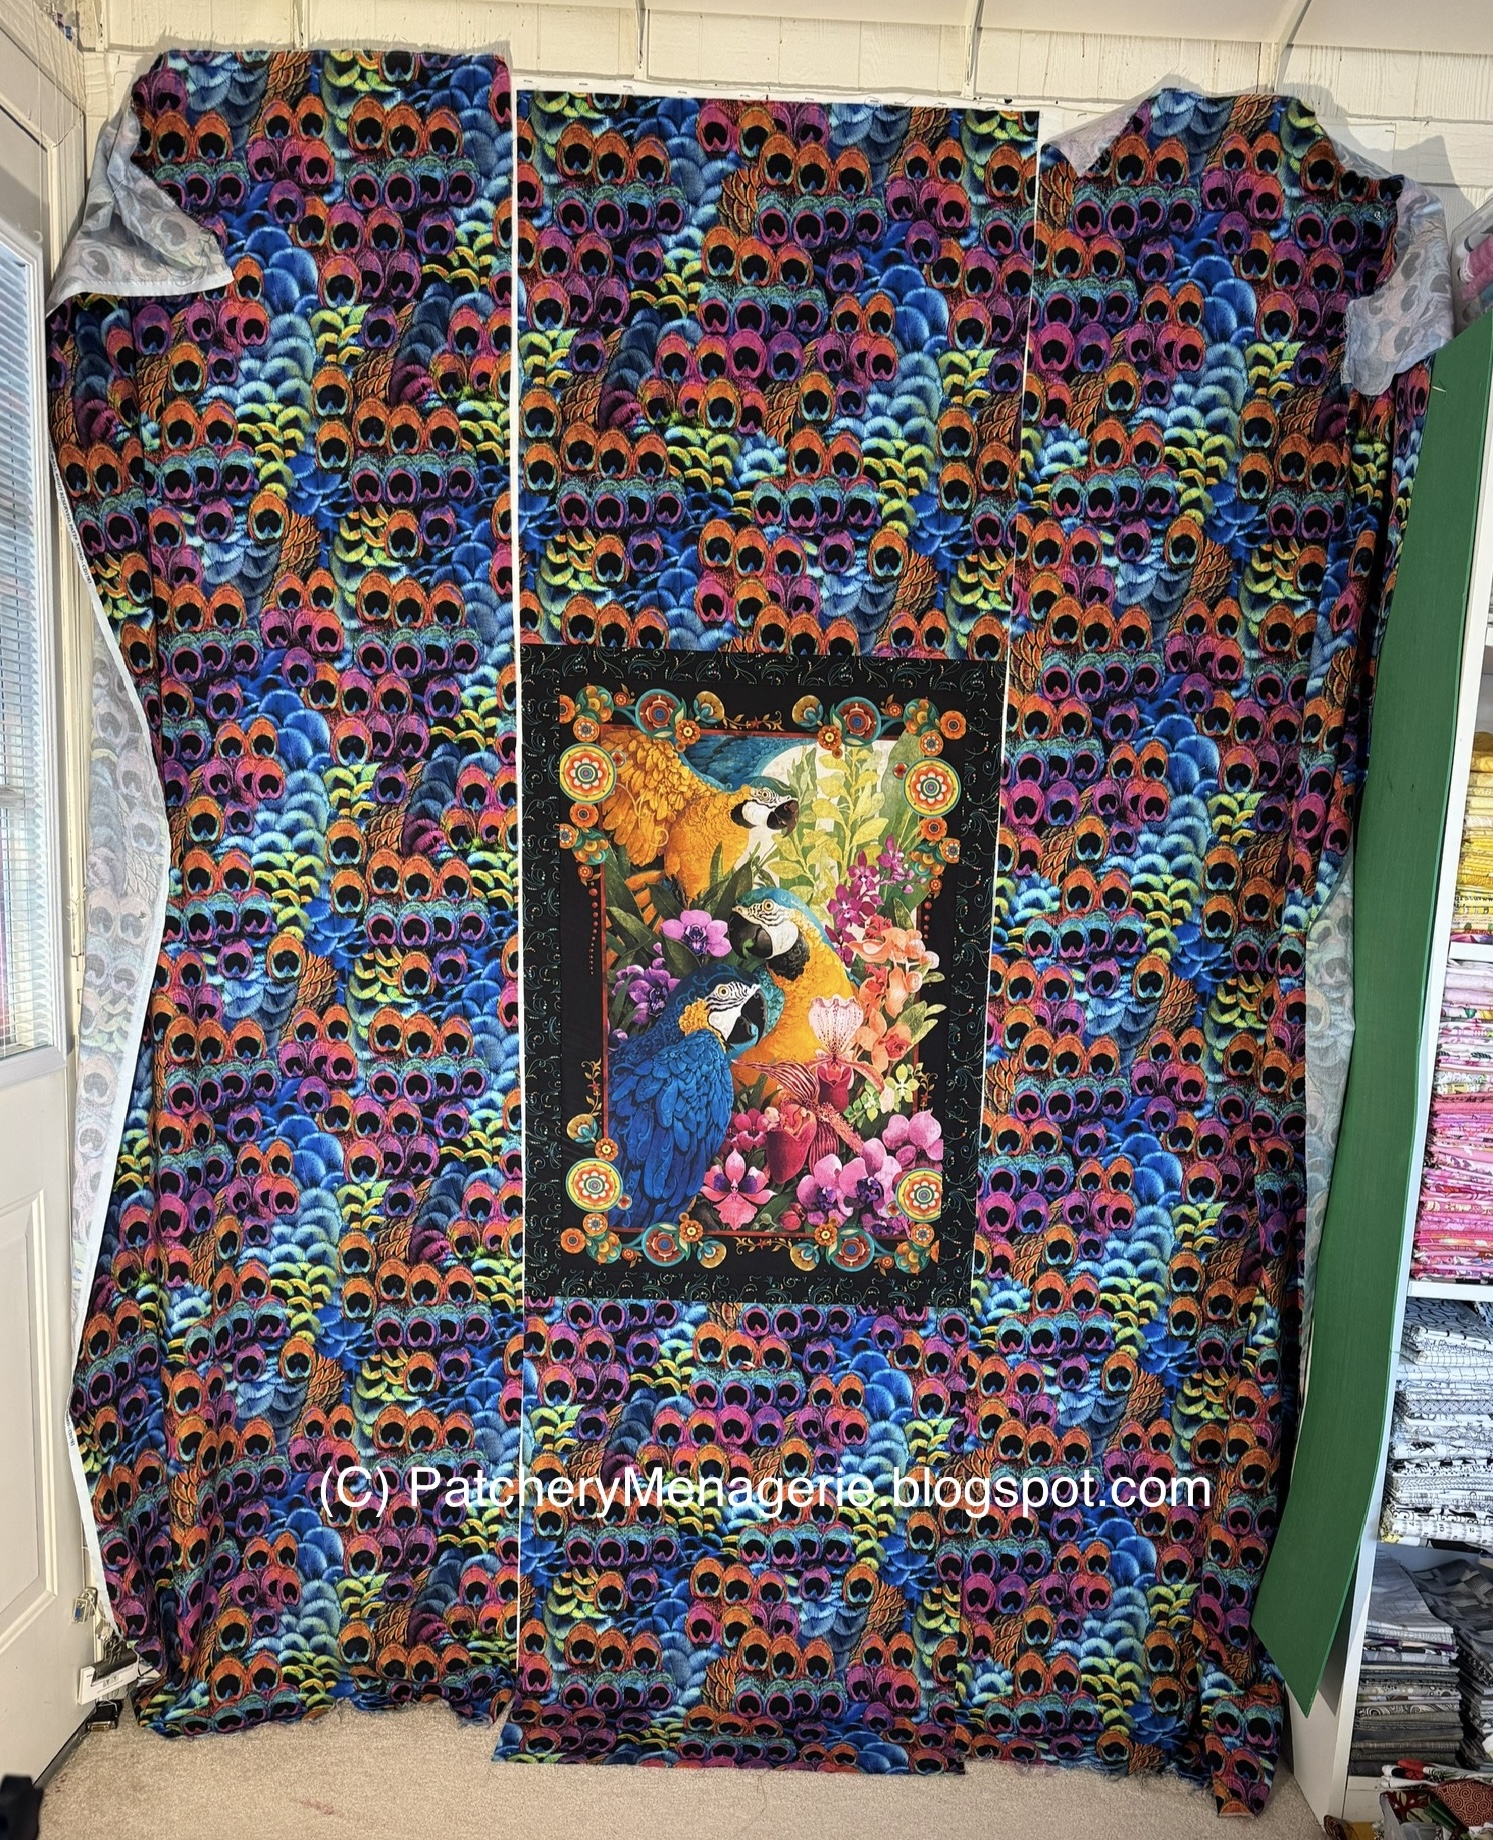
To add the birds panel into the backing of the 3rd Nightingale quilt required a fair amount of math. The colored feather fabric was a 108" wide quilt backing fabric. I had to figure out how to cut that big piece apart intelligently so I could reassemble it and have it fit the way I wanted to. 

The first thing I had to do was cut two 30" panels by the length of the fabric I bought - about 2-1/2 yards. So easy peasy, right? Cut two 30" panels out of that?

Yeah, no. I'll spare you the details, but I did it. Then I had to cut two pieces of fabric to go above and below the center panel, then I had to sew the two long pieces to either side. Now you can see why I added some dark fabric around the bird panel before I added it to the backing.

Since working with these big pieces of fabric needed the whole table, I removed the lip on the bottom of the big work table that normally keeps things from sliding off. I realized I had done it when I heard the pin tin slide off and hit the floor, spilling pins all over.

Fortunately this was a non-event as I use steel pins and have a powerful magnet I use for just this purpose.


Answers to questions about yesterday's post:

Hudson wanted to know what fabric I bought for the Kangamangus quilt. It is "Quilting Treasure Frond Nouveau - Lush Leaves in Autumn. I found it at eQuilter.

Dear Naan, The Kancamagus Highway is spelled K-A-N-C-A-M-A-G-U-S. The only K in the name is the initial letter. I am spelling the title of my quit the way I heard the name way back when I was about 10, which is say I am deliberately spelling it wrong: Kangamangus.


Monday, January 13, 2025

A Pair of Nightingales


This is Susan B's Nightingale quilt. Susan is the quilter who strongly encouraged me to write a tutorial for this quilt, and then admitted that you could probably be blind and still make a successful Nightingale quilt. (That means anybody can do it.) I think she has done a spectacular job. 

If you have made a Nightingale quilt, I'd love to see it. You can email me at PatcheryMenagerie AT gmail DOT com. (you know how to put them together properly)

This is my first Nightingale quilt. I have been waiting for the weather to warm up and for the sun to come out so I could photograph mine, and it kinda sorta did that yesterday (although it was still pretty windy.)

This particular quilt has a home already, and when it has been gifted I will tell you the story.

My Mother has laid claim to the second Nightingale quilt. Gee, what a surprise! (She loves ALL my quilts.)


If you want to make a Nightingale quilt of your own, you can get my tutorial here.