Showing posts with label long triangles. Show all posts

Saturday, February 8, 2025

You Really Didn't Think...

 You really didn't think I would make a quilt so uniformly ... Blue, did you?
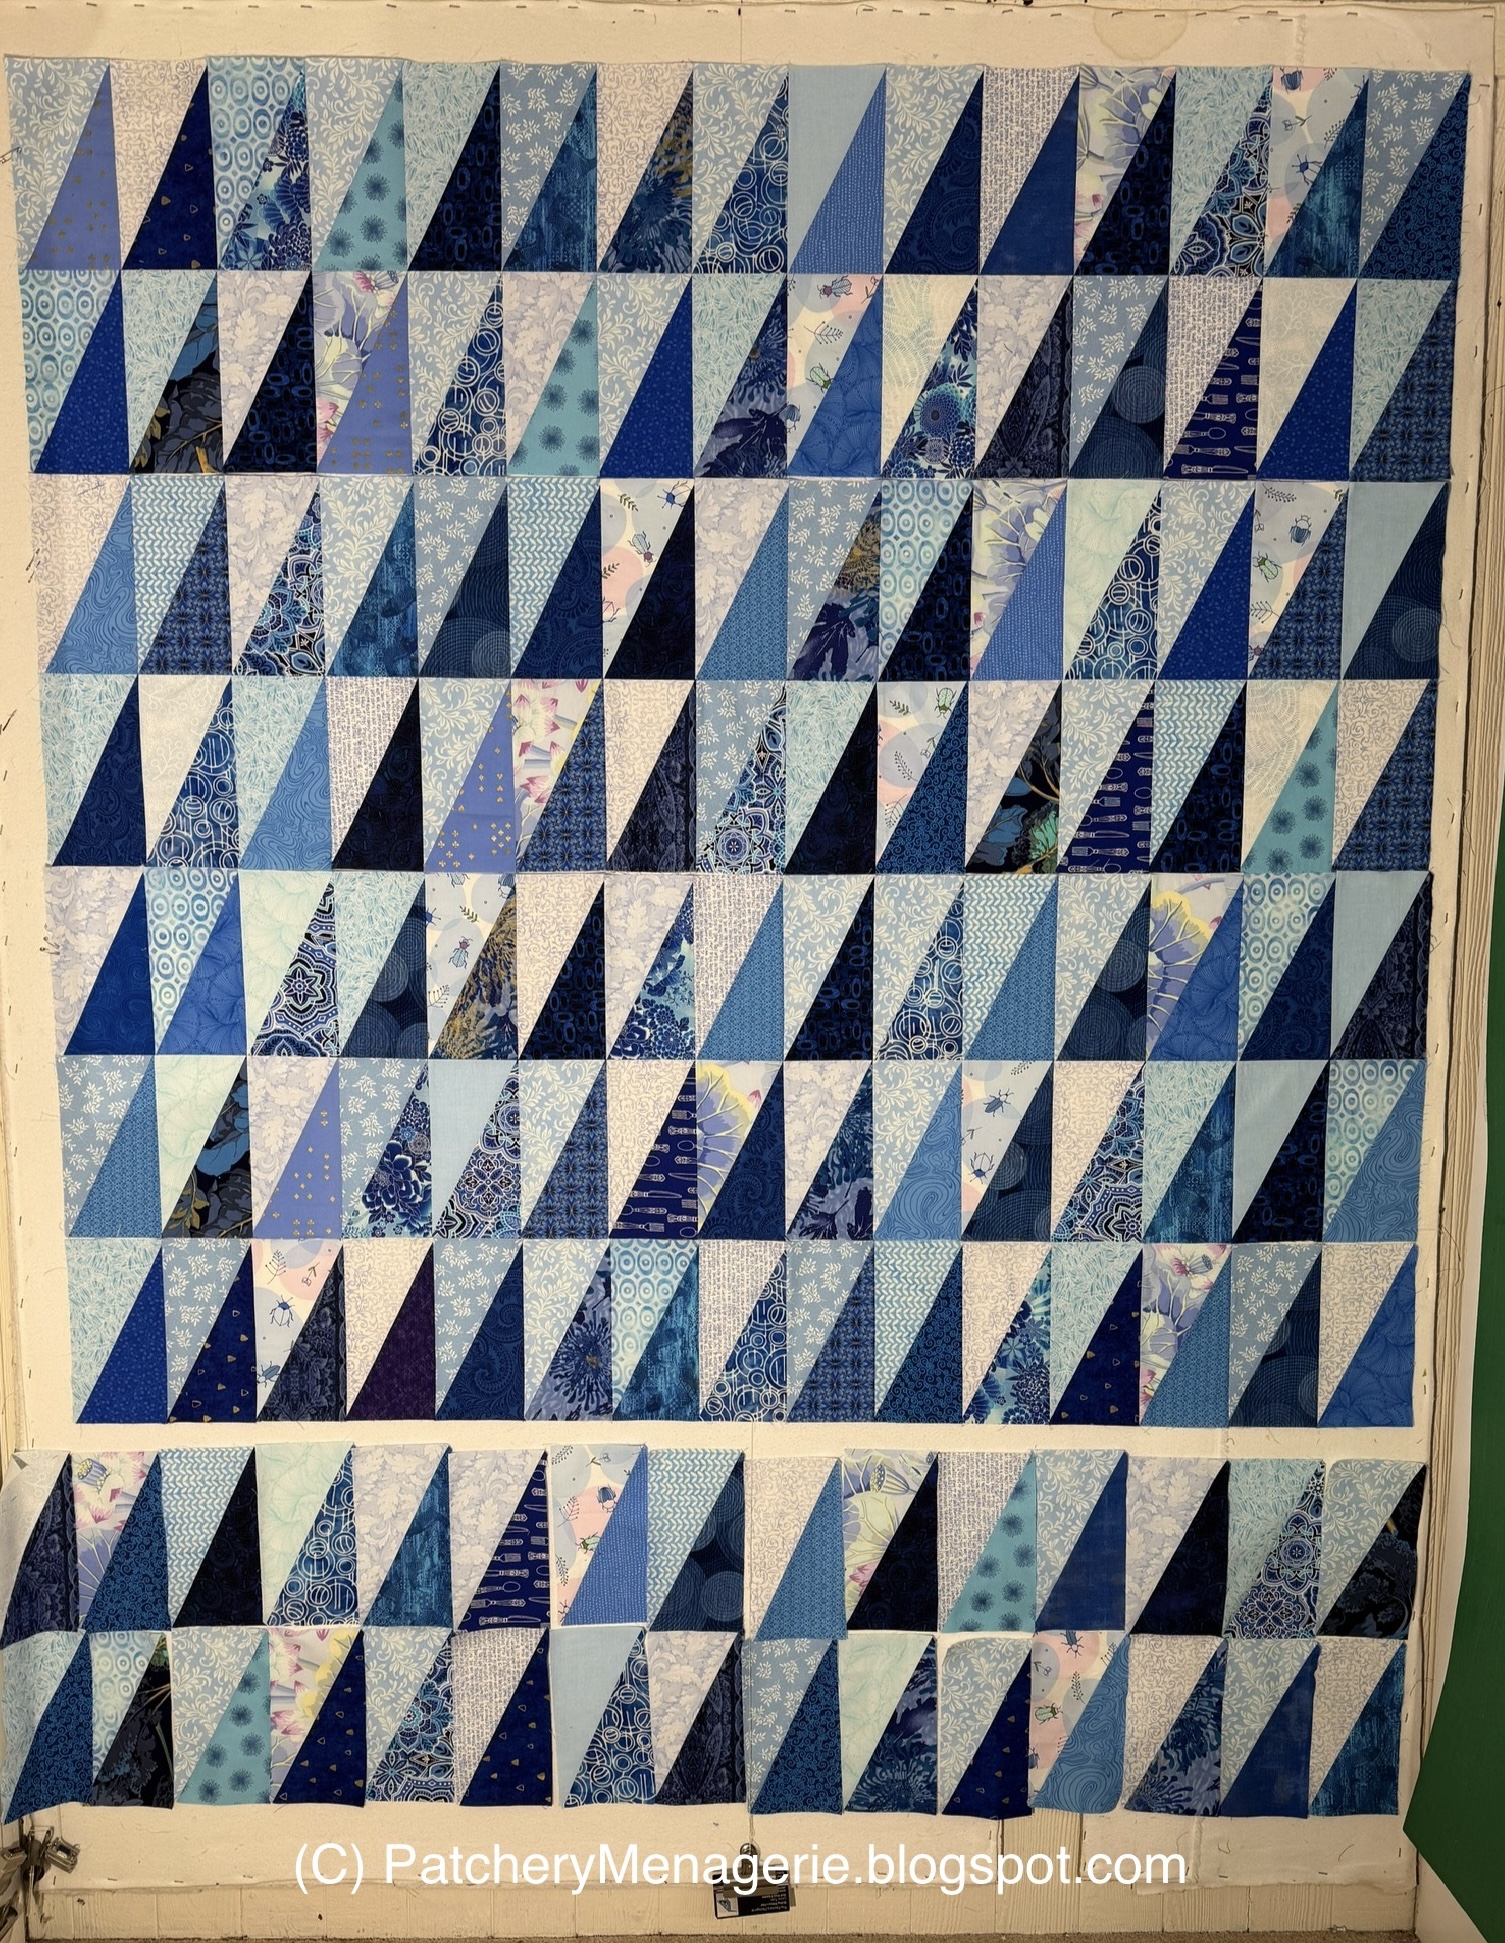

SURELY, my regular readers would expect me to put in some sort of joke...


Or visual pun,

Or anomaly,


that MAKES YOU LOOK!

Surely you all know that I love nothing more than breaking the rules while following them at the same time. Above there is indeed one purple triangle. It's been in the photos all along, but you have missed it because....

VALUE SUPERCEDES COLOR!

(Nyah, ah, ah!)

So, for those of you who missed it, you can often substitute a different color in your quilt as long as it is the same VALUE. Most people will miss the difference, because it looks like it belongs. It DOES belong, because it is the same VALUE.

So the title of this quilt is: Needle in a Haystack.

As in, Needle? What needle? Where?

I love to put surprises in my quilts to reward viewers who are paying attention.

SO, why purple? Well, there are some pinks in this quilt, in the light blocks with the insects and beetles and the lotus leaves. 


Pinks are really light red-violets. You can see the relationship in the photo above. I tried this red violet block in the quilt but it didn't "hide" as well as the purple did when lined up with the other blue triangles.

As you can see.


Purple is a mixture of blue and red, so the purple block fit in with the overall plan. Of course I used a fairly nondescript print so it wouldn't draw too much attention to itself.

THIS IS IMPORTANT...

WHAT I WANTED was for the different block to DISAPPEAR with the others. I wanted it to be there, but I WANTED it to HIDE. I wanted viewers to notice it if they looked hard enough. Had I WANTED it to show off, I would have used the red-violet block. This was a conscious choice. The color, the print, the location for this block were all specific, conscious. and deliberate choices.

When YOU make YOUR quilts, you have choices too. WHAT do you want your quilt to say? How do you want your quilt to LOOK? How do you want it to FEEL (visual feel, not texture.) As Yogi Berra famously said, "If you don't know where you are going, you will end up somewhere else."

I knew what I wanted this quilt to be from the very beginning. The choices I made were choices that would make that idea come to life. It is very important to know that when you make a quilt, or any other piece of art.


Thursday, February 6, 2025

Kill Your Darlings...


Sometimes no matter how much you like something, you have to recognize that it doesn't work and you have to get rid of it. In the block above, the color of the flowers in the blue triangle on the right match (and thus blend) perfectly with the blue in the fabric on the left.

This kinda breaks my heart as this fabric is the inspiration for the entire blue quilt. 

You can see that blue flowered triangles in the layout above. You can see that they attract the eye right away, and they also do not "read" as blue. There's a white flower up there, that is surrounded by blue and it reads as a "hole." That's a no-no.


Here I have covered up those flowered fabrics and the design really shines. What I want in this quilt is to emphasize the sharp blue triangles. Without those flowers, what you see is TRIANGLES. Which is what I want.

I also removed the light blues in the above blocks. These light blues "read" as too dark and were too close in value to some of the other blues that were used as "darks."

I ended up discarding 20 blocks, which is 12% of the total blocks on the design wall, so I had to make more blocks before I started to design the quilt for real.

And one more thing:
Am I the only quilter who has ever done this?

And I did it TWICE!


Wednesday, February 5, 2025

So How Did I...?


You're probably wondering how did I cut down the long triangles from the template (on the right) to the smaller size on the right. I mean, I'm sure you know how I did it, but let me tell you how I did it EFFICIENTLY. 

Because we all know I don't mind working hard, I just don't like working STUPID.

For this design I'd need over 250 left leaning right triangles. And they had to lean in the correct direction or I couldn't use them. I knew I sure as hell wasn't going to cut them one at a time.

I wanted to cut my traingles 8-1/2" tall, so putting a piece of painter's tape near that line would help me, but I'd need more than that.

I figured I could get two triangles out of a rectangle of fabric, but how big would the rectangle be? 8-1/2" was one dimension, but I needed the other, so I placed two properly cut triangles on my worktable and measured. It was somewhere between 5 inches and 5-1/4 inches. That was good enough for me. So I cut my WOF strips 5-1/4" wide.


Then I taped a 6" ruler to a 2-1/2" one and subcut my strips into two 5-1/4" x 8-1/2" pieces. This meant I had FOUR of each (because WOF = two layers of fabric.)

Next I flipped one piece over so both rectangles were wrong side up. I aligned the edges so one rectangle was perfectly sitting atop the other.


Next I lined up the top and left edges of the fabric with the top edge on the ruler and the 8-1/2" line, which I marked with the blue painter's tape so there would be no confusion. I cut along the long edge of the triangle, pulled the other pieces of fabric out of the way slightly and trimmed the corners.


Then I rotated the ruler, matched up the edges and cut the next piece.

Worked like a charm.

After that all I had to do was sew them up.

You know, "all."


***Now, I because I wanted my triangles leaning to the left, and because I wanted the template to face UP (I find templates slipperier if you turn them upside down), I had to cut my fabric from the wrong side. If I had wanted them facing the other direction, I would have arranged the fabrics right side up.

Tuesday, February 4, 2025

Monochromatic <> Boring


Just because something is monochromatic (one color), it does not have to mean monotonous, or boring.

This quilt is shaping up to be just what I had envisioned. It just took me 126 blocks on the design wall to know for sure.

Yesterday I still needed to make about 45 blocks, and for that I had to cut more fabric, so that is what I did. I cut the blocks and sewed them into pairs and put them up on the design wall. These are arranged willy-nilly, with no editing whatsoever. That will change later today when I get to designing in earnest.

Sunday, February 2, 2025

Blue Triangles Start


 I started sewing pairs of triangles together and put them up on the design wall. One of the things I liked about the Triangle Dance quilt was its liveliness, but I have not yet decided if I want this quilt to share feeling. Originally I conceived it as an all blue quilt.

Here I have cut more blocks and threw them up on the design wall. 

Arranging blocks is often like creating a Sudoku puzzle. It can be tricky to evenly distribute the various prints. Here I tried to put the busier colored lights in diagonal rows. Didn't thrill me.

Here I played with the idea of two different triangles next to each other creating parallelograms. This is a better idea in the imagination than in real life.

When I get stuck I remove ALL the blocks from the design wall and go back to the start. In this case, my original idea (even if I have since wondered if it would be too boring.)


It is quite literally monochromatic (one color) but that's not always a bad thing. I'm going to keep along this route, making more blocks and seeing where it goes. I have kept the busier blue prints in the "light" category for now. I always like to have a little surprise.


Thursday, January 30, 2025

New Blue Quilt


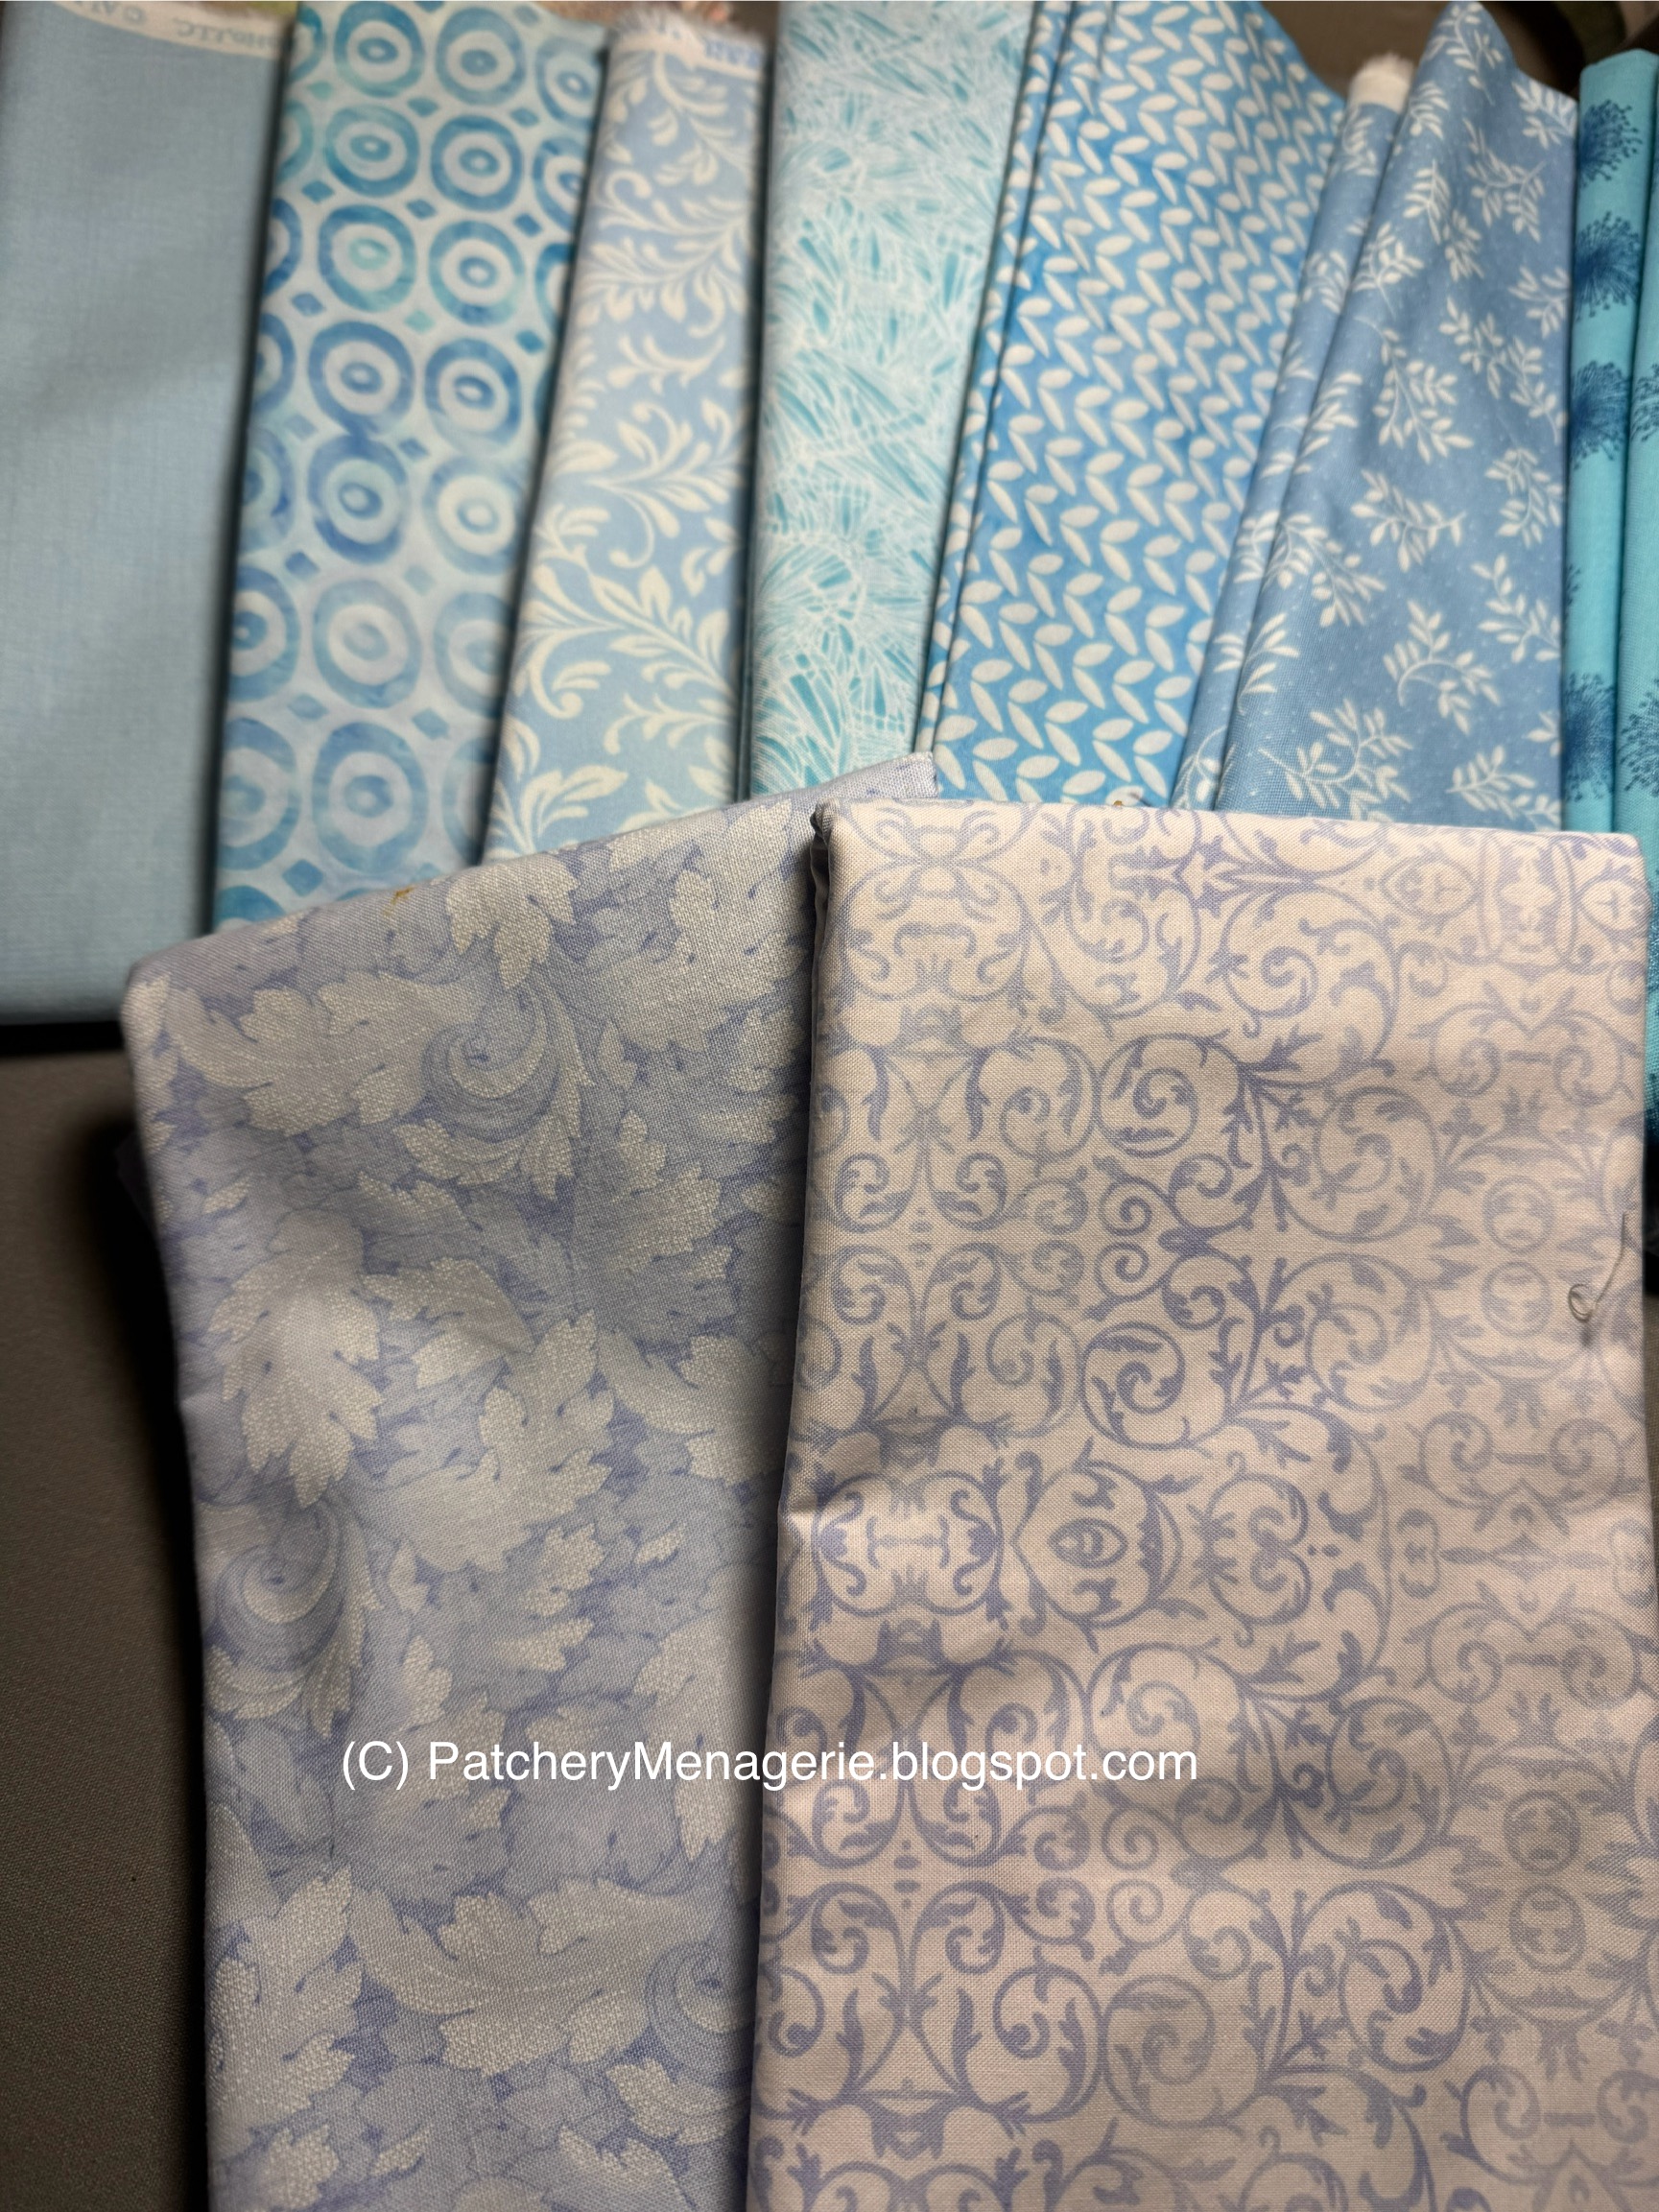
I ordered a bunch of lovely blues and I have been thinking of what to make with them. Here are the middle range blues. 

Finally I figured out what I wanted, and I would need some light blues too, so here are some light blues.


In 2015 I made this quilt from scraps, and I always liked it. The first question was how big did I want the triangles to be:


The triangles on the right are 9" tall and I thought they were too big. The ones on the left are 8" tall, and I like the fact that they lean to the right.

One of the things I liked about the inspiration quilt was the bright colors in the light fabrics, so I went through my stash and found a few I thought would work. I've started cutting some pieces, but I have a lot more to cut.

I'm looking forward to playing with this shape and the blues.

Monday, July 26, 2021

Size Matters

From the very beginning of the pink quilt, I knew I wanted to use the Perfect Rectangle ruler.
 

I cut some of the triangles the full ruler size and set them up on my design wall. The big diamonds were so big, I'd only have had four rows of them. I decided to make them smaller by about a third. You can see the new size at the upper right.

I put a piece of blue painter's tape near the 8" line of the ruler. This was where I decided to cut the fabric.


This made the finished rectangle 3-3/4" x 7-1/2". 

And I'll say it again. This was not a scrap quilt.

Tuesday, July 6, 2021

Cutting Pinks


These are the pink and pinkish fabrics I ordered. They arrived on Saturday and I washed and ironed them.

Here are the fabrics that I already had in my stash.

I decided I want to work with long triangles. so I have started cutting some out and putting them up on the design wall. No, the finished design will not be anything like this. I will definitely move things around and vary the design, but in order to play I have to cut more blocks.

In the "oh well" part of life, a burner on my stove "popped" and stopped working. The stove came with the house, and it is probably well over 15 years old, so I did a bit of research and then drove to one of the big box hardware stores to buy a new one. I decided to replace my dishwasher at the same time, because you get a better price when you buy two appliances. Both pieces were on sale, and will get delivered together later in the month. The stove is a Frigidaire and has a built in air fryer and the dishwasher is a Bosch, which ought to be significantly quieter than the one I have now.

Wednesday, March 6, 2019

Oh So Modern

Never one to let an idea go to waste, I decided to take the leftover pieces and see what I could do with them that wasn't anything I had already tried. I liked the way a pair of triangles could look like a stretched out rectangle if I lined up the long sides together.


So then I thought... what happens if I make the values look like they are the same across the two triangles that make up the shape... I particularly like this pair of blue triangles.

This cream and purple is pretty good too.


So, you get the idea.

I won't be sewing this together, but I'll store this idea away for later.

Tuesday, March 5, 2019

On The Back

Since the Parade of Zebras quilt was made from stash, I made the decision to make the entire quilt from fabrics from my stash - the border, backing and binding. The border is already sewn to the quilt, and I have the binding fabric already chosen. I had to make the backing of this quilt, and backings are my least favorite thing to make. The first thing I had to do was choose the appropriate fabrics.

The big fabrics on the left were bought for a diamond quilt I never made. The colors were right, so I sewed them together. Then I decided to sew up some of the extra blocks to run down the middle of the back.

The purple fabric on the lower left is left over backing from a quilt I made last year, and the purple and blue batik like fabric at the upper left has been in my stash for over 12 years. I fell out of love with it back then, and now it's time to get it out of the stash.

Laying the quilt on top of the backing is an easy way to determine if the backing is big enough. I need to make sure there are six additional inches around all four sides of the quilt. This is big enough.

Yay!

Monday, March 4, 2019

In Which Lynne Discovers Nirvana

I liked the Parade of Zebras quilt, but I wasn't in love with it. There was something wrong with it. I didn't know quite what.

I thought I'd put a border on it, so I rummaged through my still-not-organized stash to see what I might have enough of. The two black and whites on the right were an option, but no. The one on the top was circles and that just didn't seem right, since the quilt was stripes. And the one on the bottom was just... no. The quilt needed a darker border, not a light one.

As I sat in my chair looking at the quilt, I looked around the floor at the fabric I had stacked there. In the pile was this wild digital print I had bought last summer. I thought, what the hell.

So I stuck it up on the wall next to the quilt and stood back. I wasn't quite sure when I looked at the picture in the camera, but when I looked at the QUILT I knew it was perfect. It had a lot of the same colors, and it just felt right. Immediately I took it off the wall, ironed it and cut strips, sewed them together into one long strip and then started sewing it to the quilt itself.

I sewed it to one side of the quilt, cut the strip, ironed it, then turned the corner and sewed the strip to the next side, and kept going the whole way around. As soon as I ironed the first strip I knew it was a winner.

As I was sewing it to the quilt, I remembered something my son said to me once, "You know what I like about you Mom? When you go over the top, you keep going."


Now the whole quilt seems to fit together. There is a lot of purple in the quilt, and there is a lot of purple in the border fabric. In fact, the border has all the colors of the quilt in it. And the dark keeps the lighter stripes from running off the edges.

It looks good here, but it's ten times better in real life. I absolutely LOVE this quilt now.


Now I can also resume cleaning and organizing the stash.